Original Listing
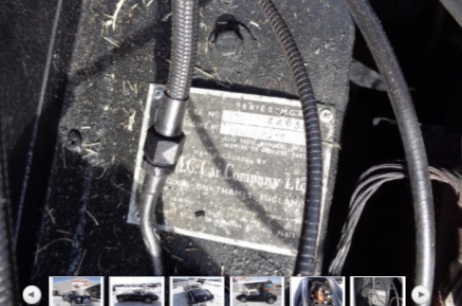
I acquired this MGA from Classic Cars in Staunton, Illinois, in early January 2020. These first photos and video were sent to me by the salesperson during the purchase process. If you watch the video closely, you’ll notice that the car never actually stops. I later discovered there was a reason for that—the car had some mechanical issues that weren’t immediately apparent.
Chrome
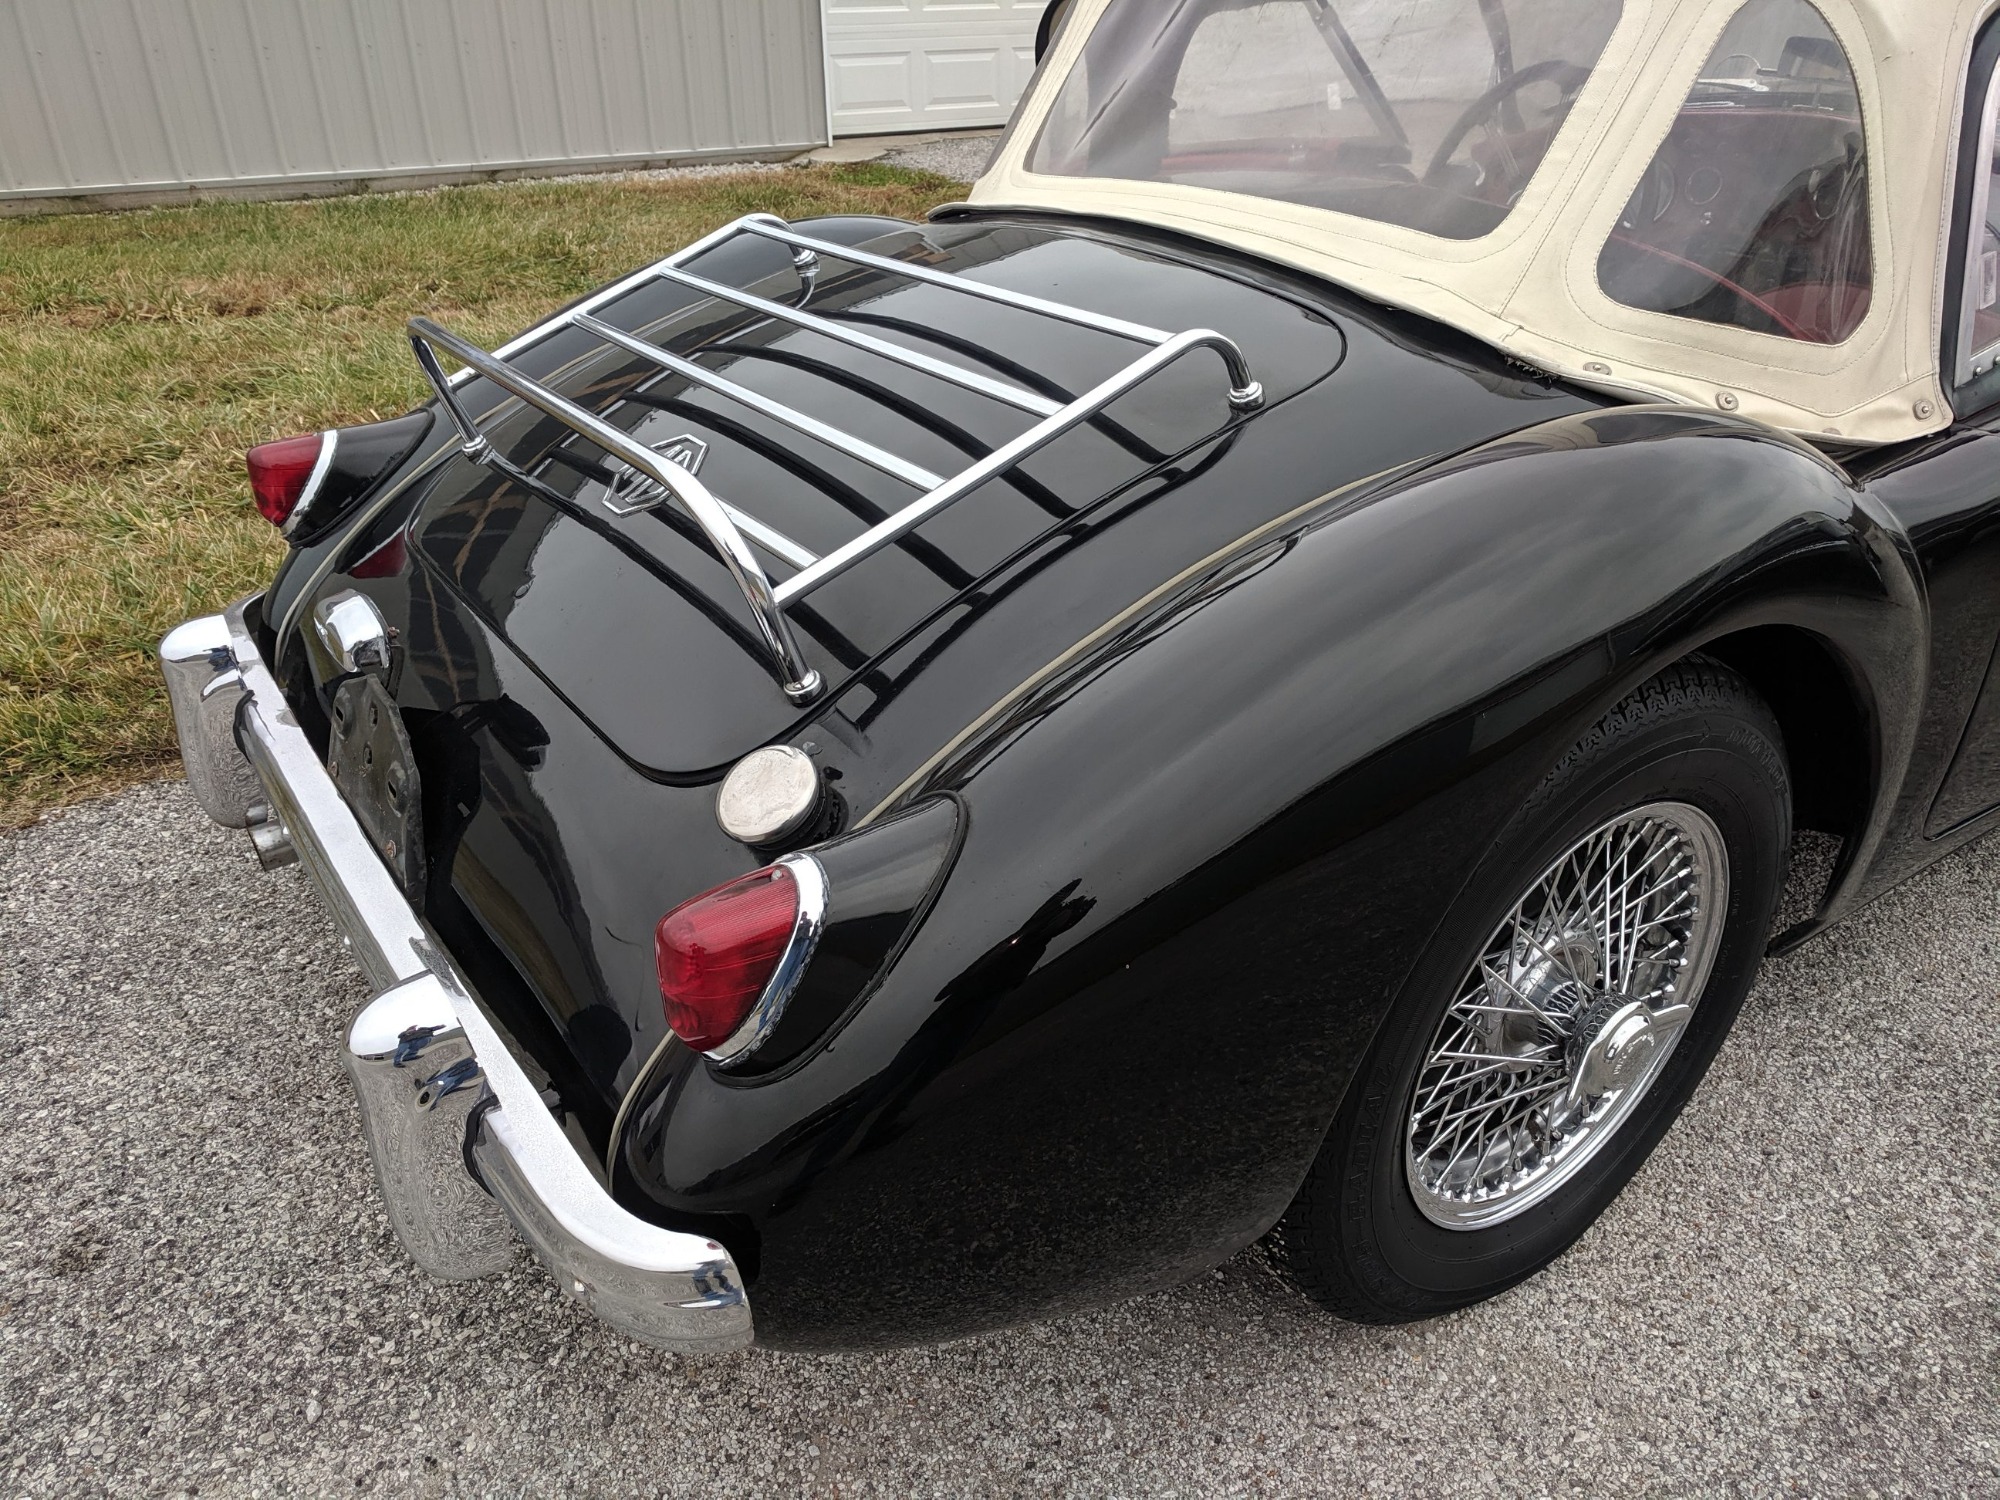
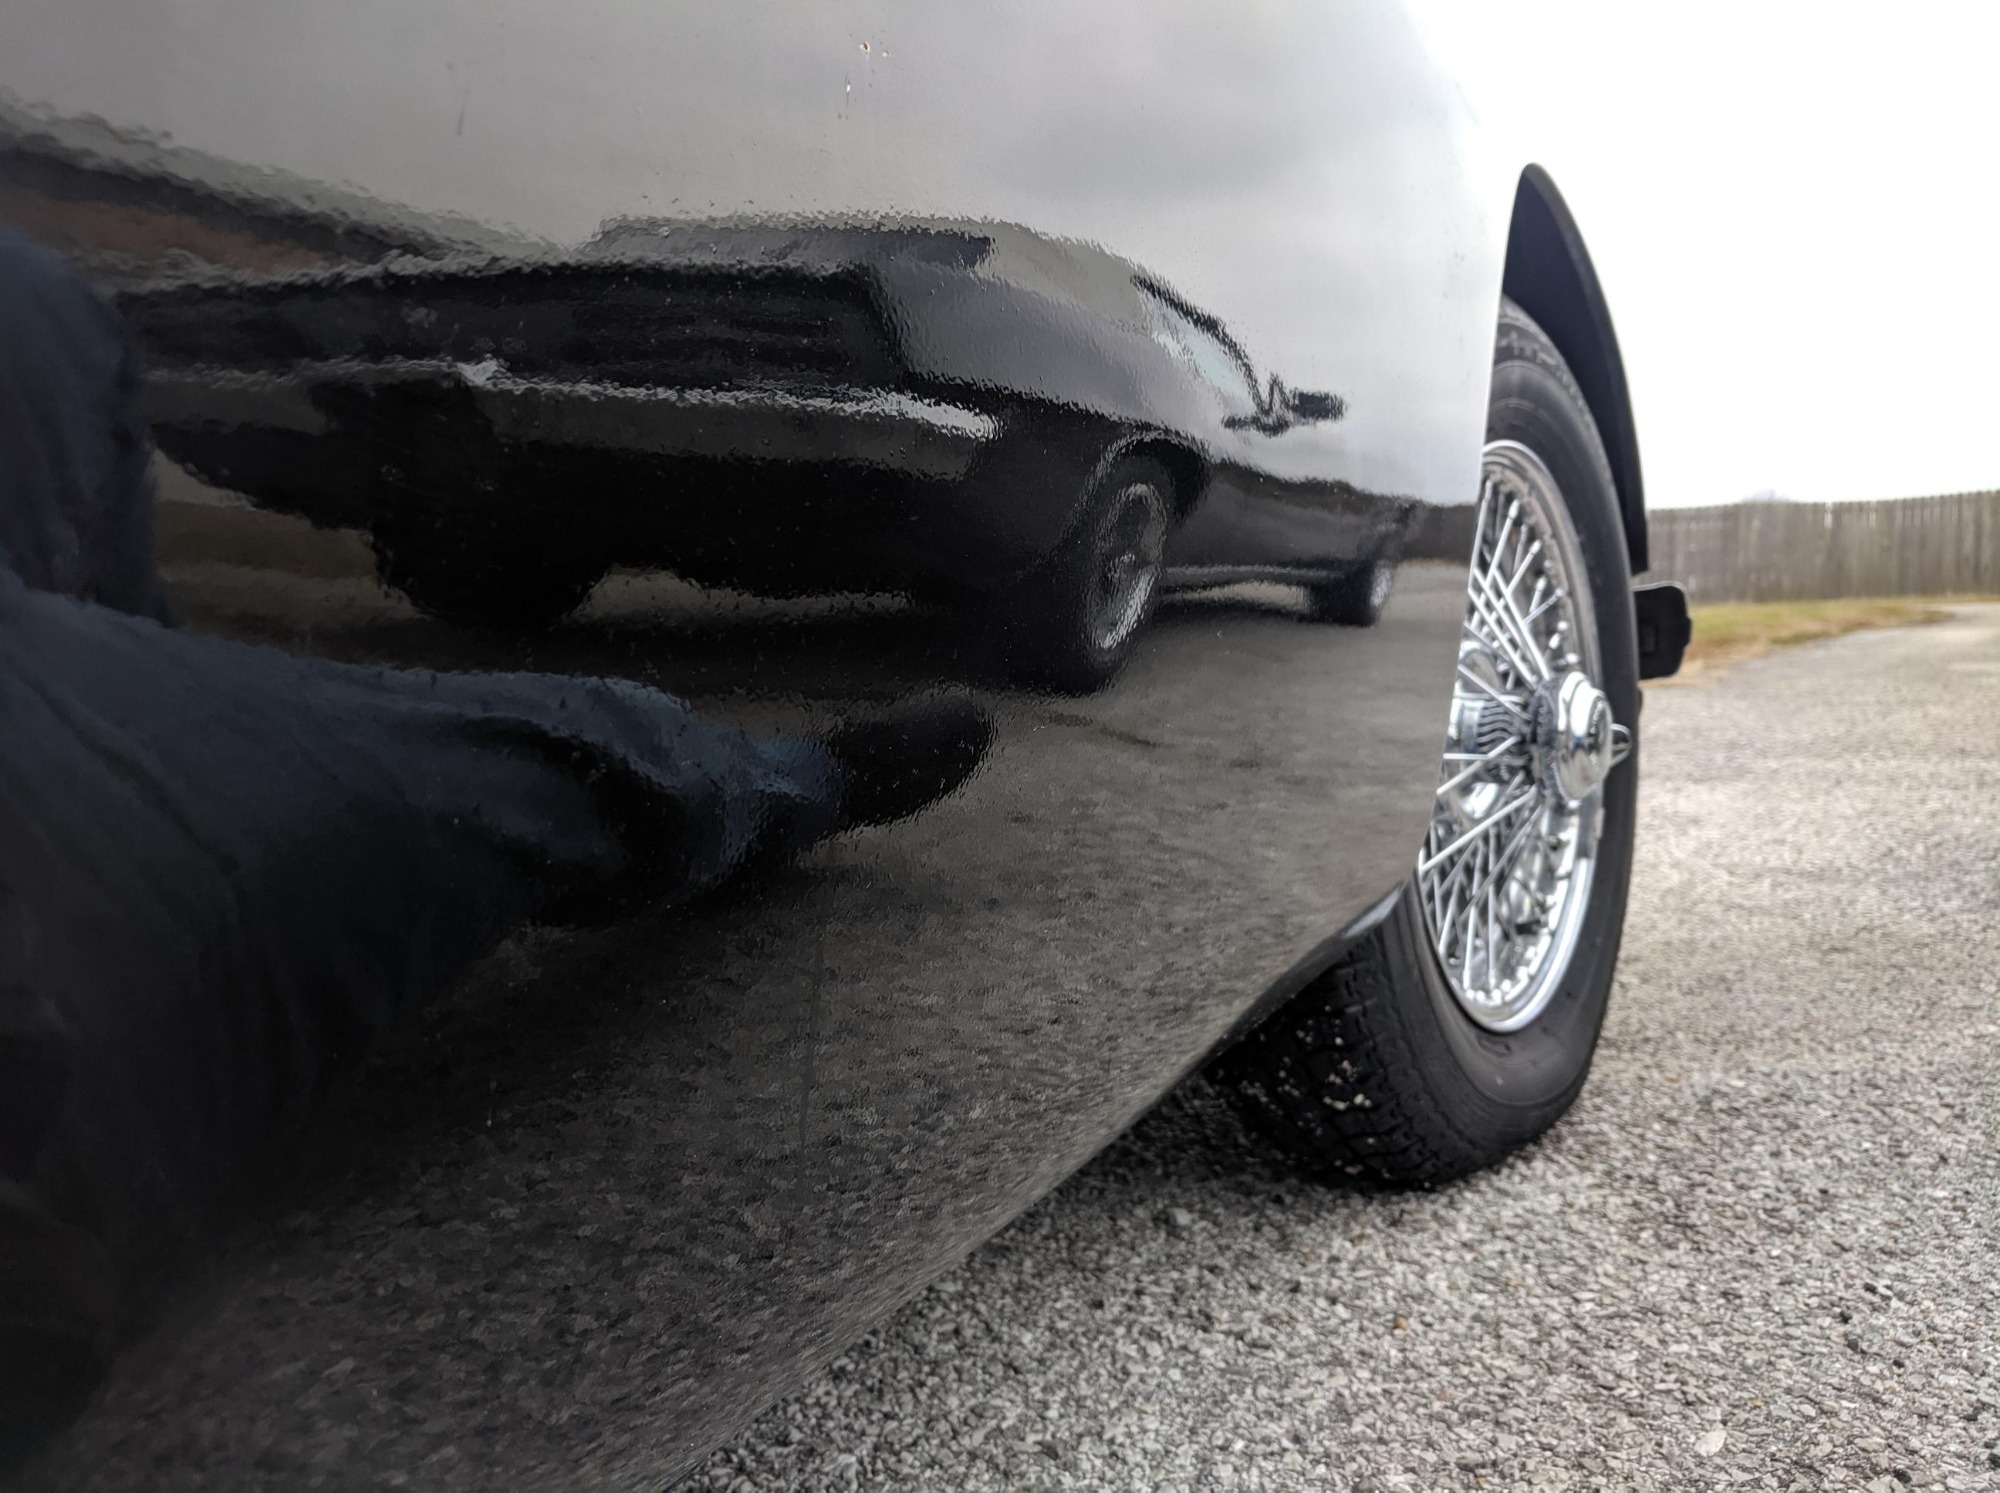
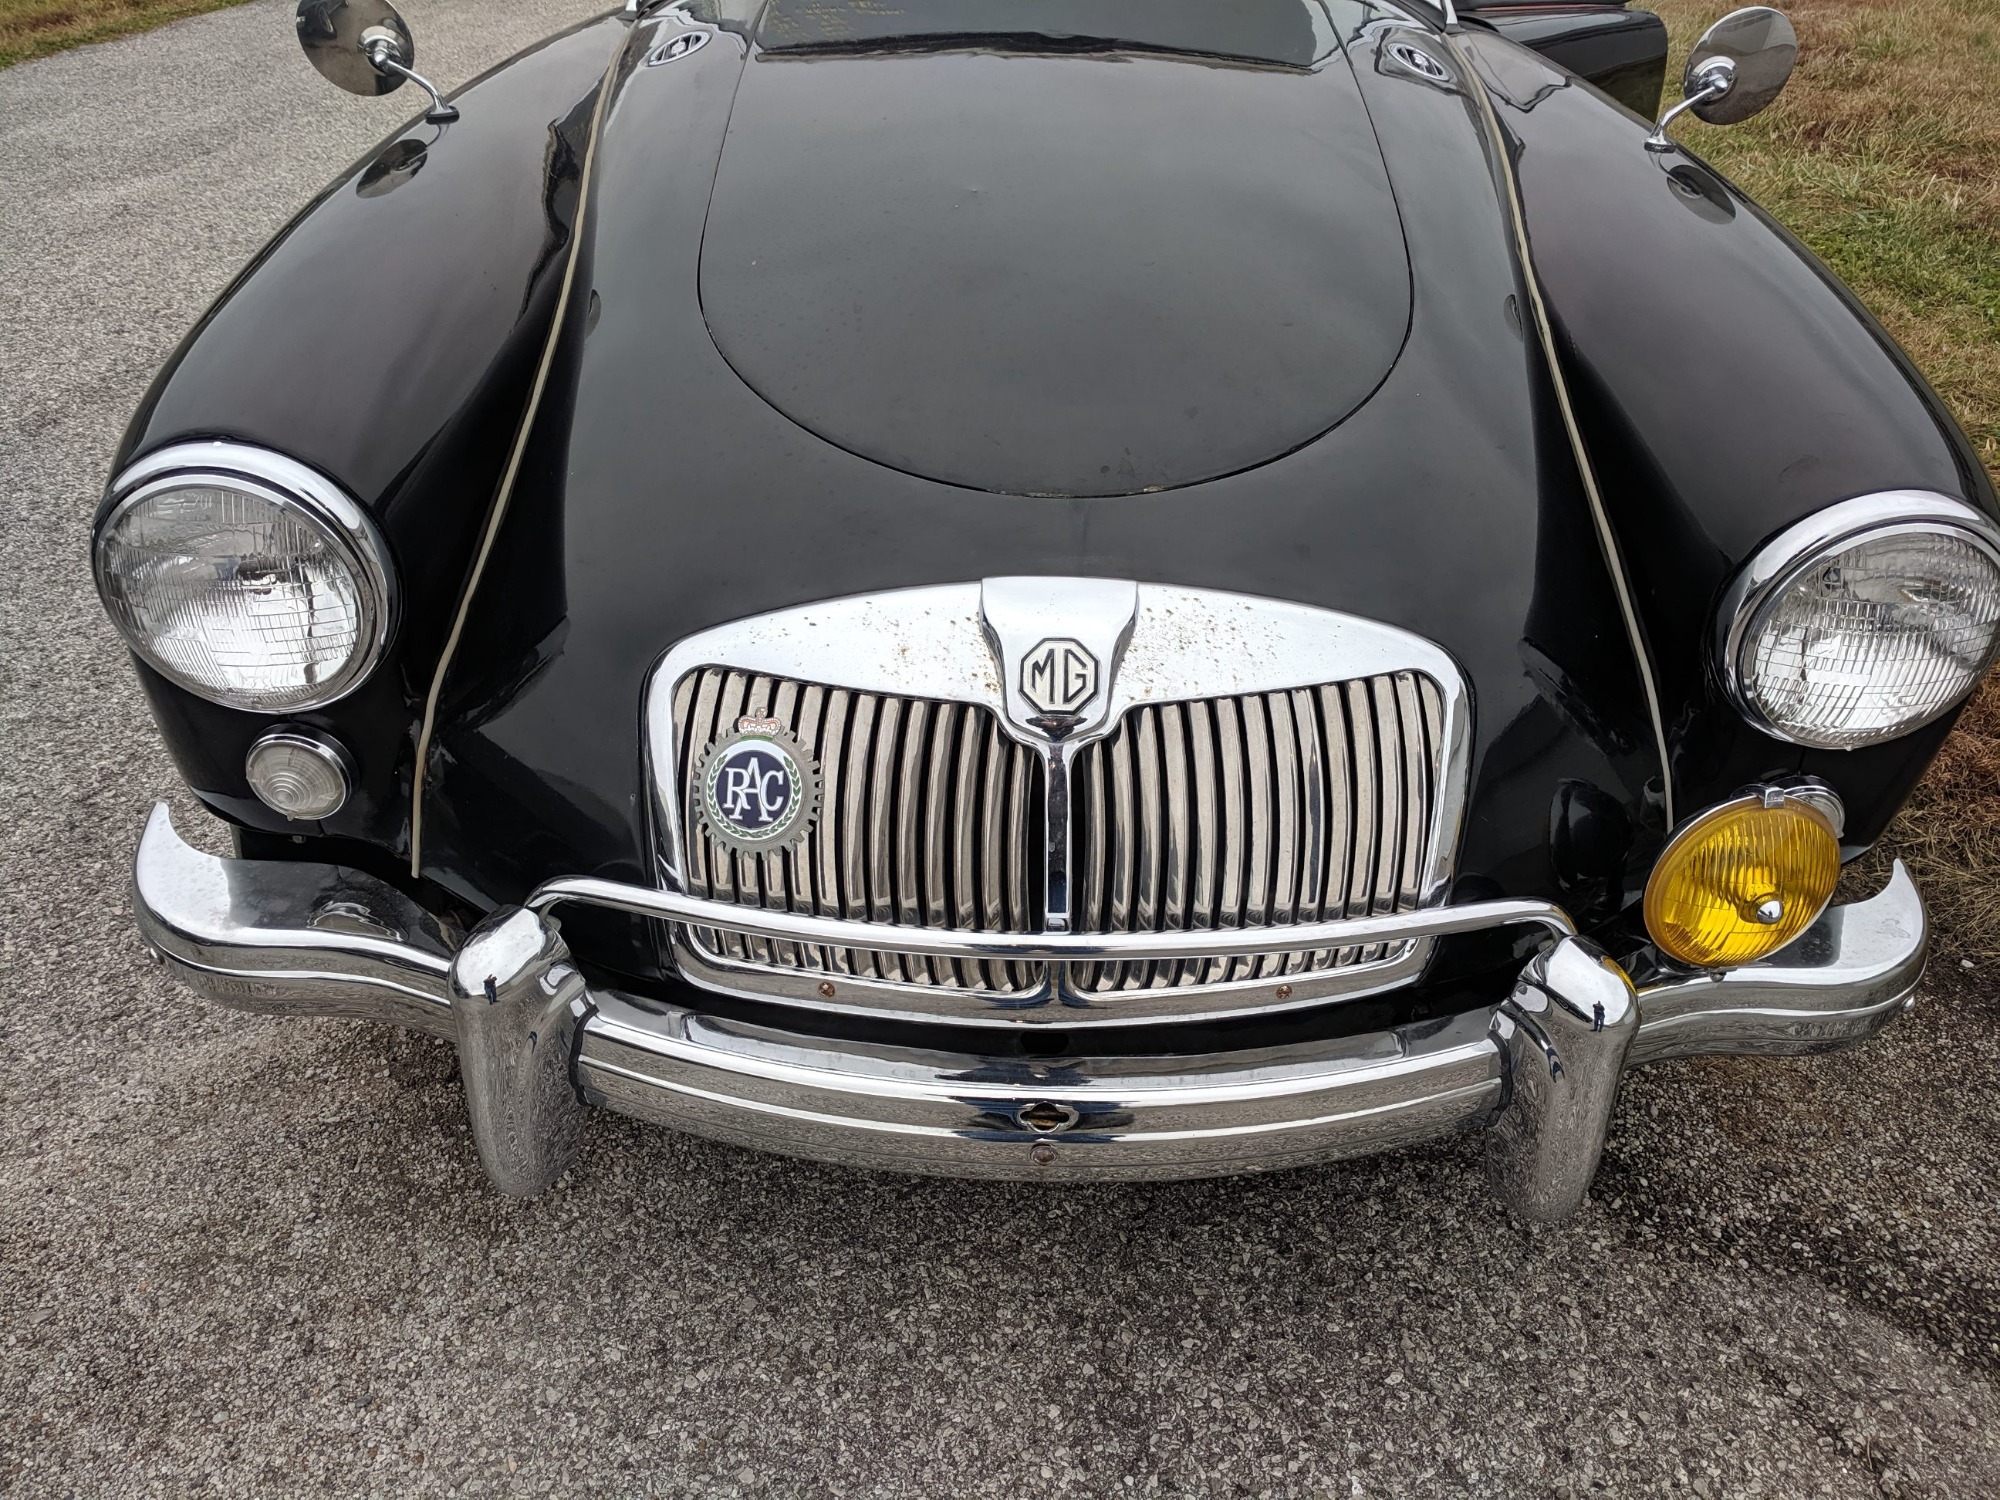
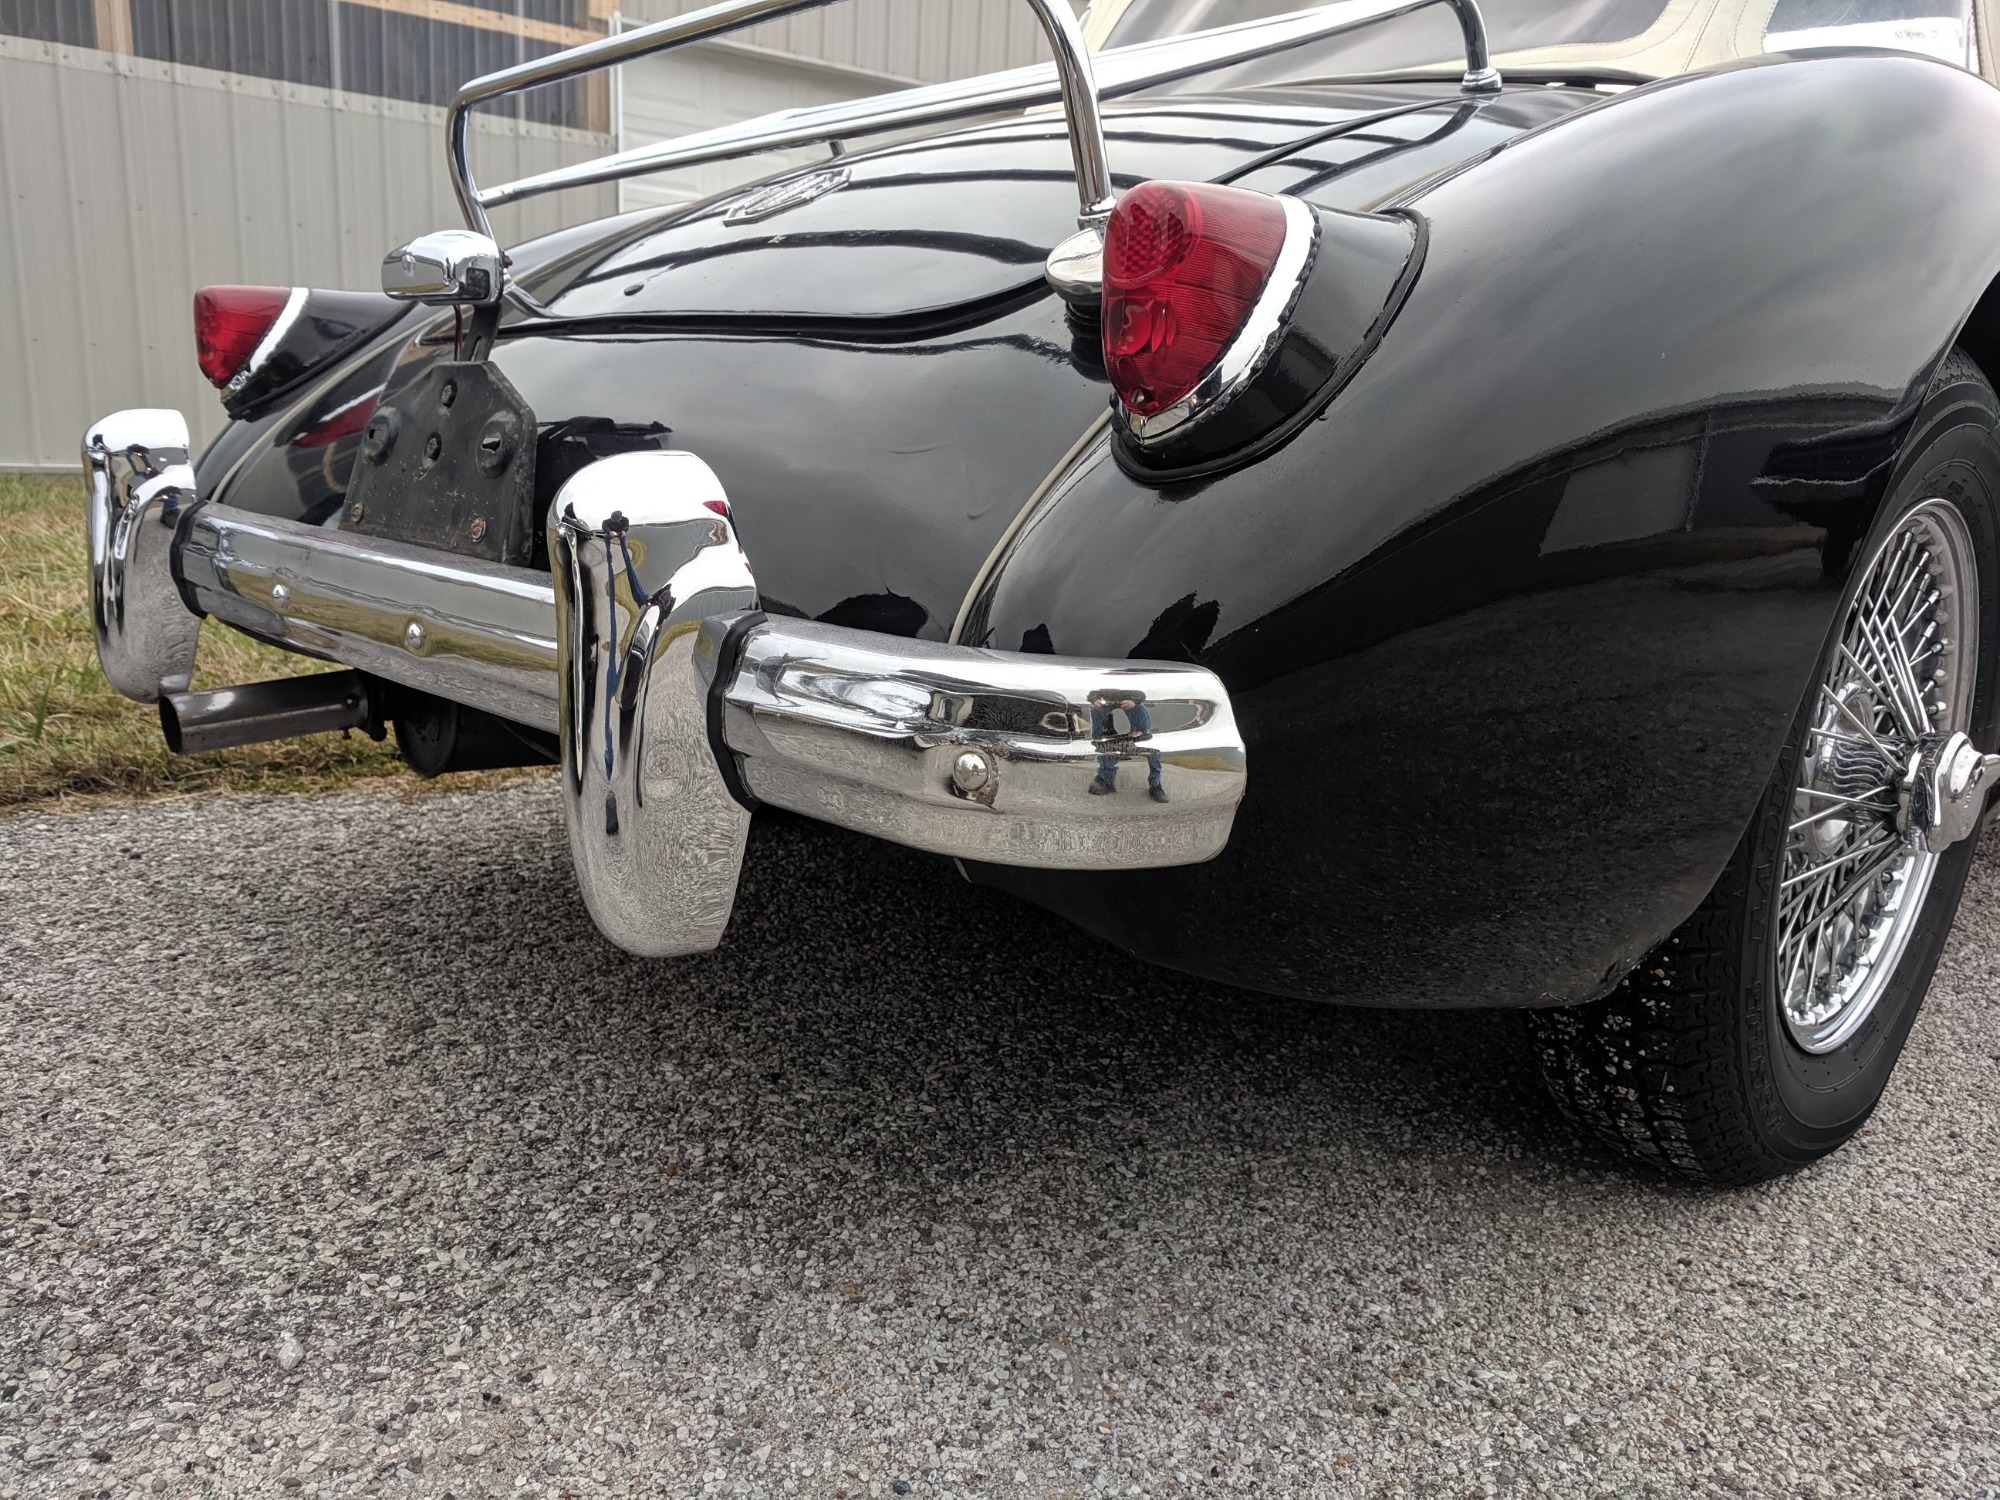
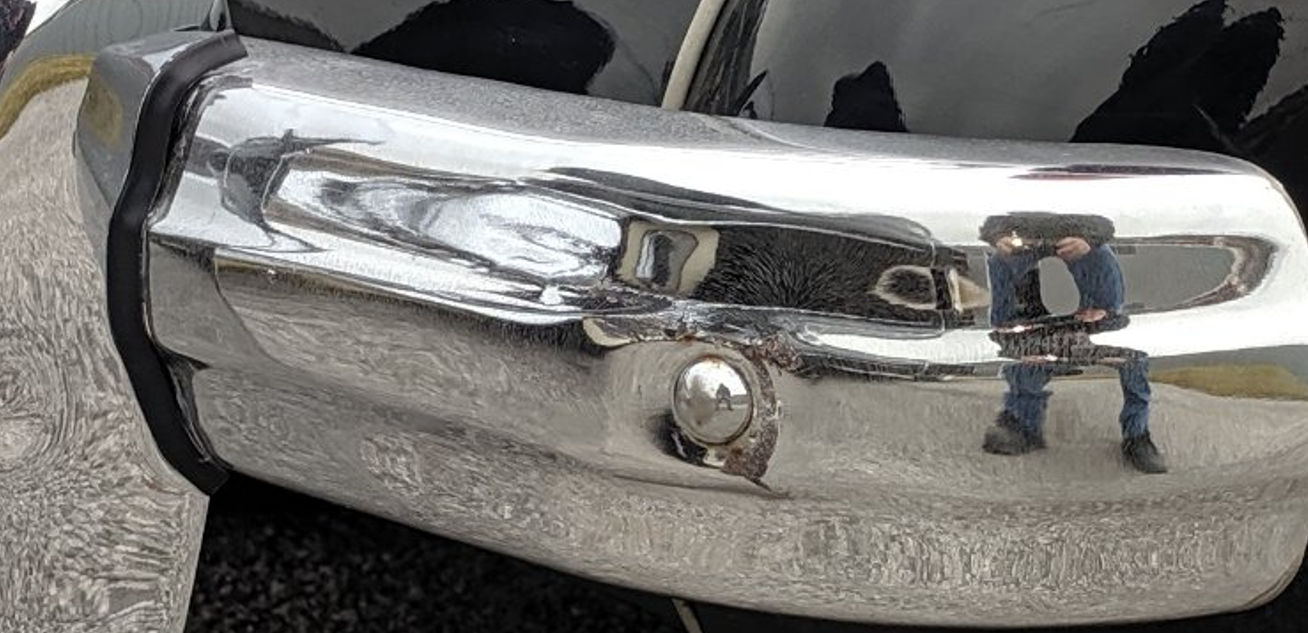
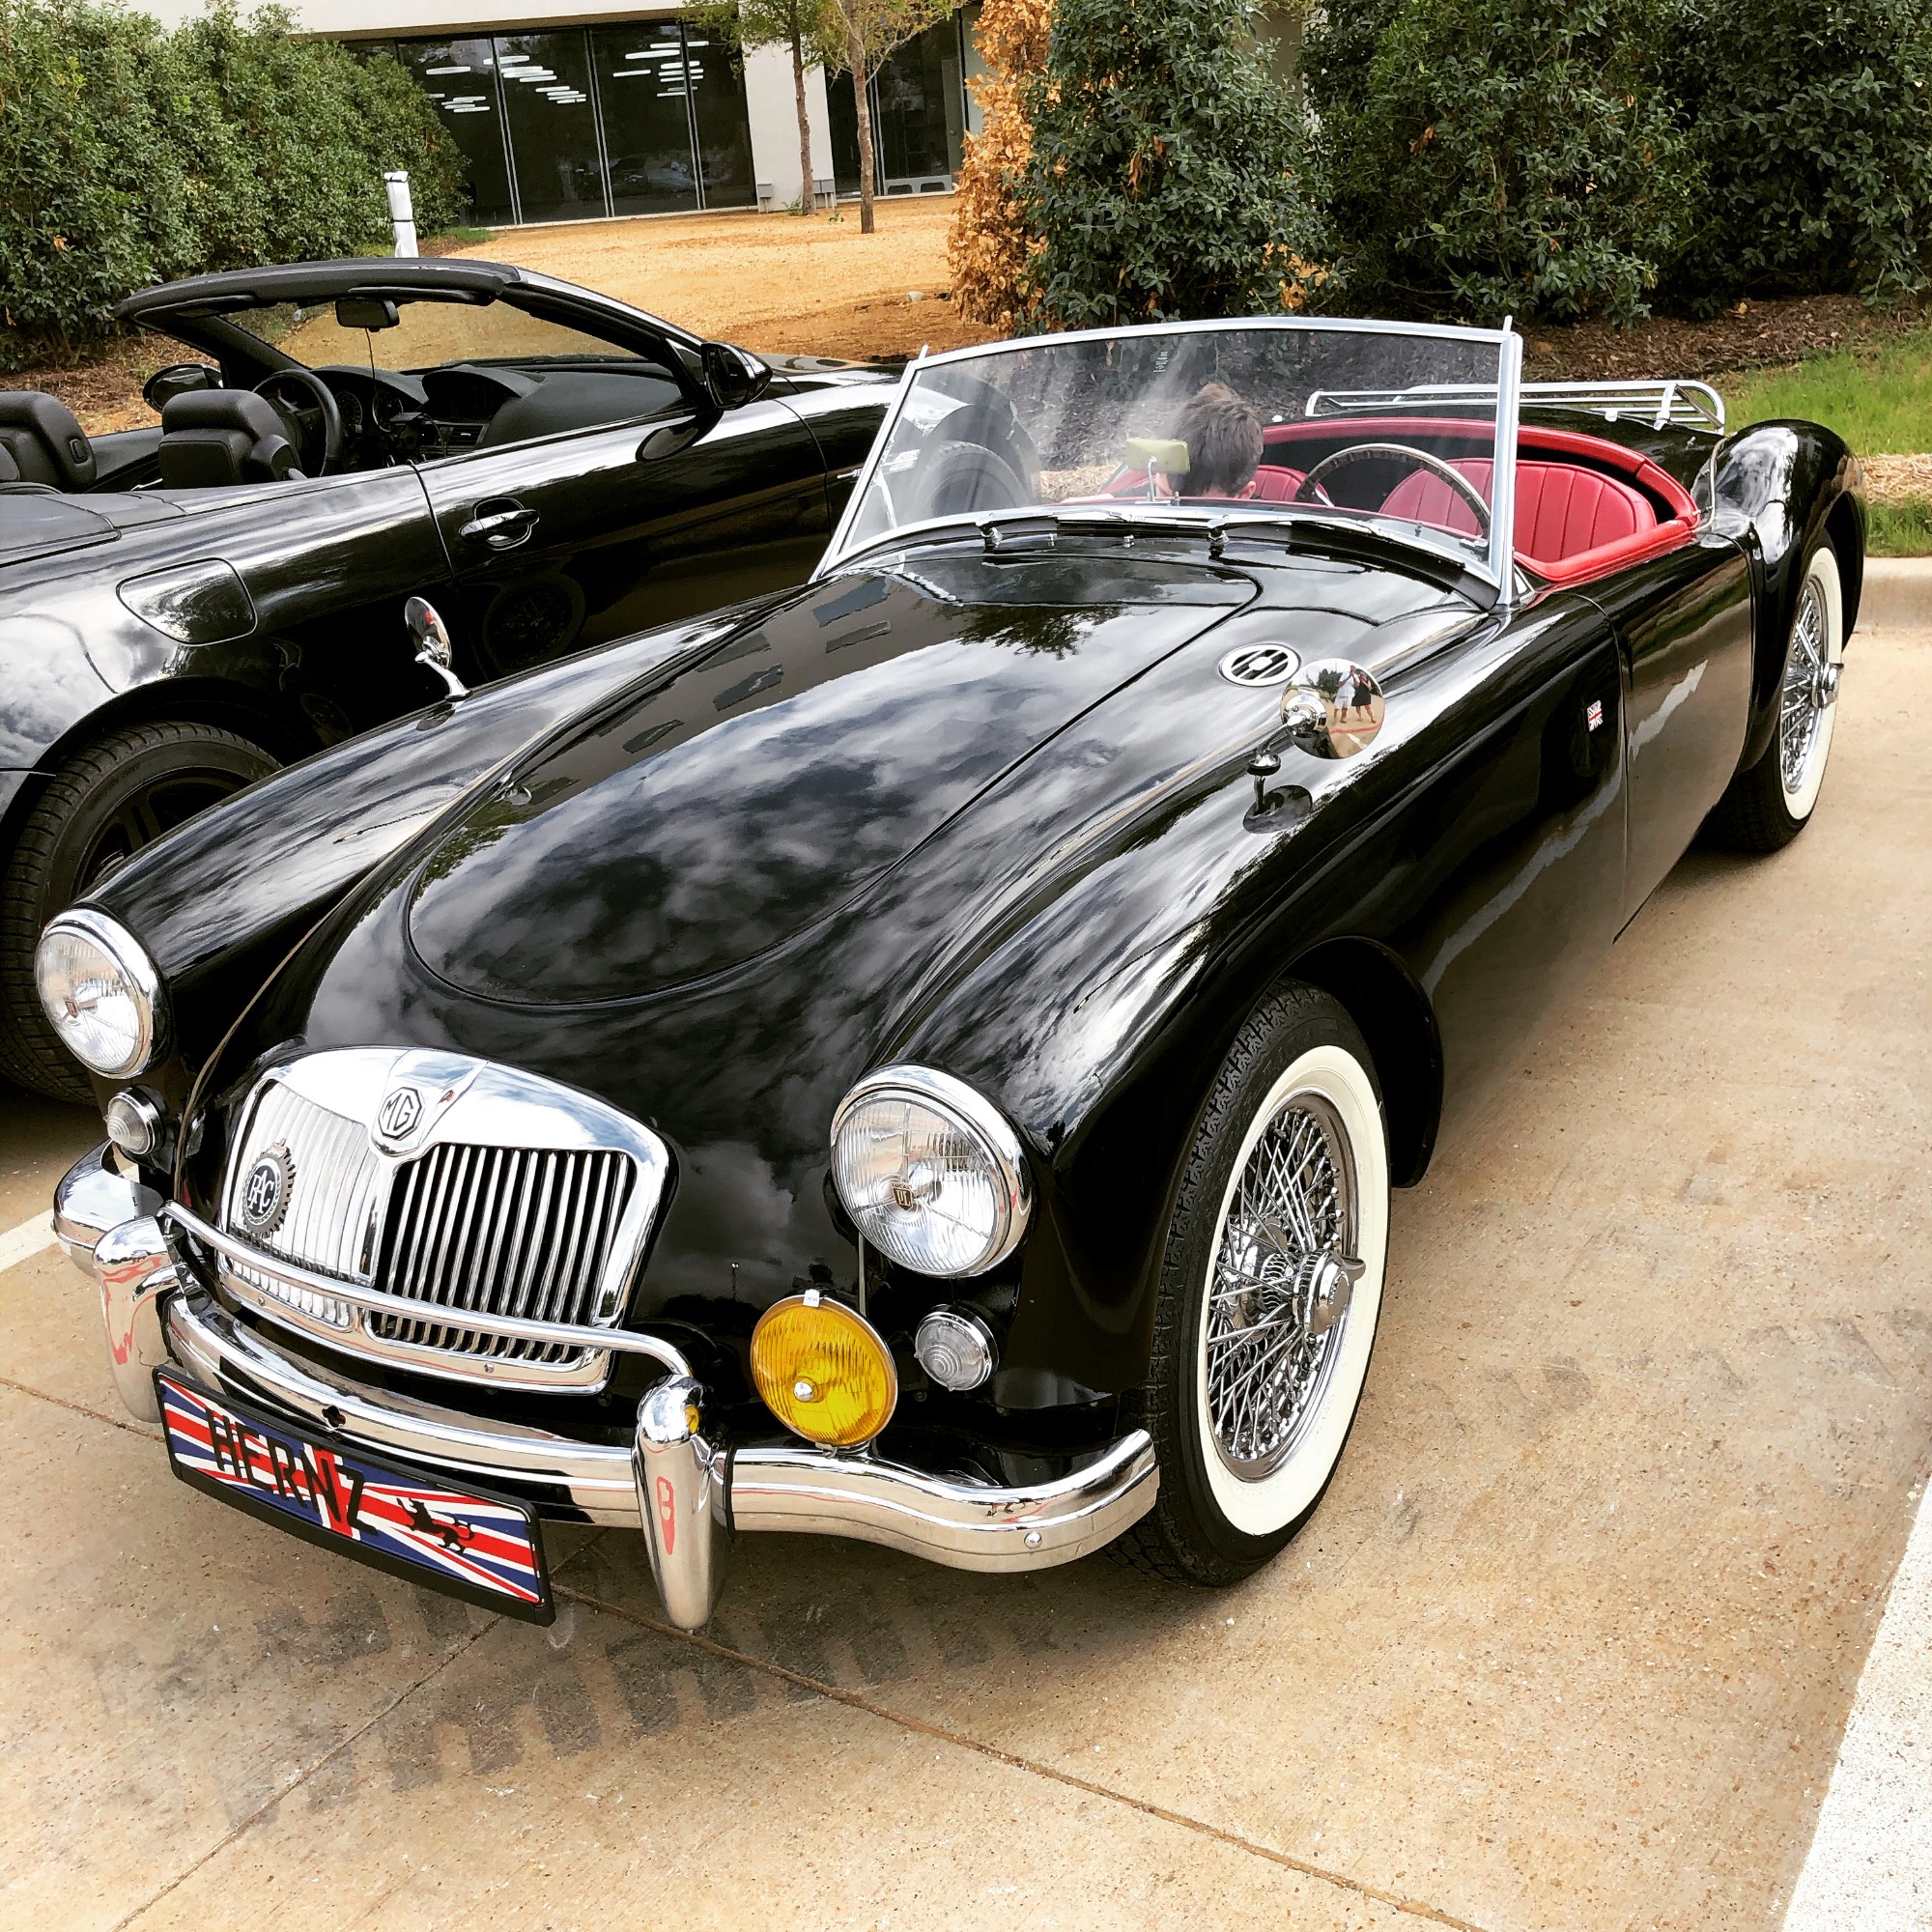
The fenders already showed small spots in the original listing photos. I initially tried to polish them out, but soon discovered that the problem was coming from underneath the chrome. Rather than trying to live with it, I replaced the fenders and several other exterior pieces, including the fender mirrors, fender grille vents, door seal finishers, windshield grab handles, rearview mirror, and more.
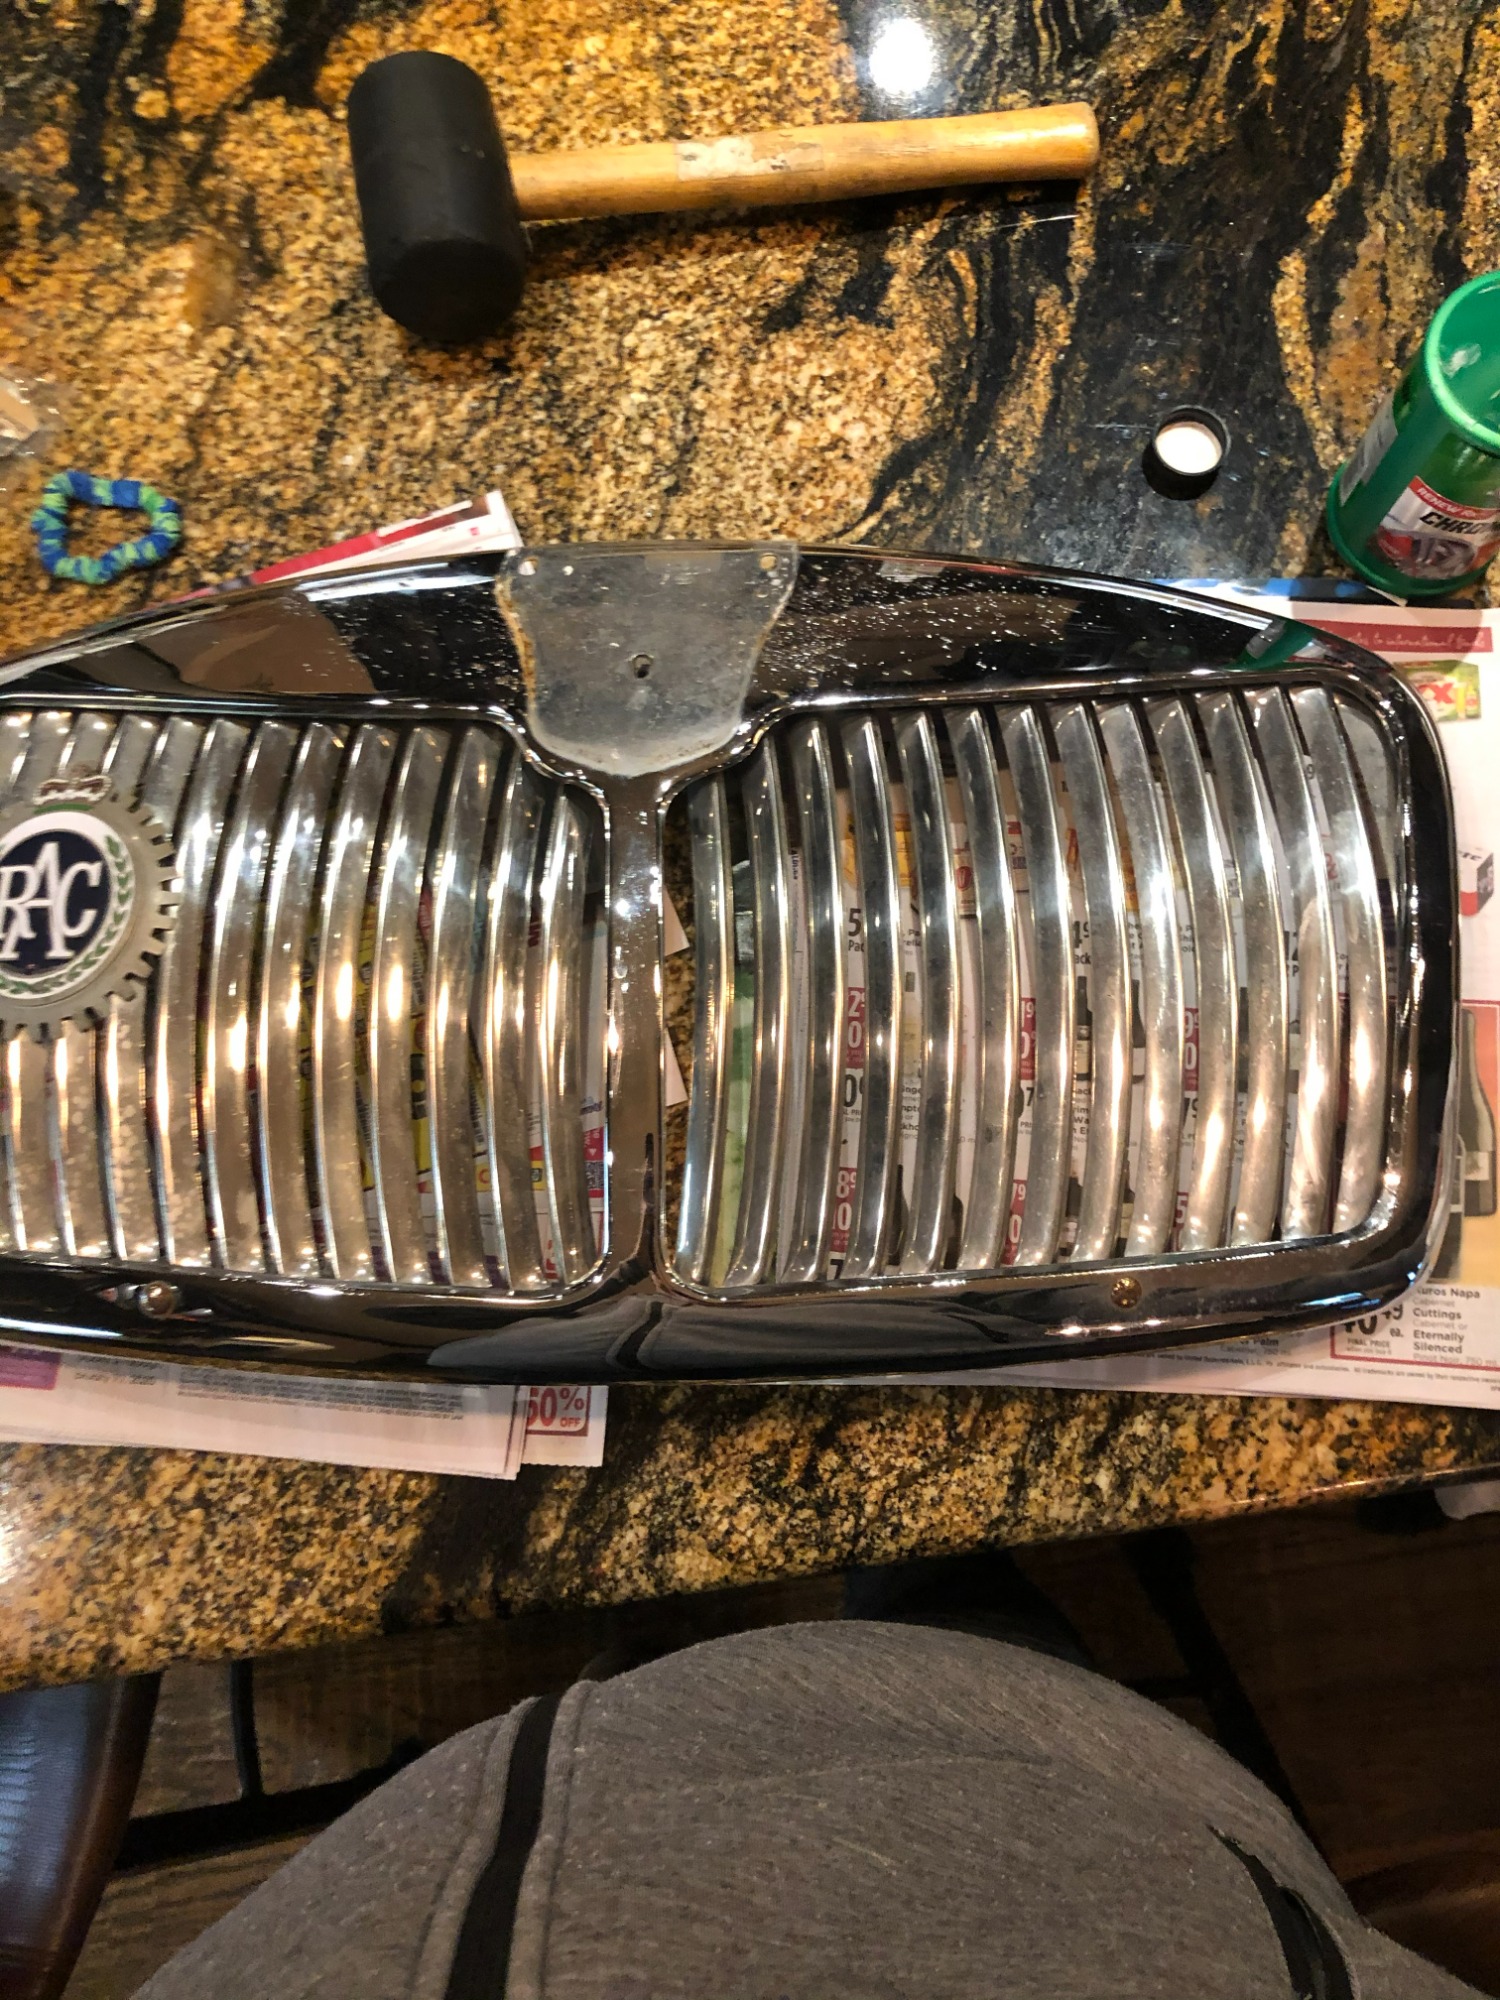
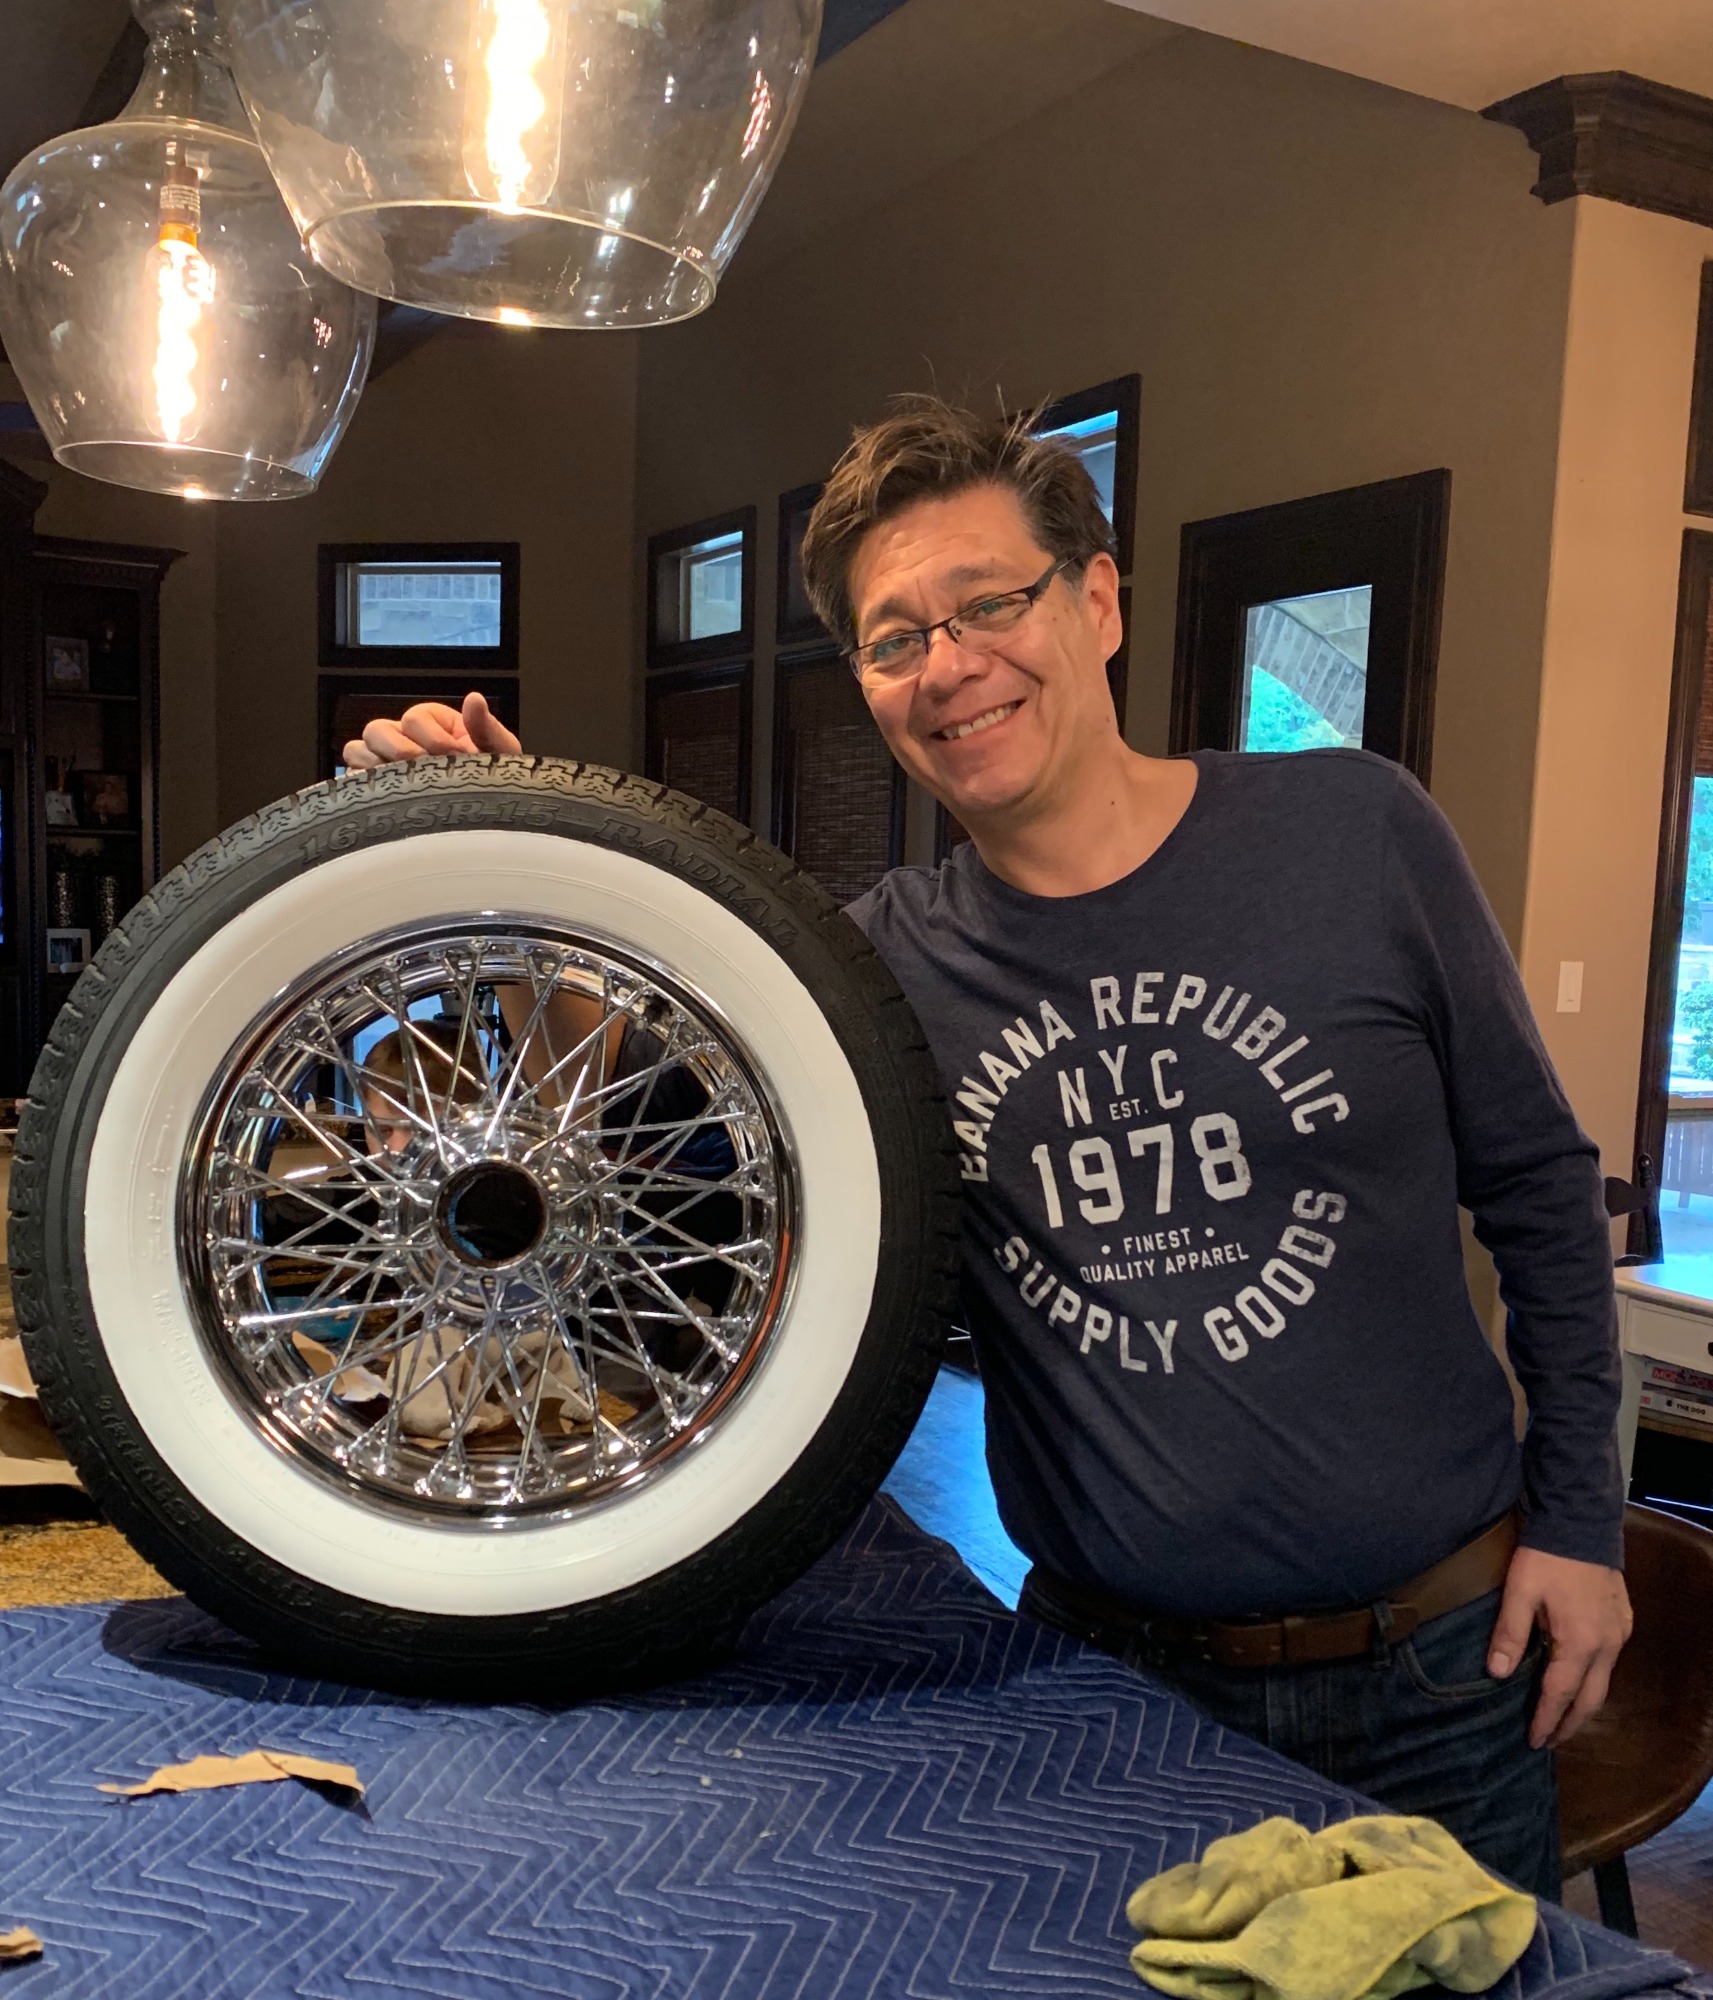
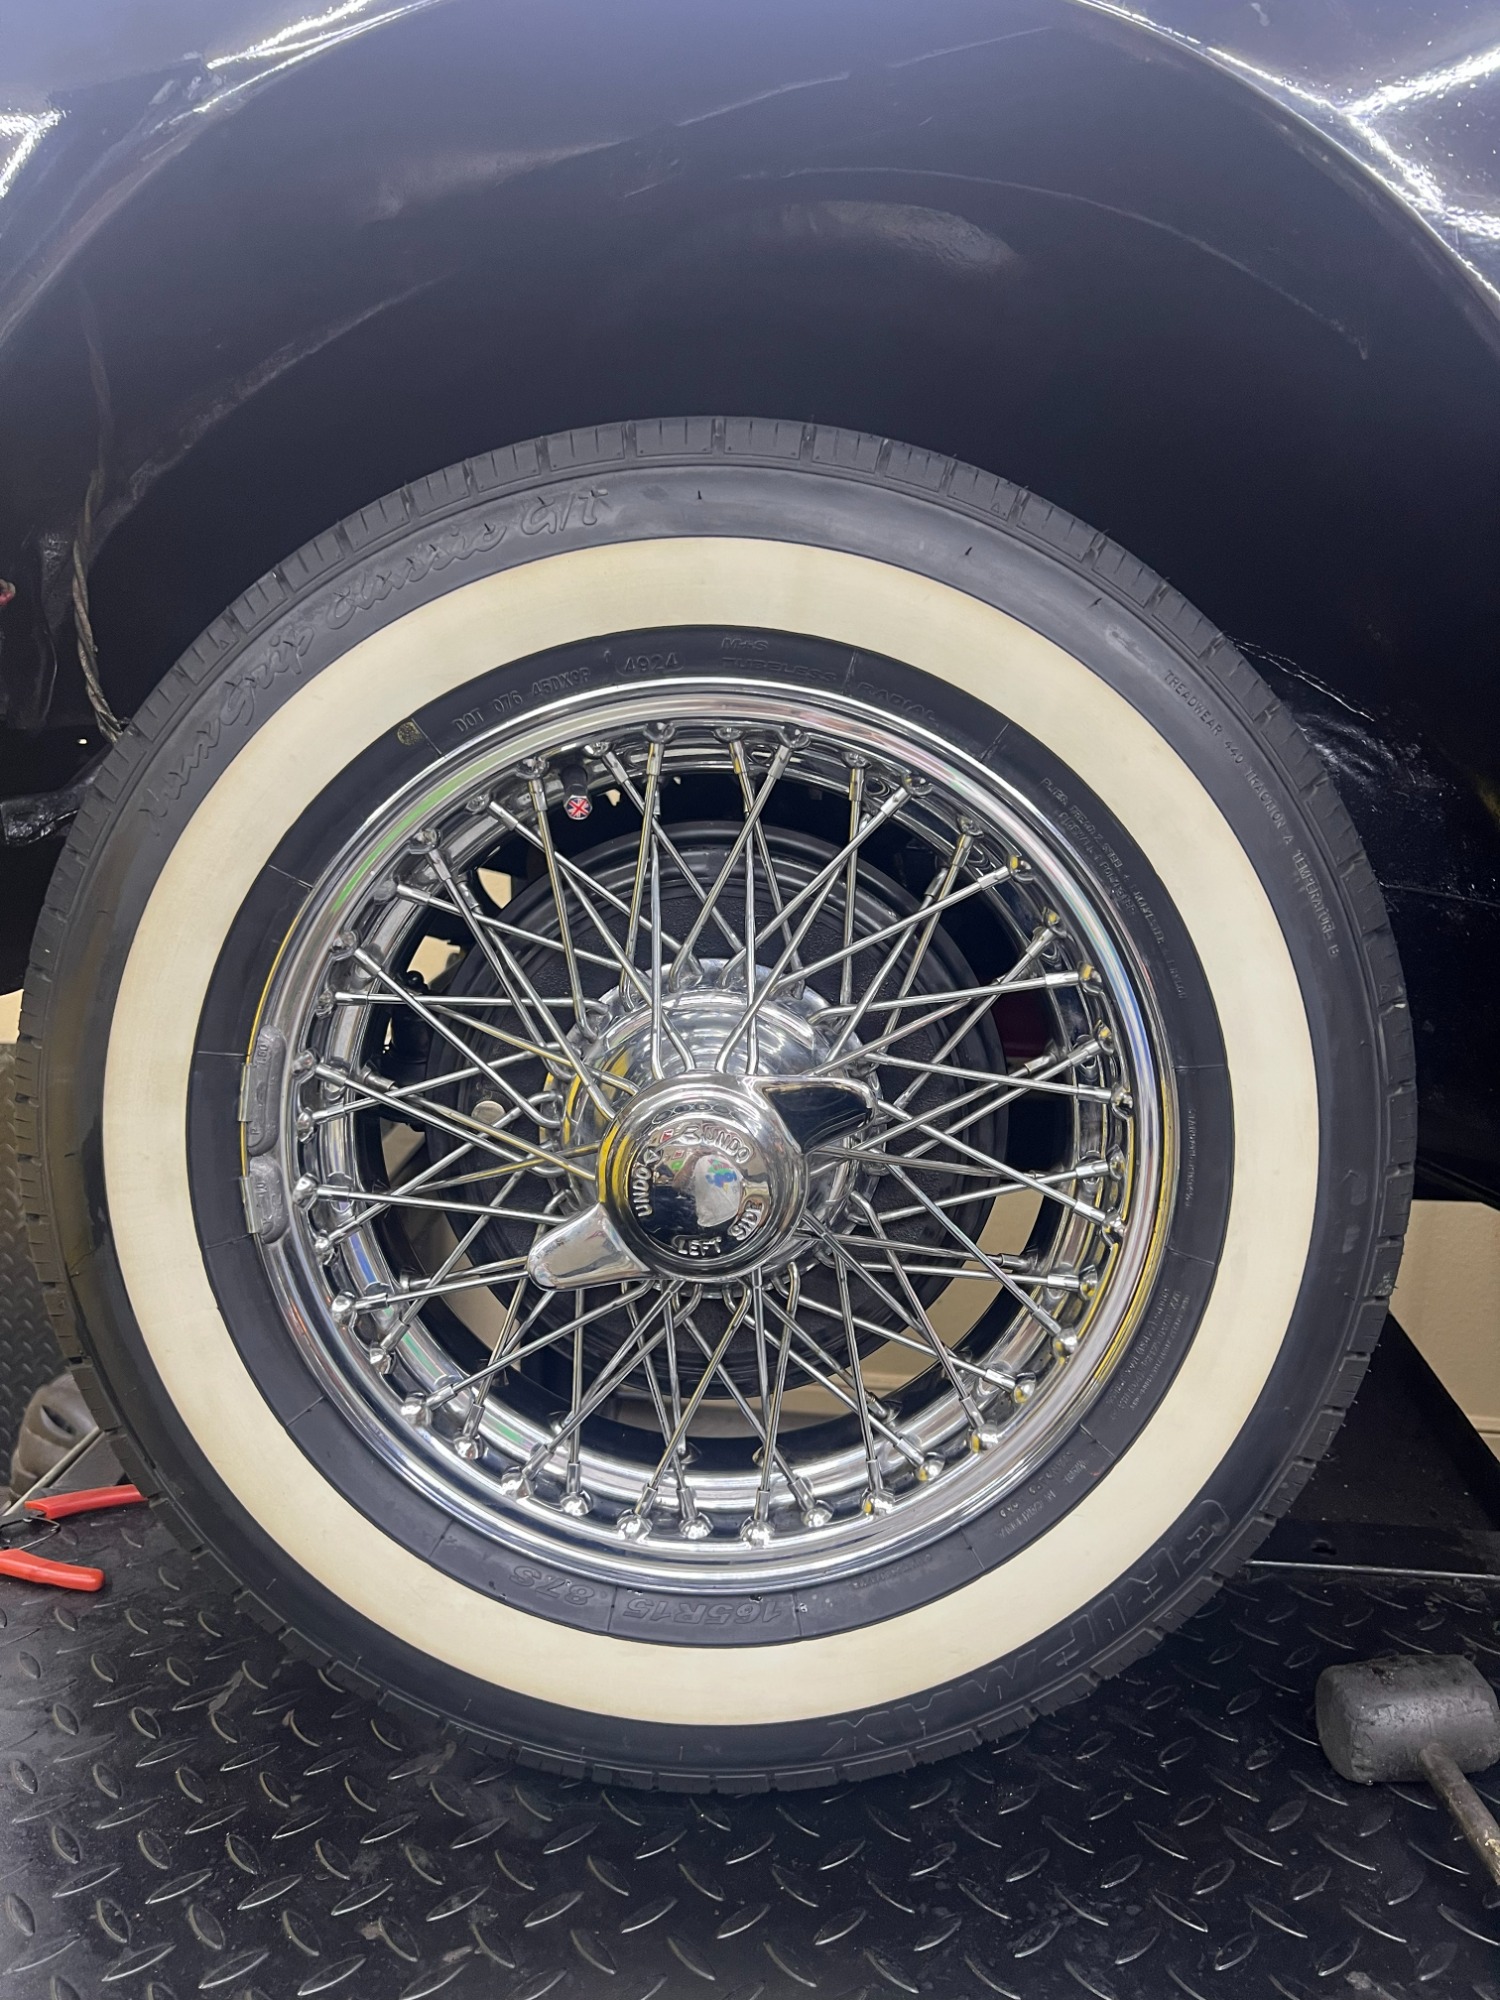
The original grille was professionally re-chromed, and the remaining chrome pieces were thoroughly cleaned and polished, including the beautiful wire wheels.
One of the wheels had a small area where the chrome was missing. Since I chose not to disassemble the wheel, I carefully touched up that small spot with chrome paint. It is barely noticeable, but I wanted to mention it for full transparency.
Brakes
It Started With the Brakes...
When I first got the car, I immediately noticed that it barely stopped. Little did I know that what seemed like a simple brake job would turn into an entire braking-system restoration.
With my general knowledge of cars—and a little help from YouTube—I decided to start with what seemed obvious: the brake pads. I ordered the parts and started taking everything apart.
That’s when I discovered the first surprise. The front brake drums were extremely thin and clearly past their useful life. So, I ordered new drums along with the missing hardware and replaced everything.
The MGA was braking really well... but not for long.
A short time later, I noticed brake fluid leaking from one of the front wheel cylinders. So, round two: new front brake cylinders.
Because this car is only driven a handful of times a year, problems sometimes have a way of showing up when you least expect them. On another occasion, I pressed the brake pedal and suddenly there was almost no resistance.
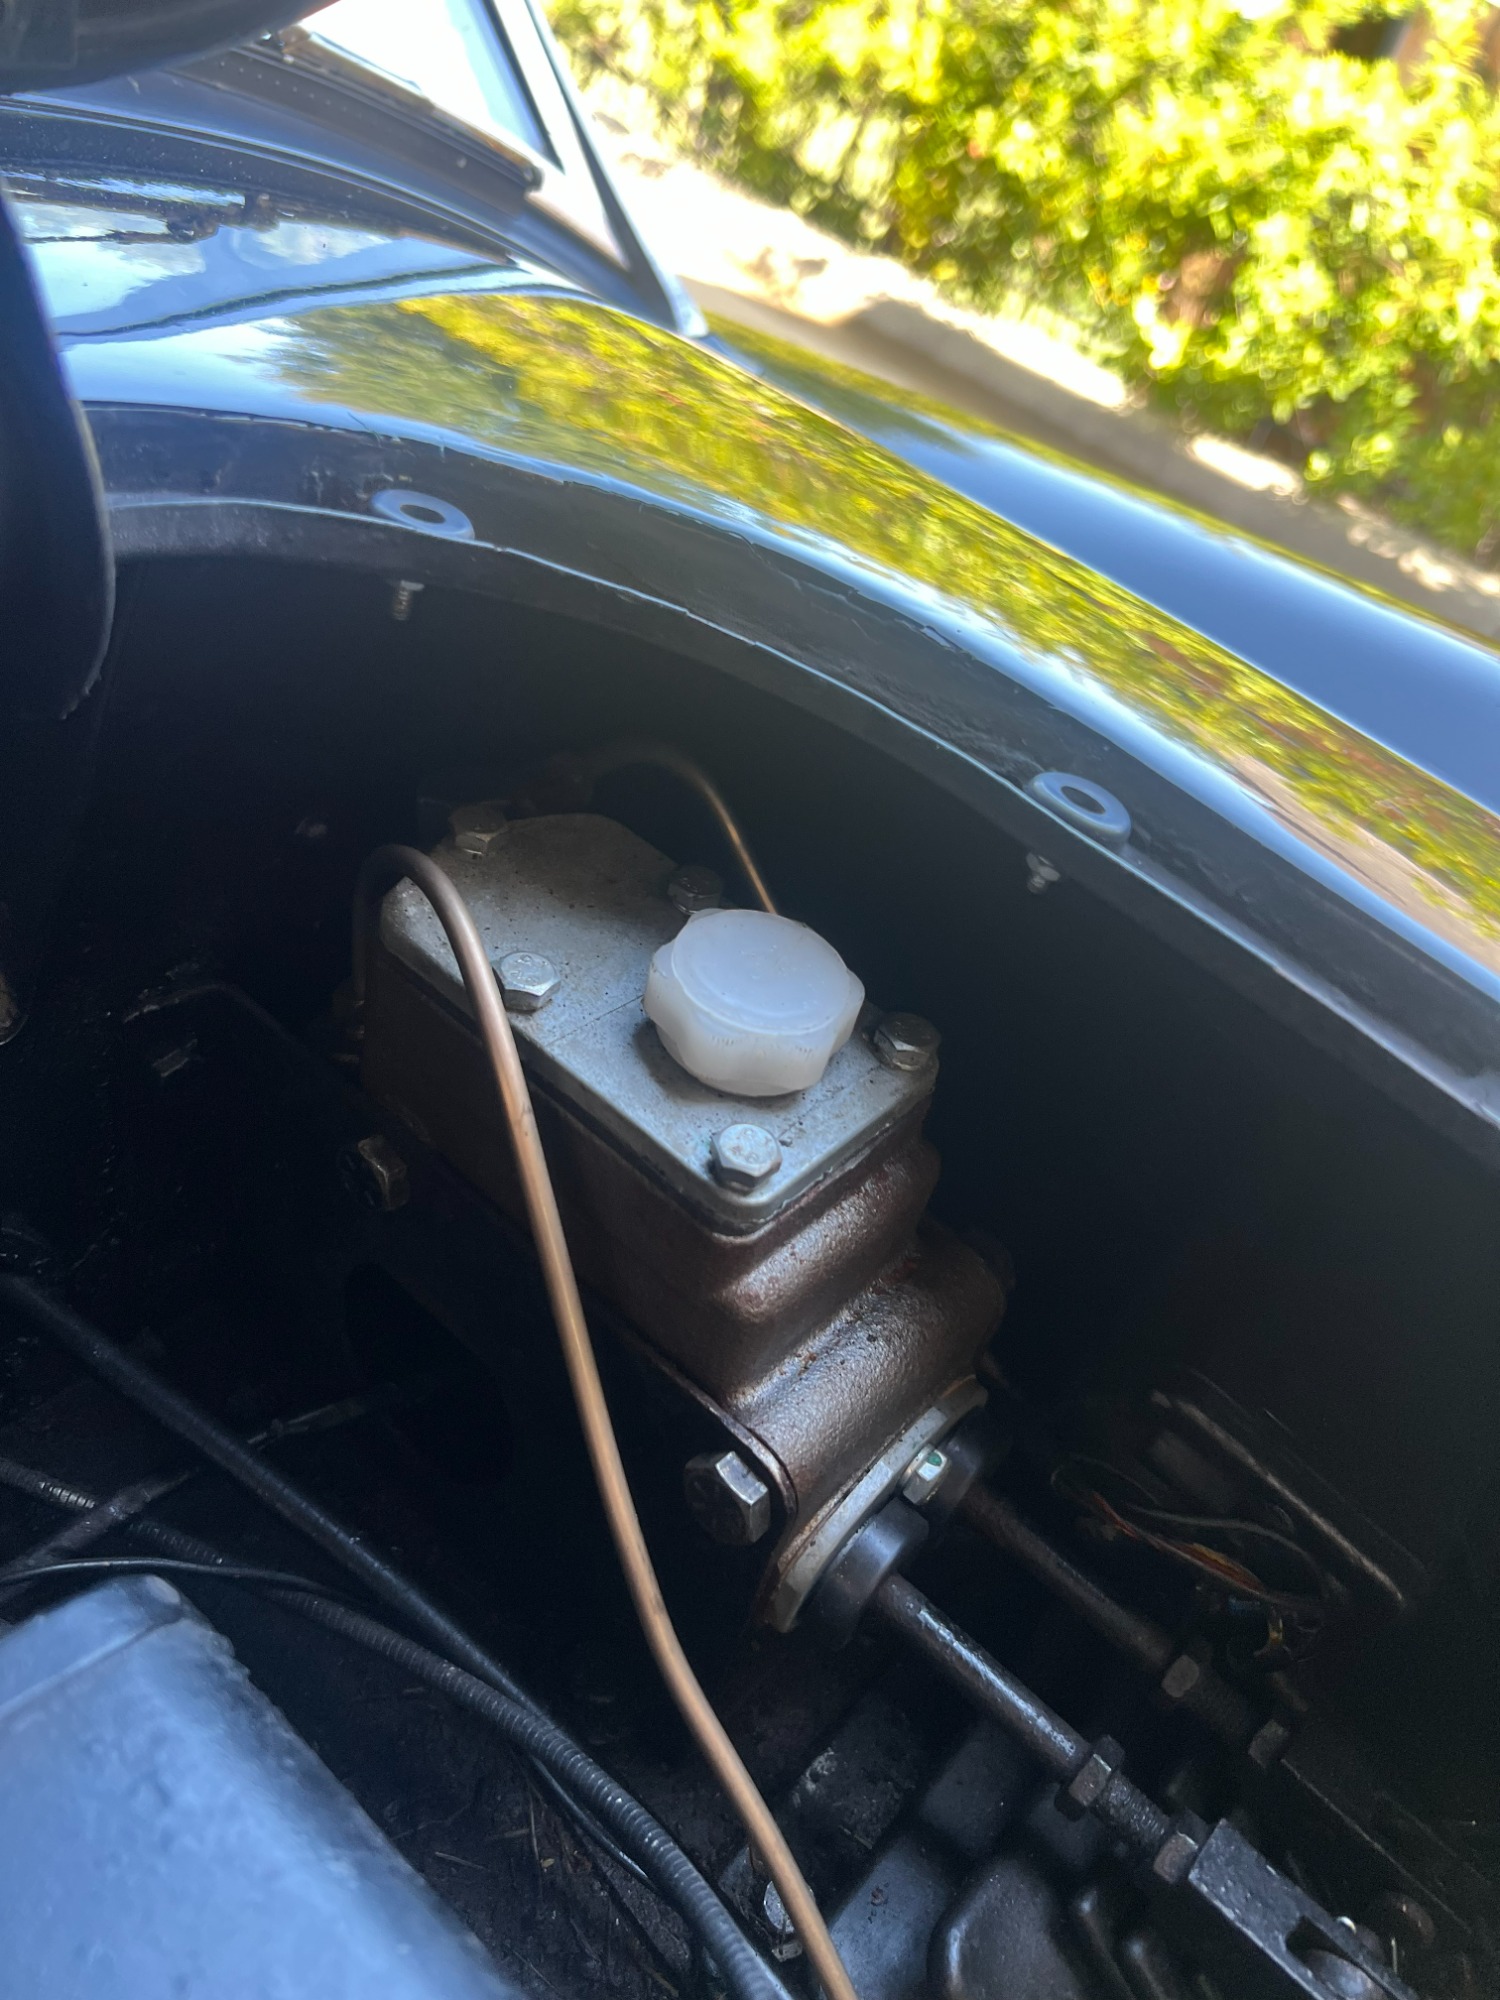
A closer inspection revealed another brake-fluid leak, this time coming from the master cylinder. So, I ordered a new one and decided to tackle the job myself.
Empowered by YouTube videos and my willingness to figure things out, I went after it.
Of course, nothing on a nearly 70-year-old British sports car comes apart easily.
The brake-line fitting was practically welded to the master cylinder. In the process of removing it, I damaged the brake line. Once I got a closer look, I realized the line was extremely thin, most likely the result of decades of age and deterioration.
Rather than patching one section or taking chances with an old brake line, I decided to replace all of the brake lines.
At this point, the MGA finally had a reliable braking system again.
But... I should have known better.
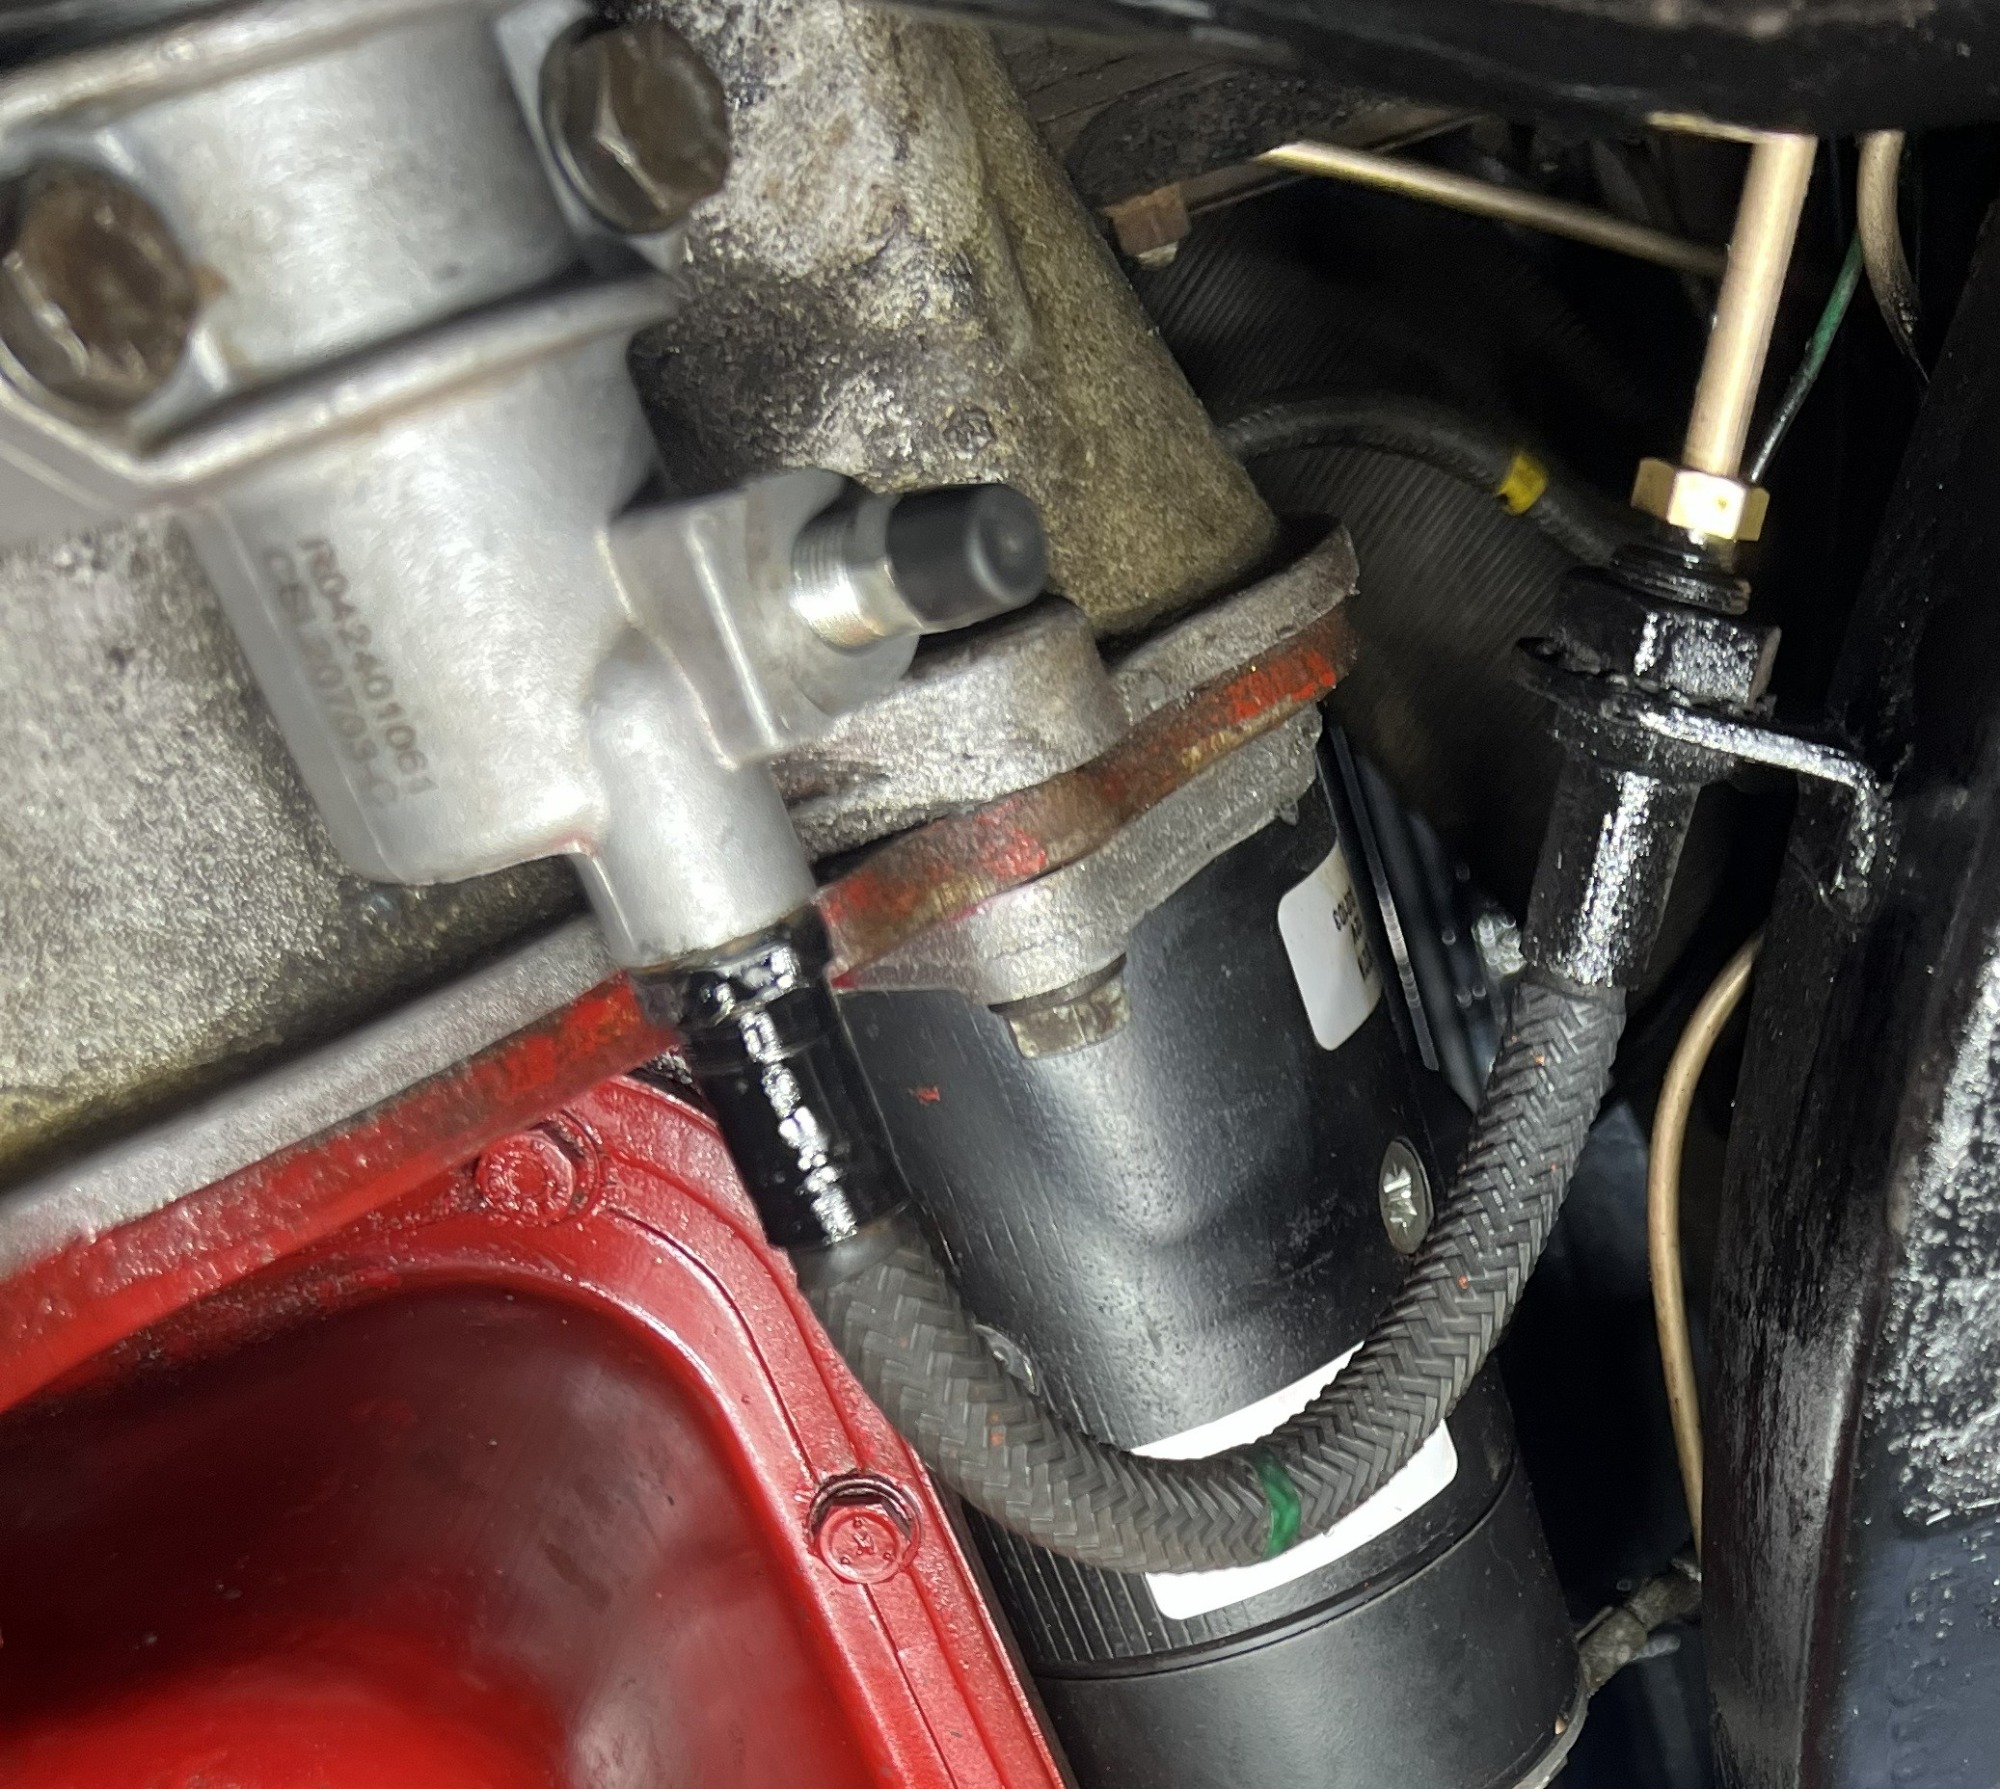
The new master cylinder also supplies hydraulic pressure to the clutch slave cylinder. Not long after replacing the master cylinder, the clutch slave cylinder decided it was time to join the project and started leaking.
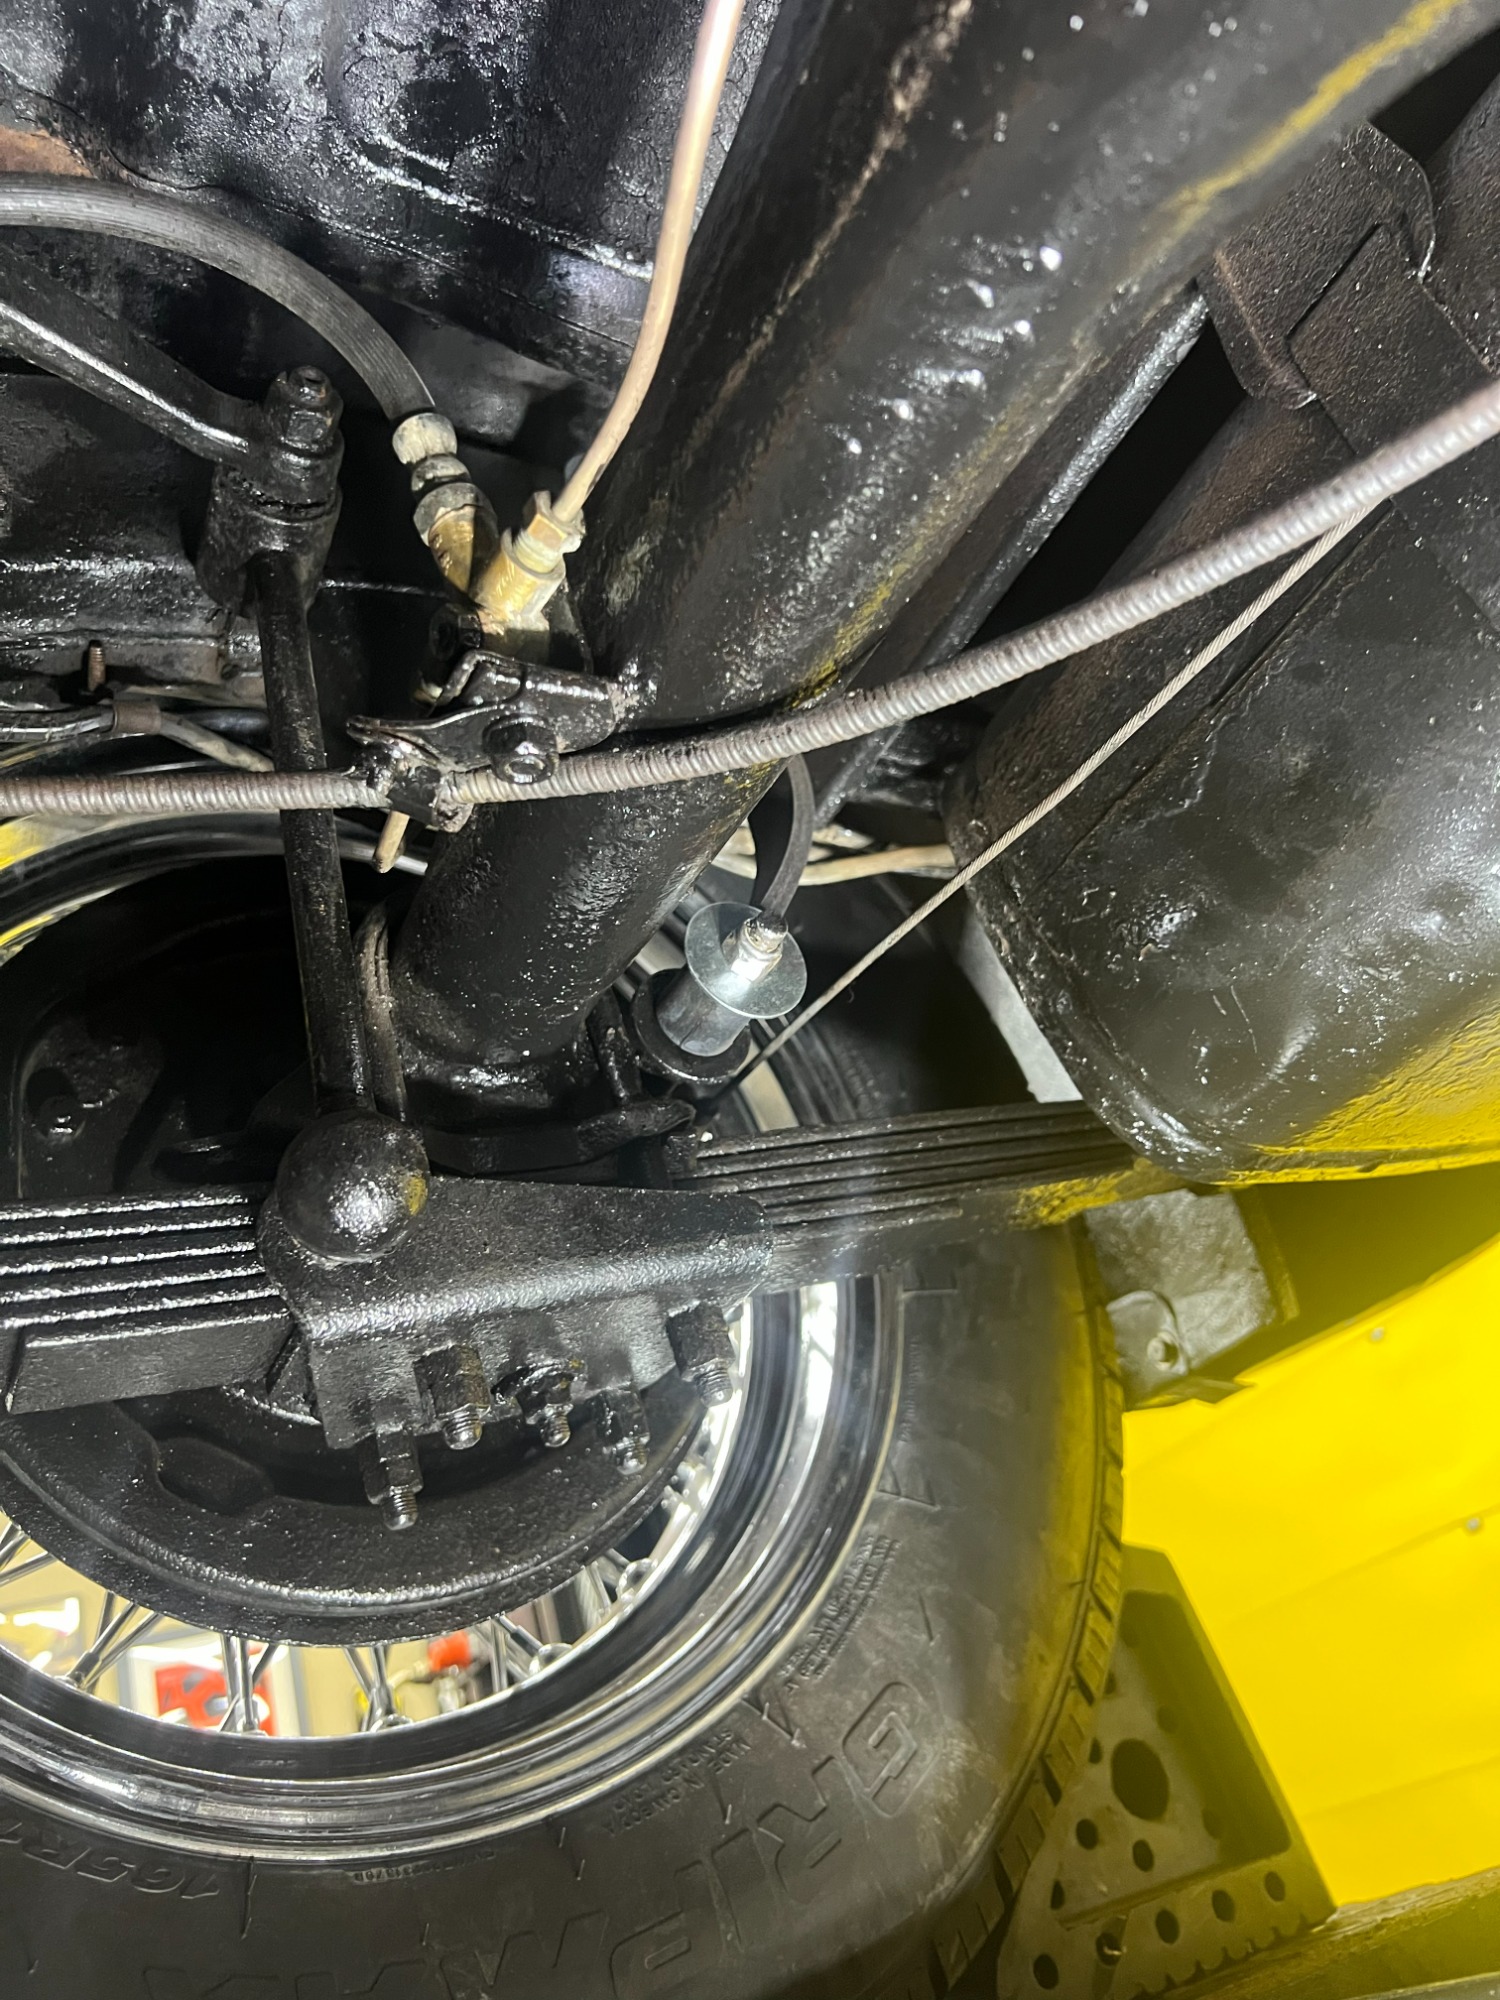
And, because this is an MGA, the rear brake cylinders decided they wanted attention too.
So, back to ordering parts.
New clutch slave cylinder.
New rear brake cylinders.
New brake lines.
New master cylinder.
New front brake cylinders.
New drums and hardware.
After several rounds of repairs, the MGA finally had what was essentially a completely renewed hydraulic braking and clutch system.
What started as "the car doesn't brake very well" turned into one of the first major restoration projects on the car.
And that's one of the things I love about this MGA. It's simple, mechanical, and relatively easy to work on. When something goes wrong, you can actually see it, understand it, and fix it yourself.
It may be almost 70 years old, but with the right parts, some patience, a few YouTube videos, and a willingness to get your hands dirty, this little British roadster can still be brought back to life.
Interior Restoration
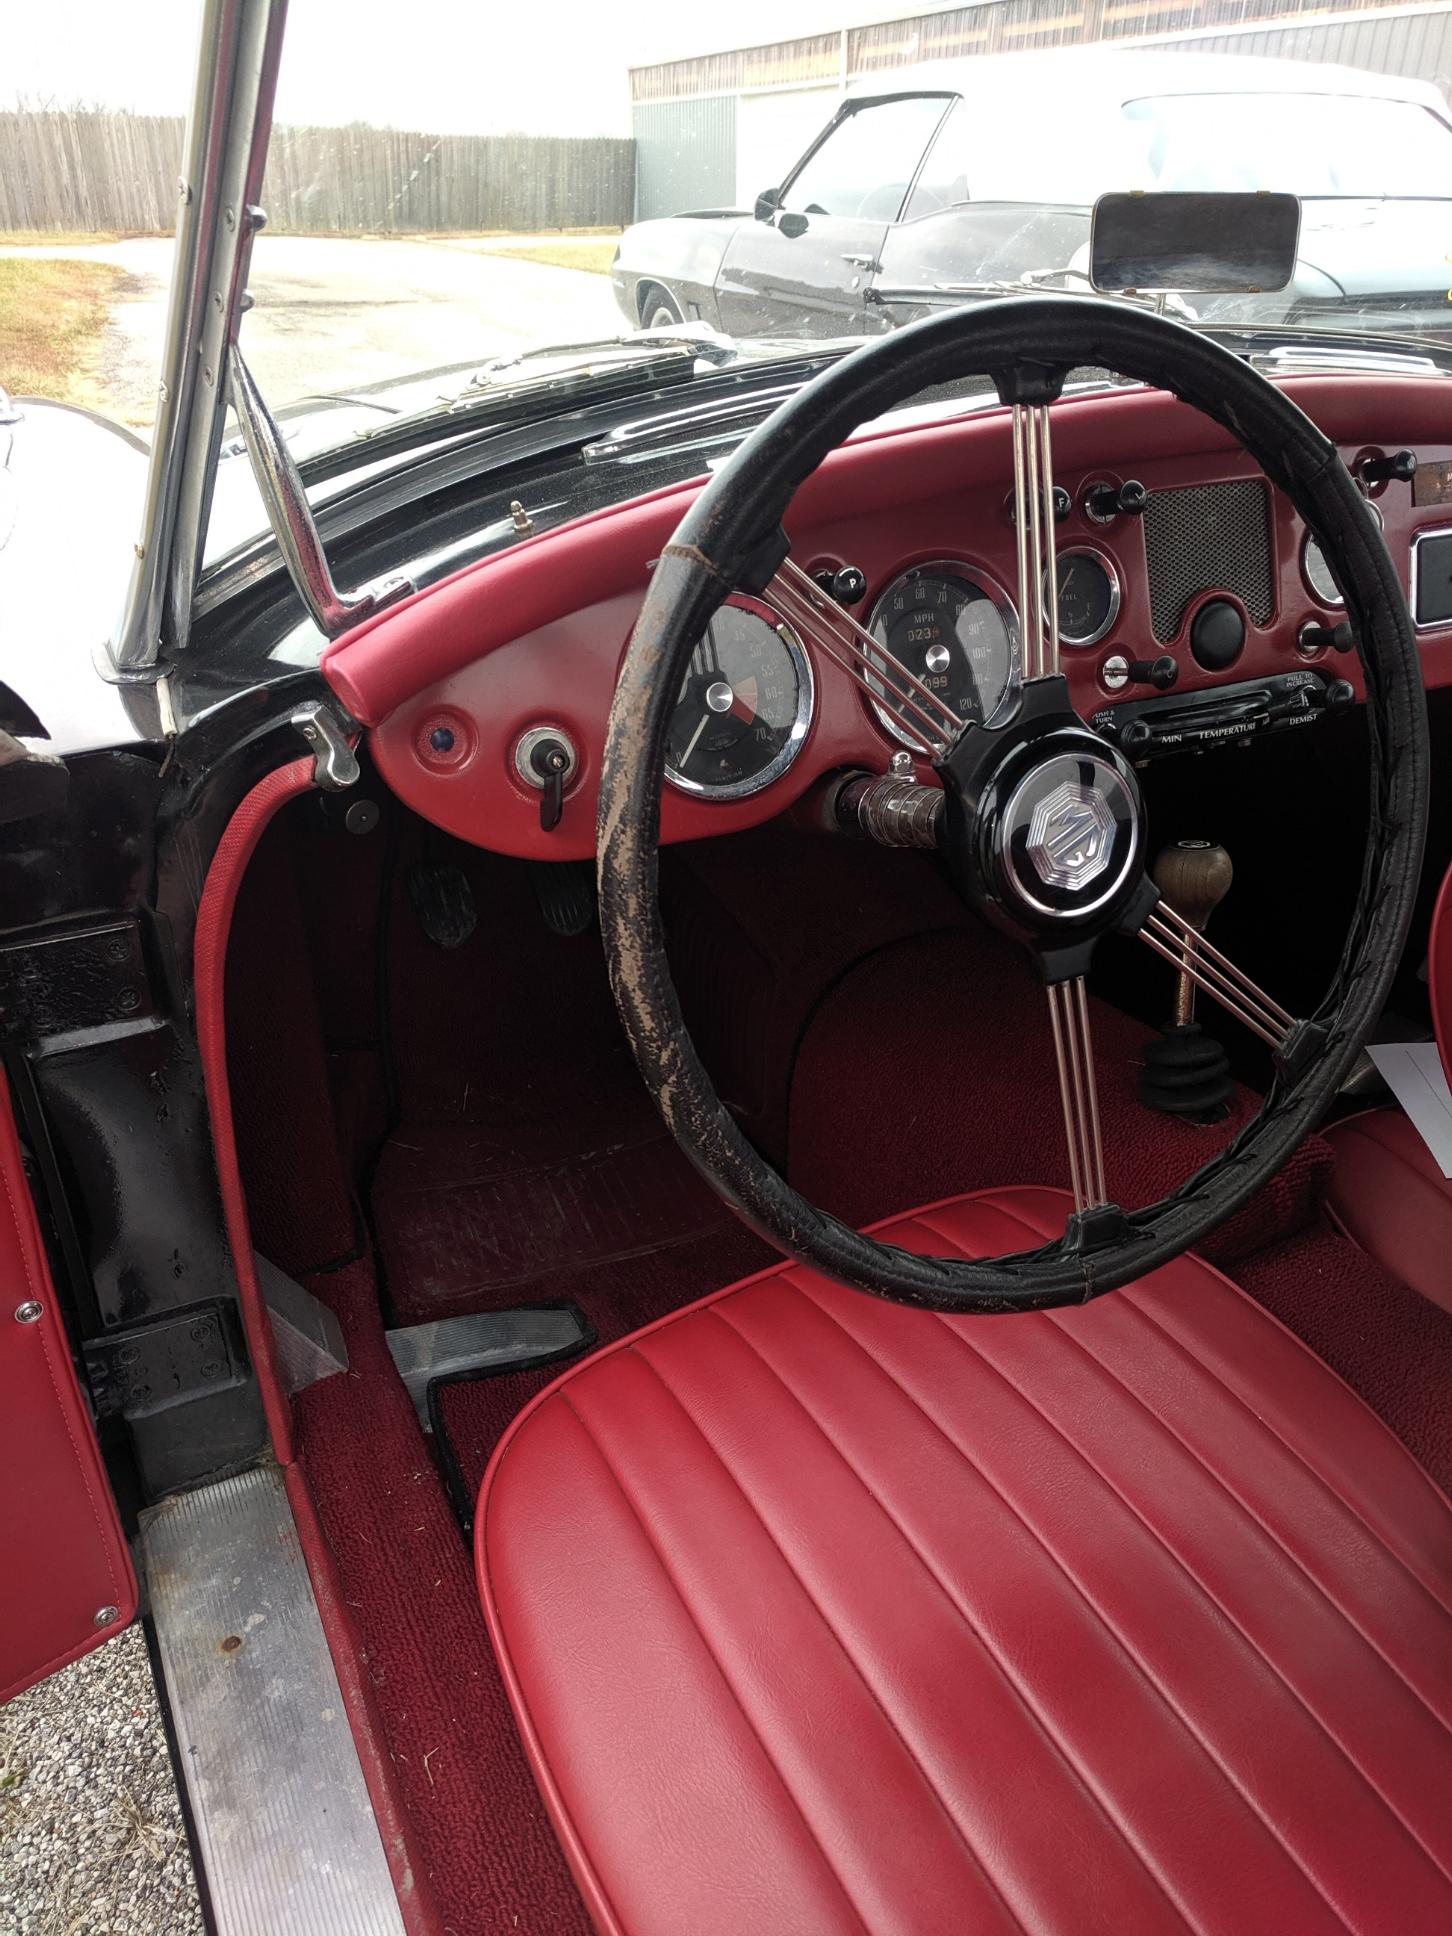
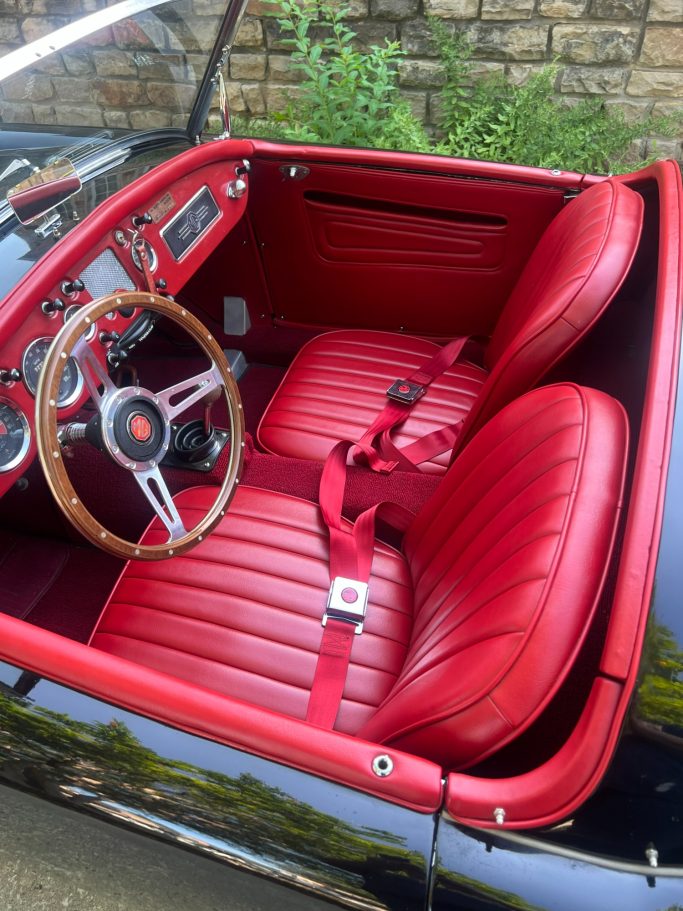
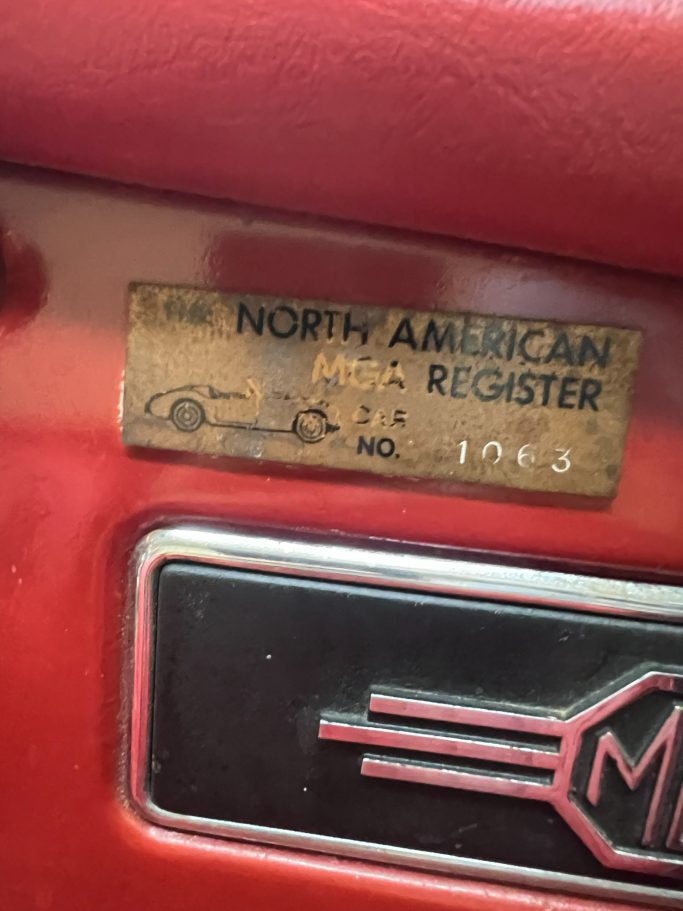
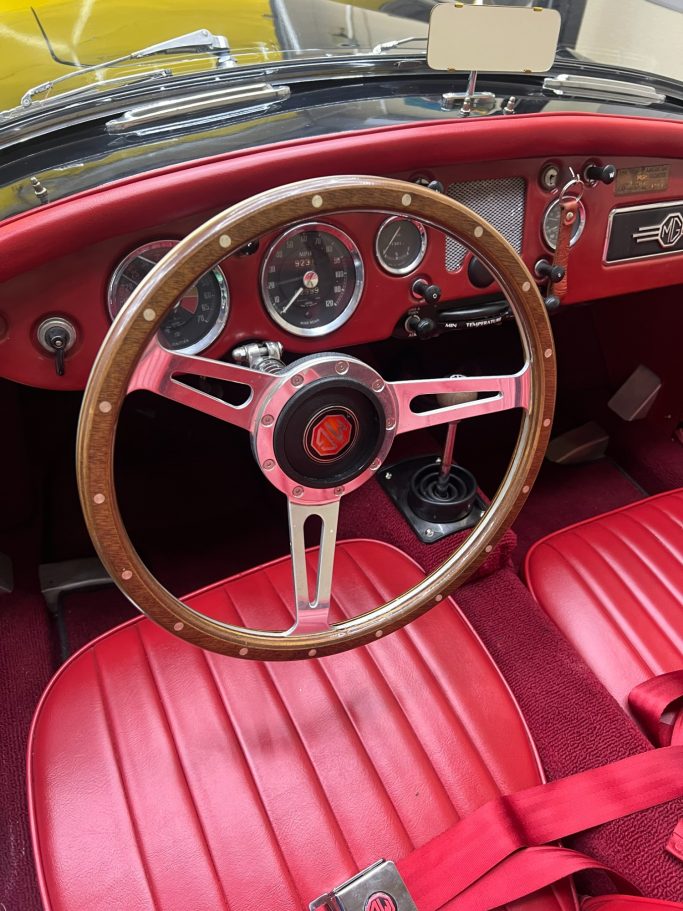
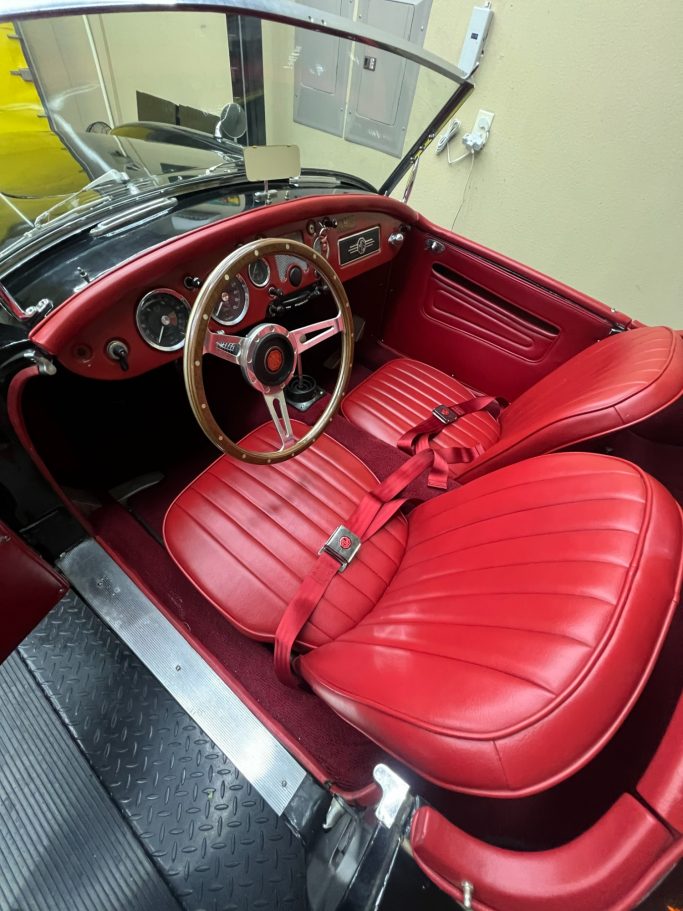
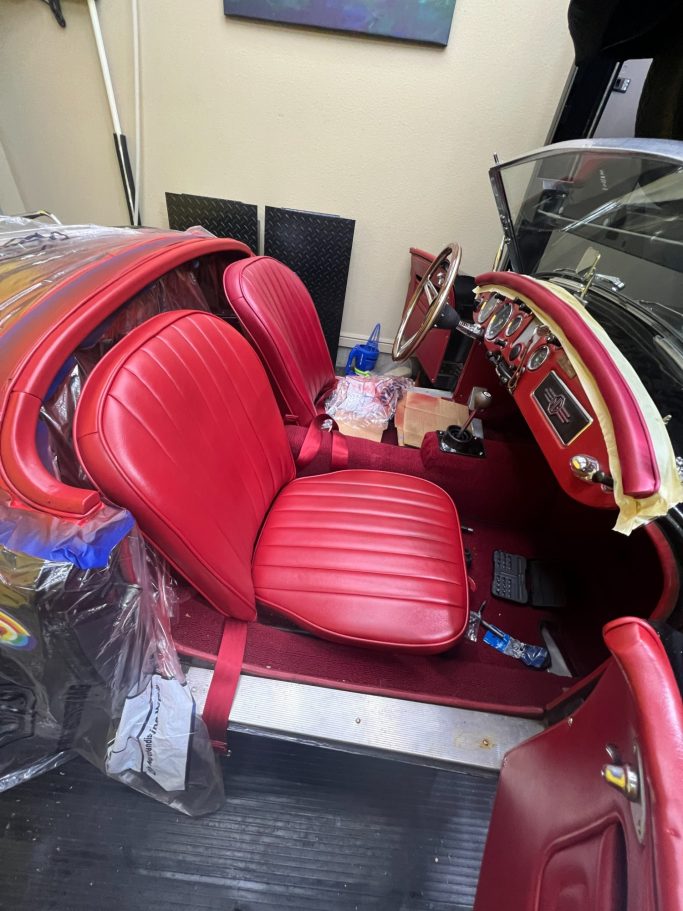
The interior of the MGA is finished in red vinyl and had been installed by the previous owner. When I purchased the car, the interior was still in good condition, but the red had faded significantly and was starting to look more pink than red.
At some point, I decided it was time to bring the interior back to life. I experimented with several different products and techniques on small, hidden areas, trying both vinyl dye and paint. After several tests, I found that a quality vinyl spray coating produced the best results.
The next challenge was finding the right color. I wanted to stay as close as possible to the original look, and eventually settled on Portola Red, color code 15363 from SEM.
I used a three-step process:
- Vinyl cleaner to thoroughly prepare the surface.
- Adhesion promoter to ensure the coating would properly bond to the vinyl.
- Flexible coating in Portola Red to give the interior its new finish.
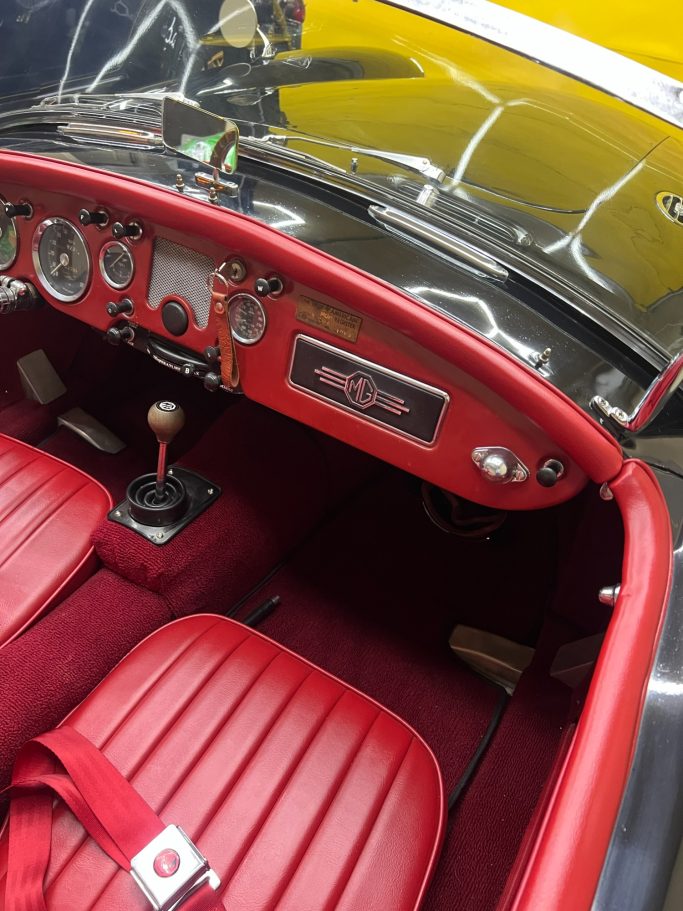
The result was amazing. The faded, pinkish interior was transformed back into a rich, deep red, and it completely changed the look of the car.
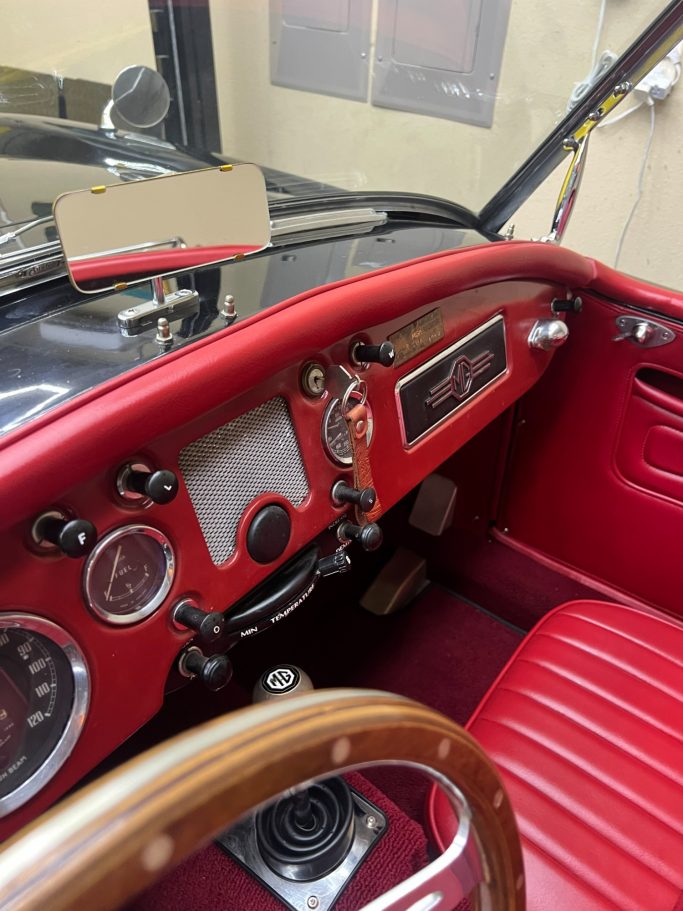
I also made a few personal upgrades along the way. I replaced the original steering wheel with a non-original wheel that I thought looked classy and suited the car perfectly.
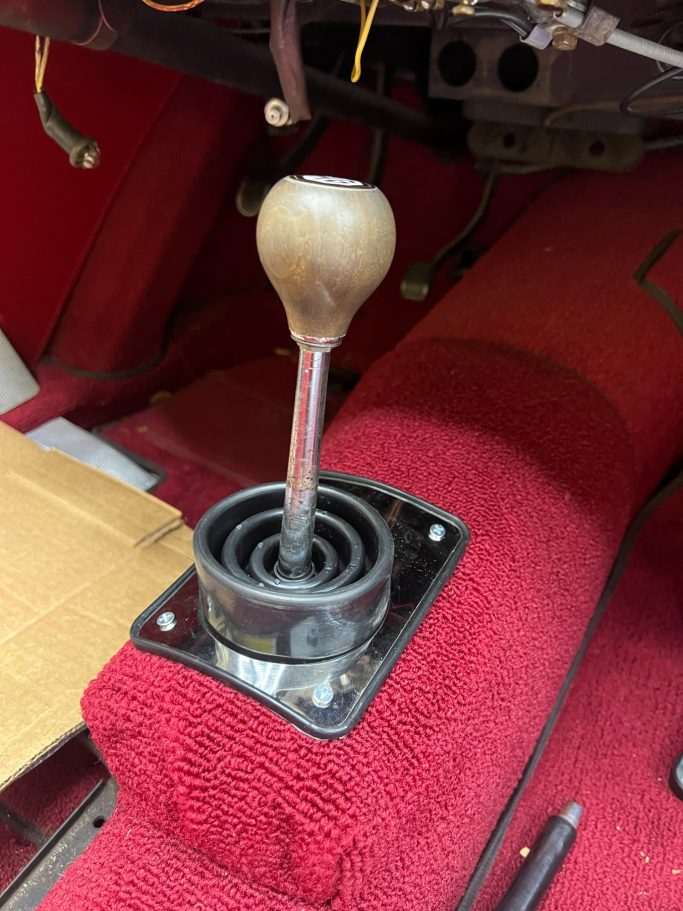
The original rubber boot at the base of the shifter was also showing its age, so I replaced it with a new one featuring a chrome base. A small detail, but one that made a noticeable difference.
At one point, my wife asked the very reasonable question: "Doesn't this car need seat belts?"
So, new red seat belts were installed. Safety first!
The original rearview mirror was still usable, but it wasn't perfect, so I replaced it with a new one.
And then there is my favorite modern touch.
Under the passenger side of the dashboard, I installed a small speaker connected to an Amazon Echo Auto. It gives this nearly 70-year-old British roadster a little bit of 21st-century technology. I can play music, use voice commands, and—most importantly—open the garage door without having to get out of the car.
The goal was never to make the MGA modern. I wanted to preserve its classic character while making it more enjoyable, comfortable, and practical to use.
After all, this is a car that gets driven and enjoyed—not just displayed.
Exterior
The exterior of the MGA has a bit of history behind it. I actually grew to really like the black fire-truck paint that came with the car. I’m not exactly sure what type of paint it is, but I believe it’s some kind of enamel. What surprised me is how well it responds to polishing. With a good polish followed by carnauba wax, it develops a deep, intense black finish that looks fantastic on the car.
One of the first things I did was remove the convertible top and side windows. I have everything carefully stored and preserved. The car never sees rain and is primarily used for occasional joy rides—probably only five or six times a year. Since I rarely use the top, I decided to remove the entire retractable top. Besides giving the car a more open, classic appearance, it also creates some valuable extra space behind the seats.
I also removed the spare tire from the trunk. The car actually came without the spare tire, although it still had the original rim. I have that stored safely as well.
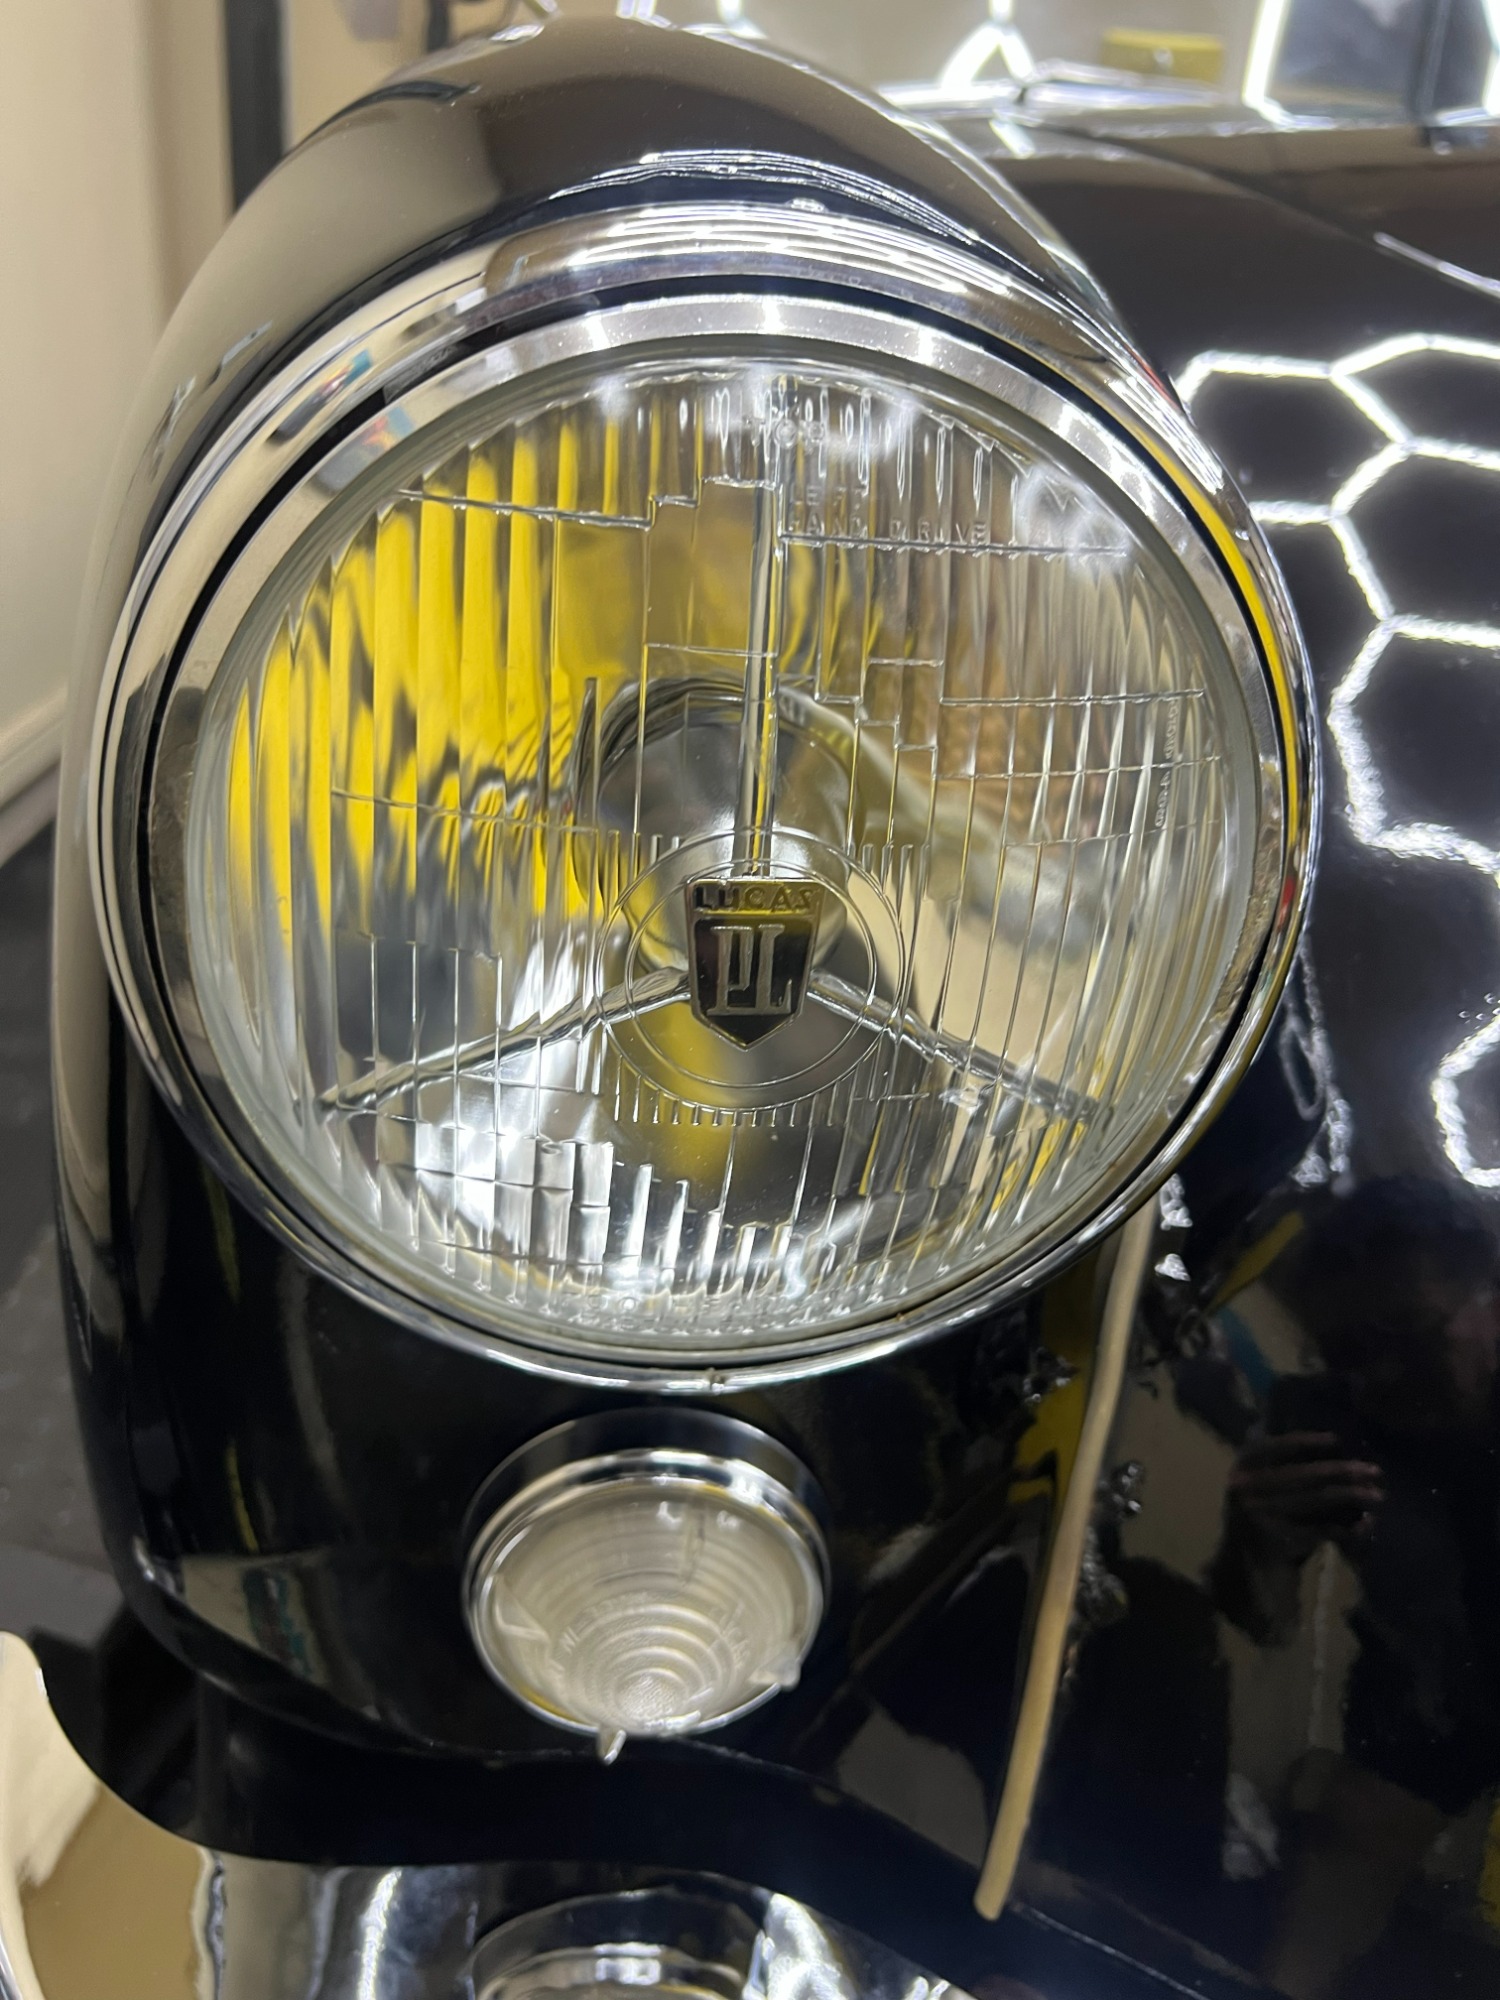
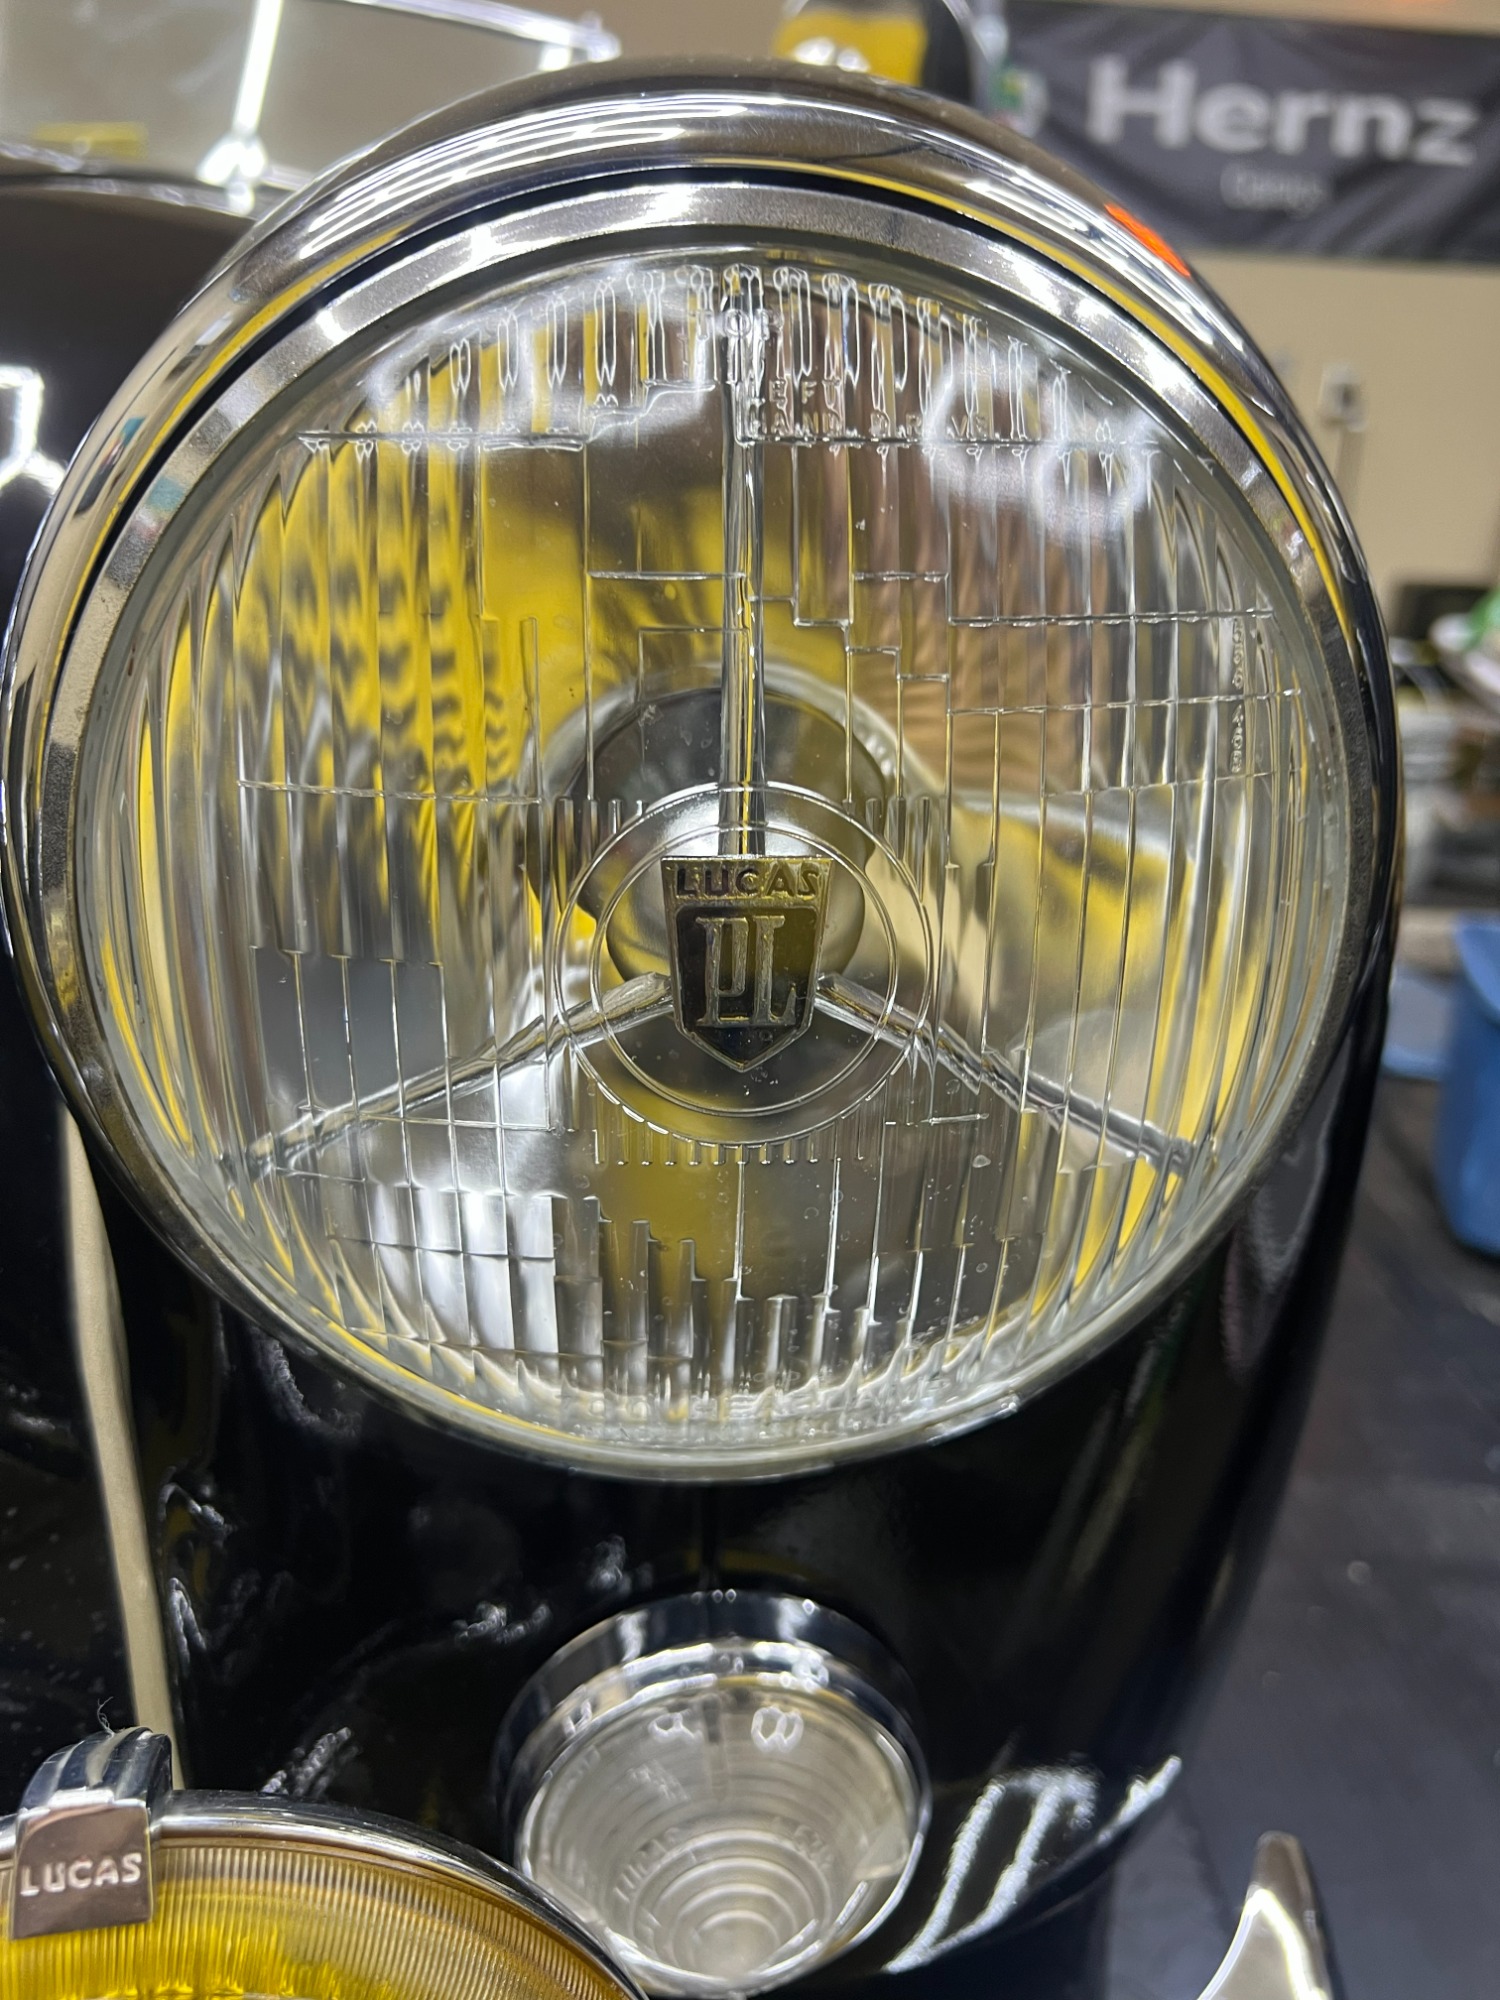
I’ve always loved the look of classic tripod headlights, so installing a set of new Lucas tripod headlights was an easy decision. They completely suit the character of the MGA. In the rear, I upgraded the original light bulbs to LEDs. They retain the vintage appearance while providing significantly brighter and more visible lighting.
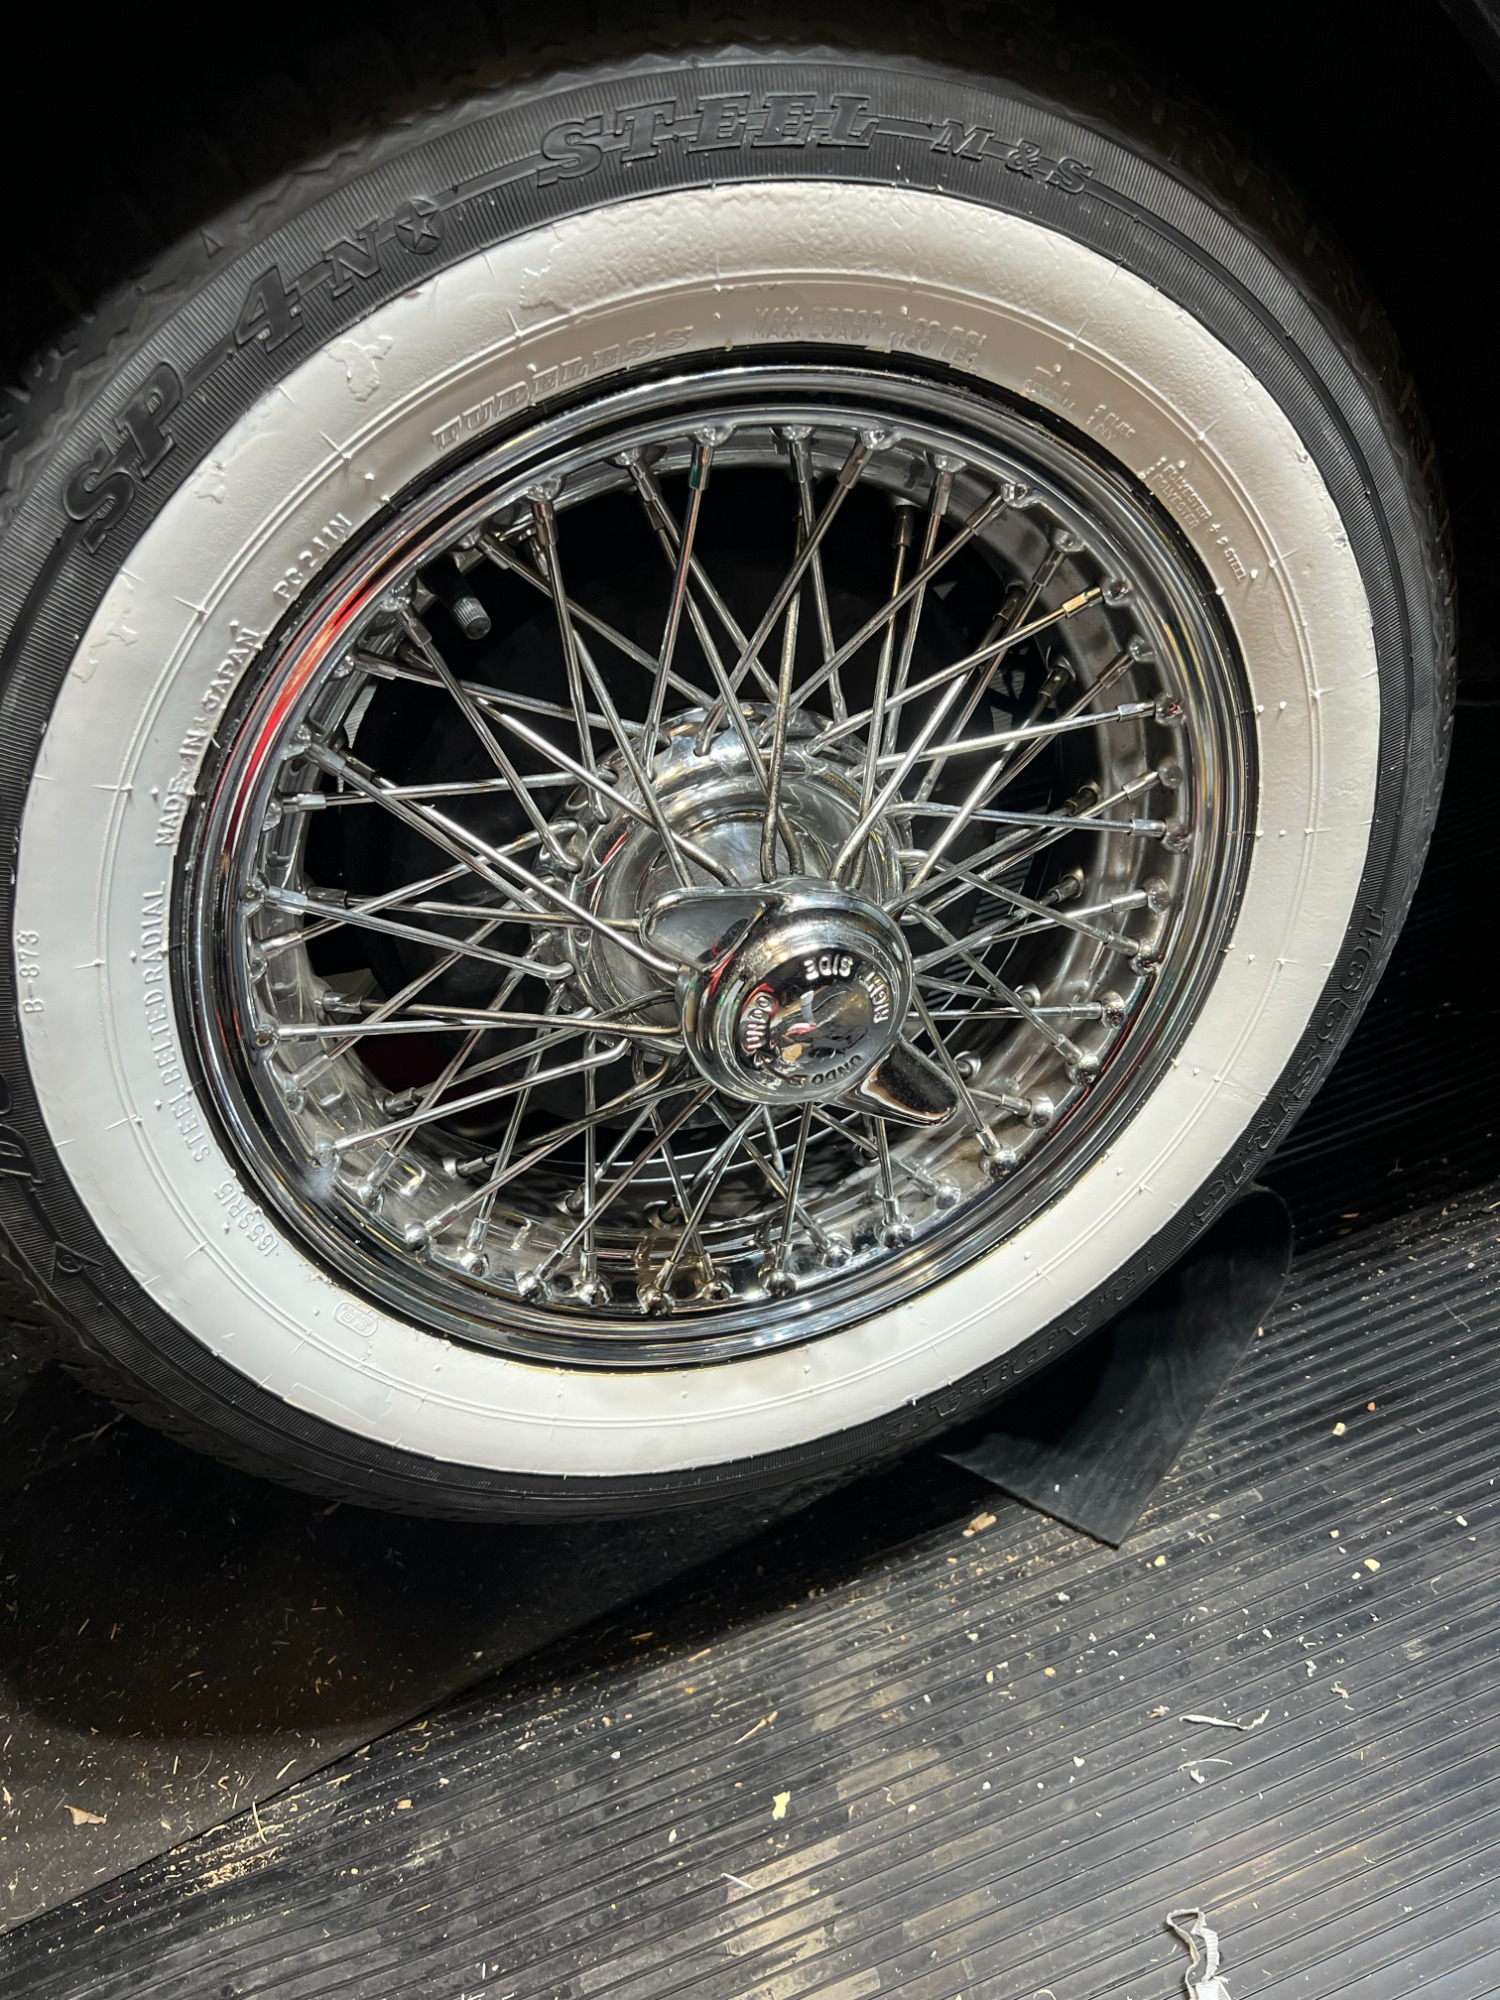
The car originally came with blackwall tires, but I really wanted the traditional whitewall look. My first idea was to either paint the existing tires or use the plastic whitewall inserts. I eventually decided to try white Plasti Dip. Initially, it looked fantastic—clean, bright, and exactly the look I wanted. Unfortunately, it only lasted about 10–12 months before the white started turning yellow. I removed it and did it again, but eventually realized that this wasn’t going to be a practical long-term solution.
So, I finally decided to do it properly and purchased a new set of whitewall tires. They look great and are much more practical. The MGA uses inner tubes, and I also have an extra tube stored with the car.
Engine
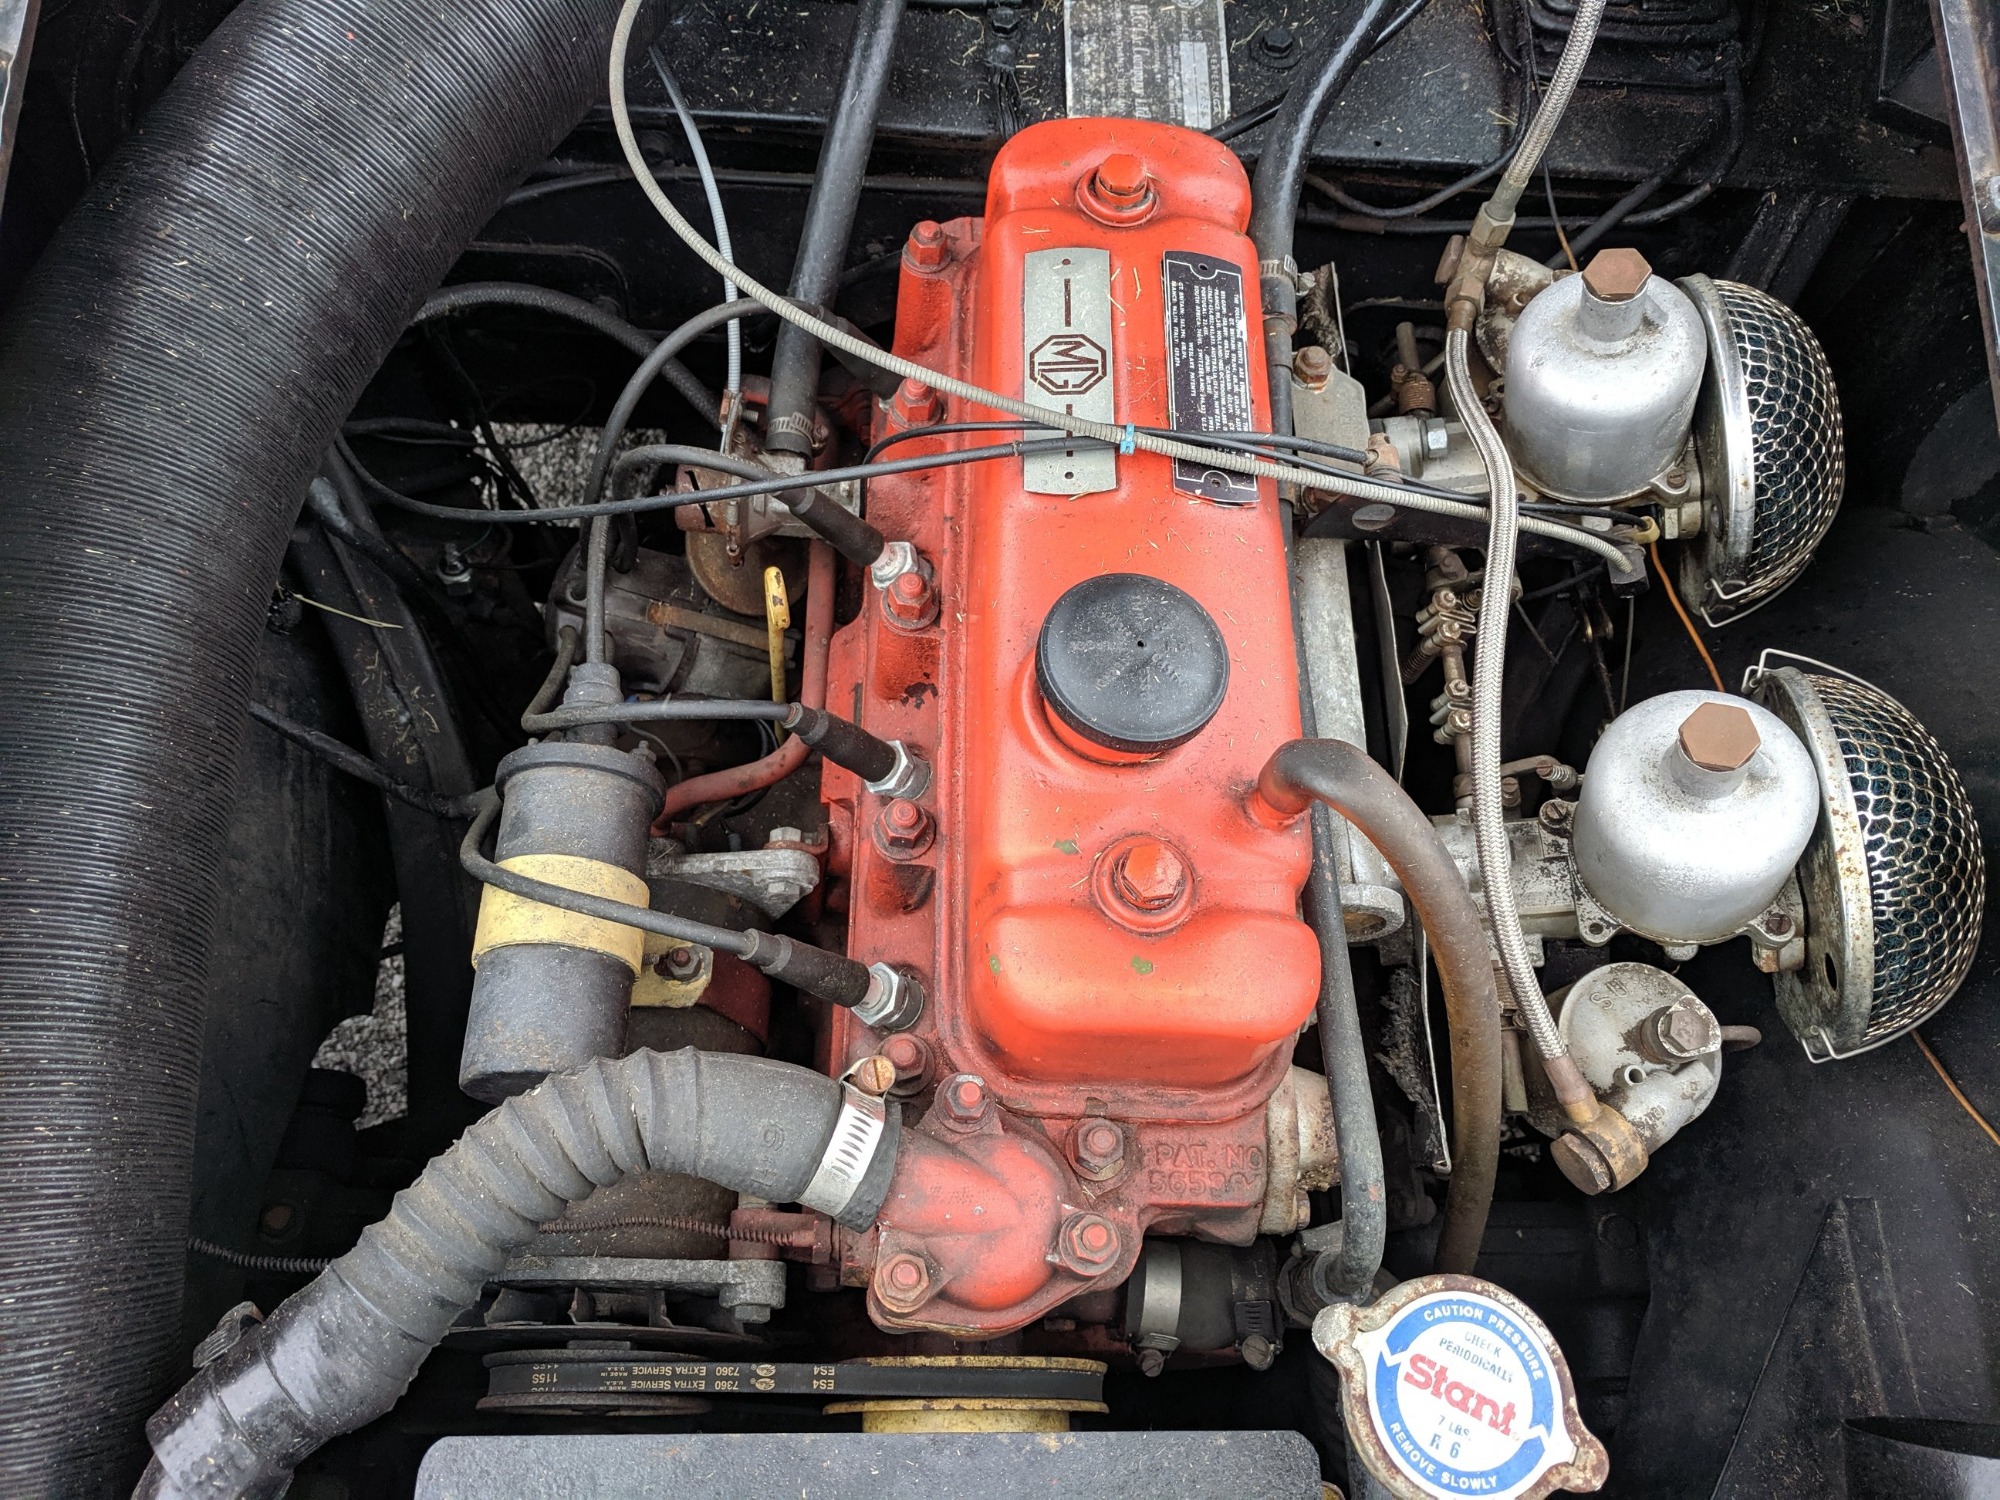
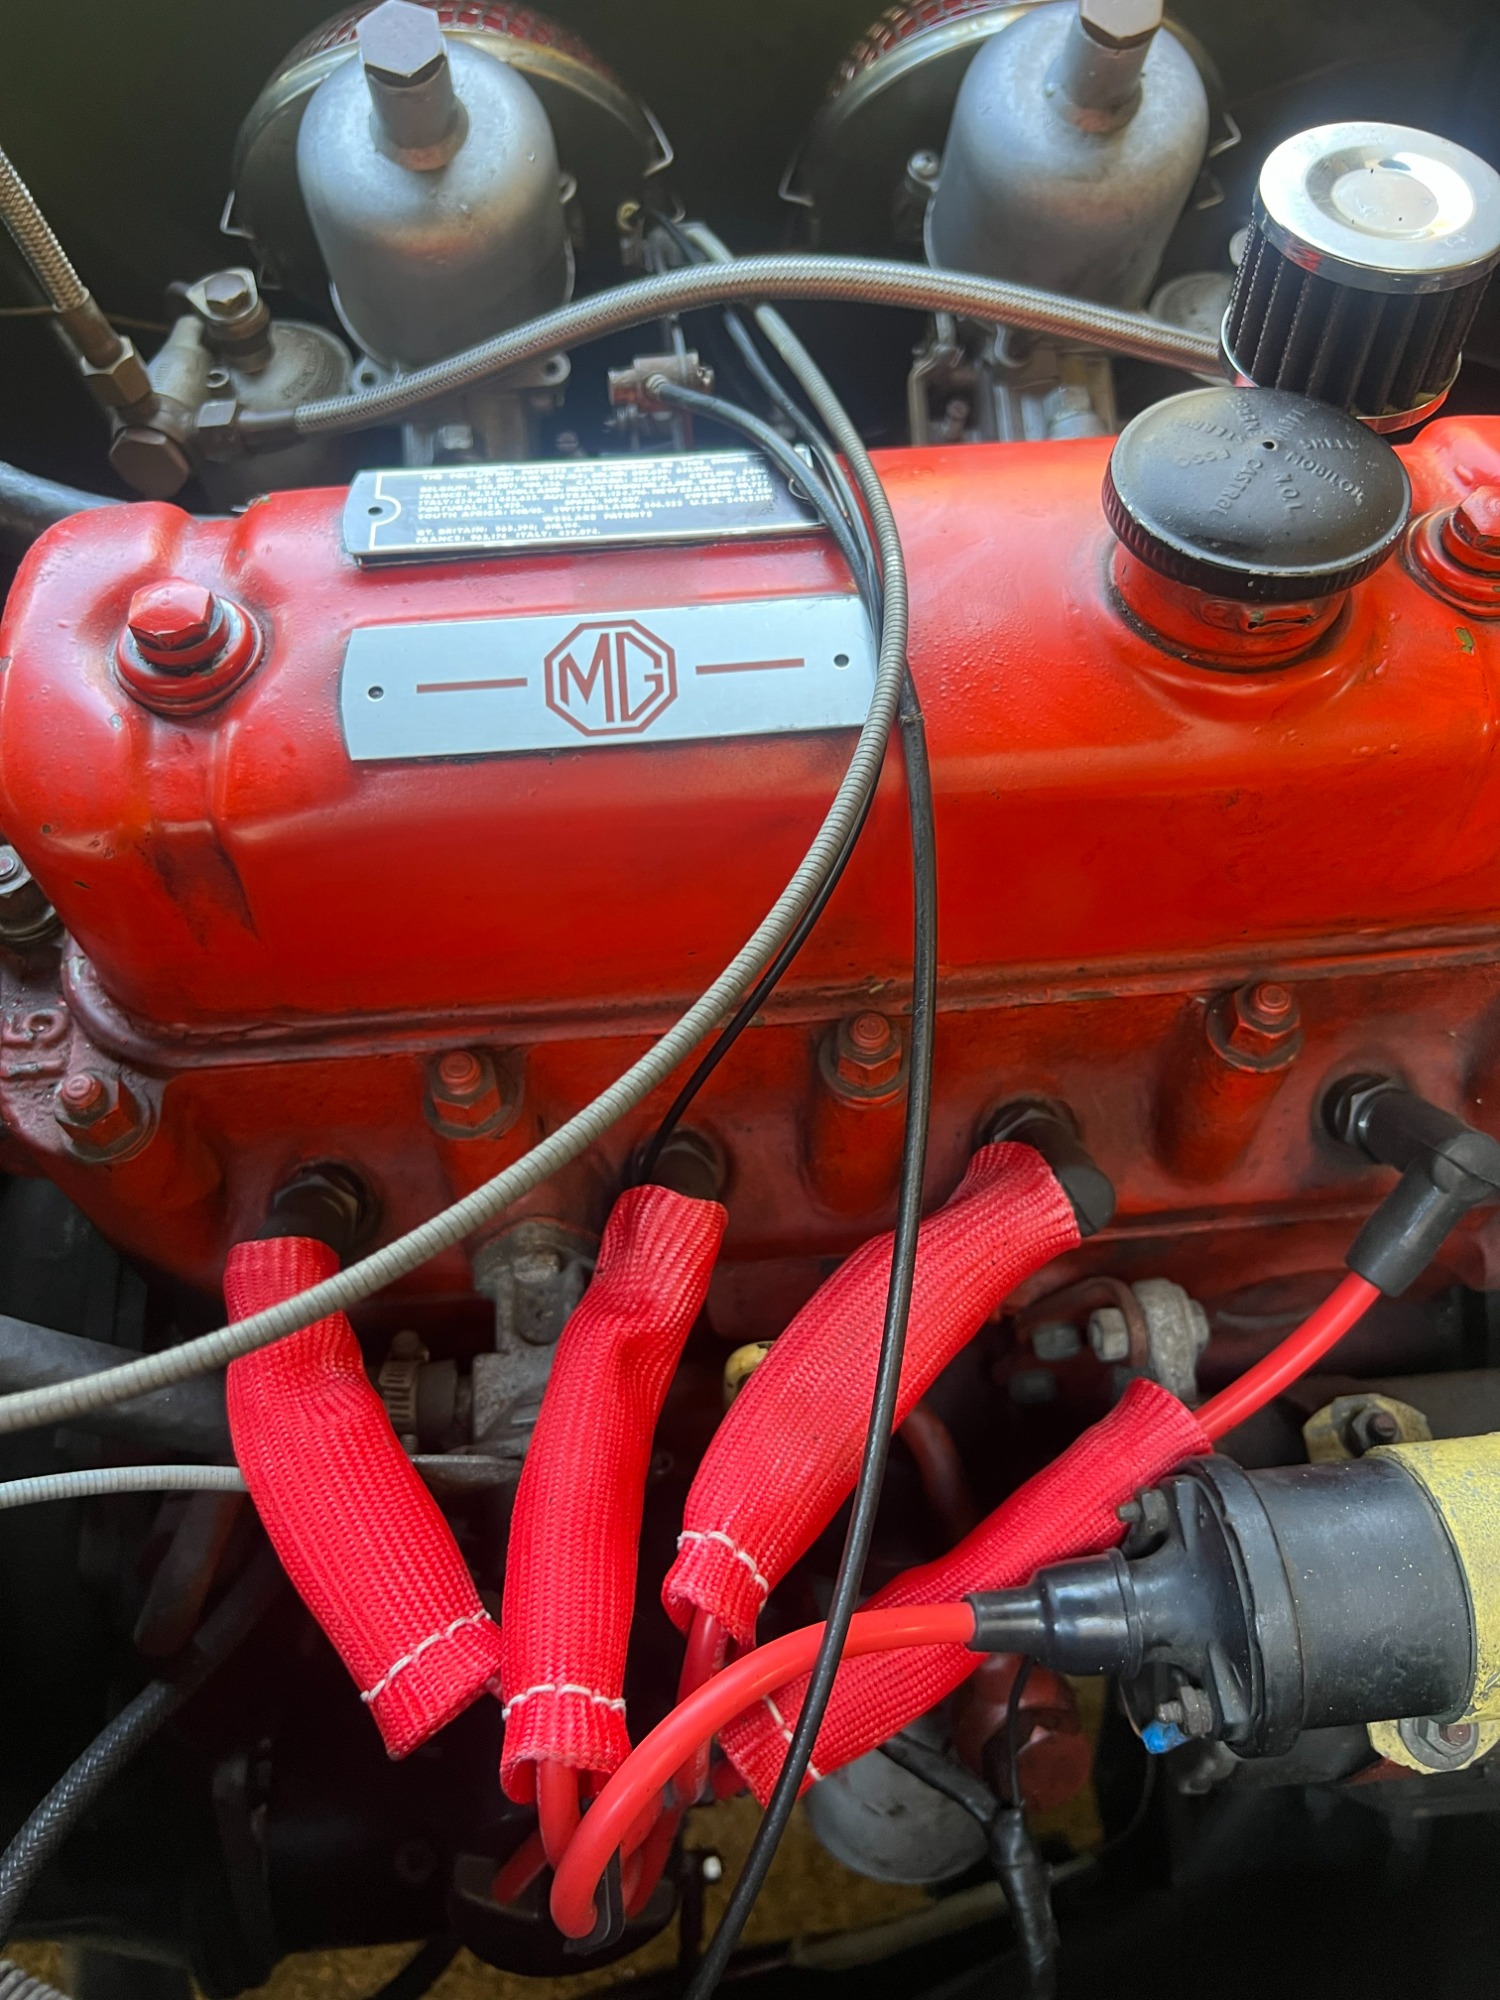
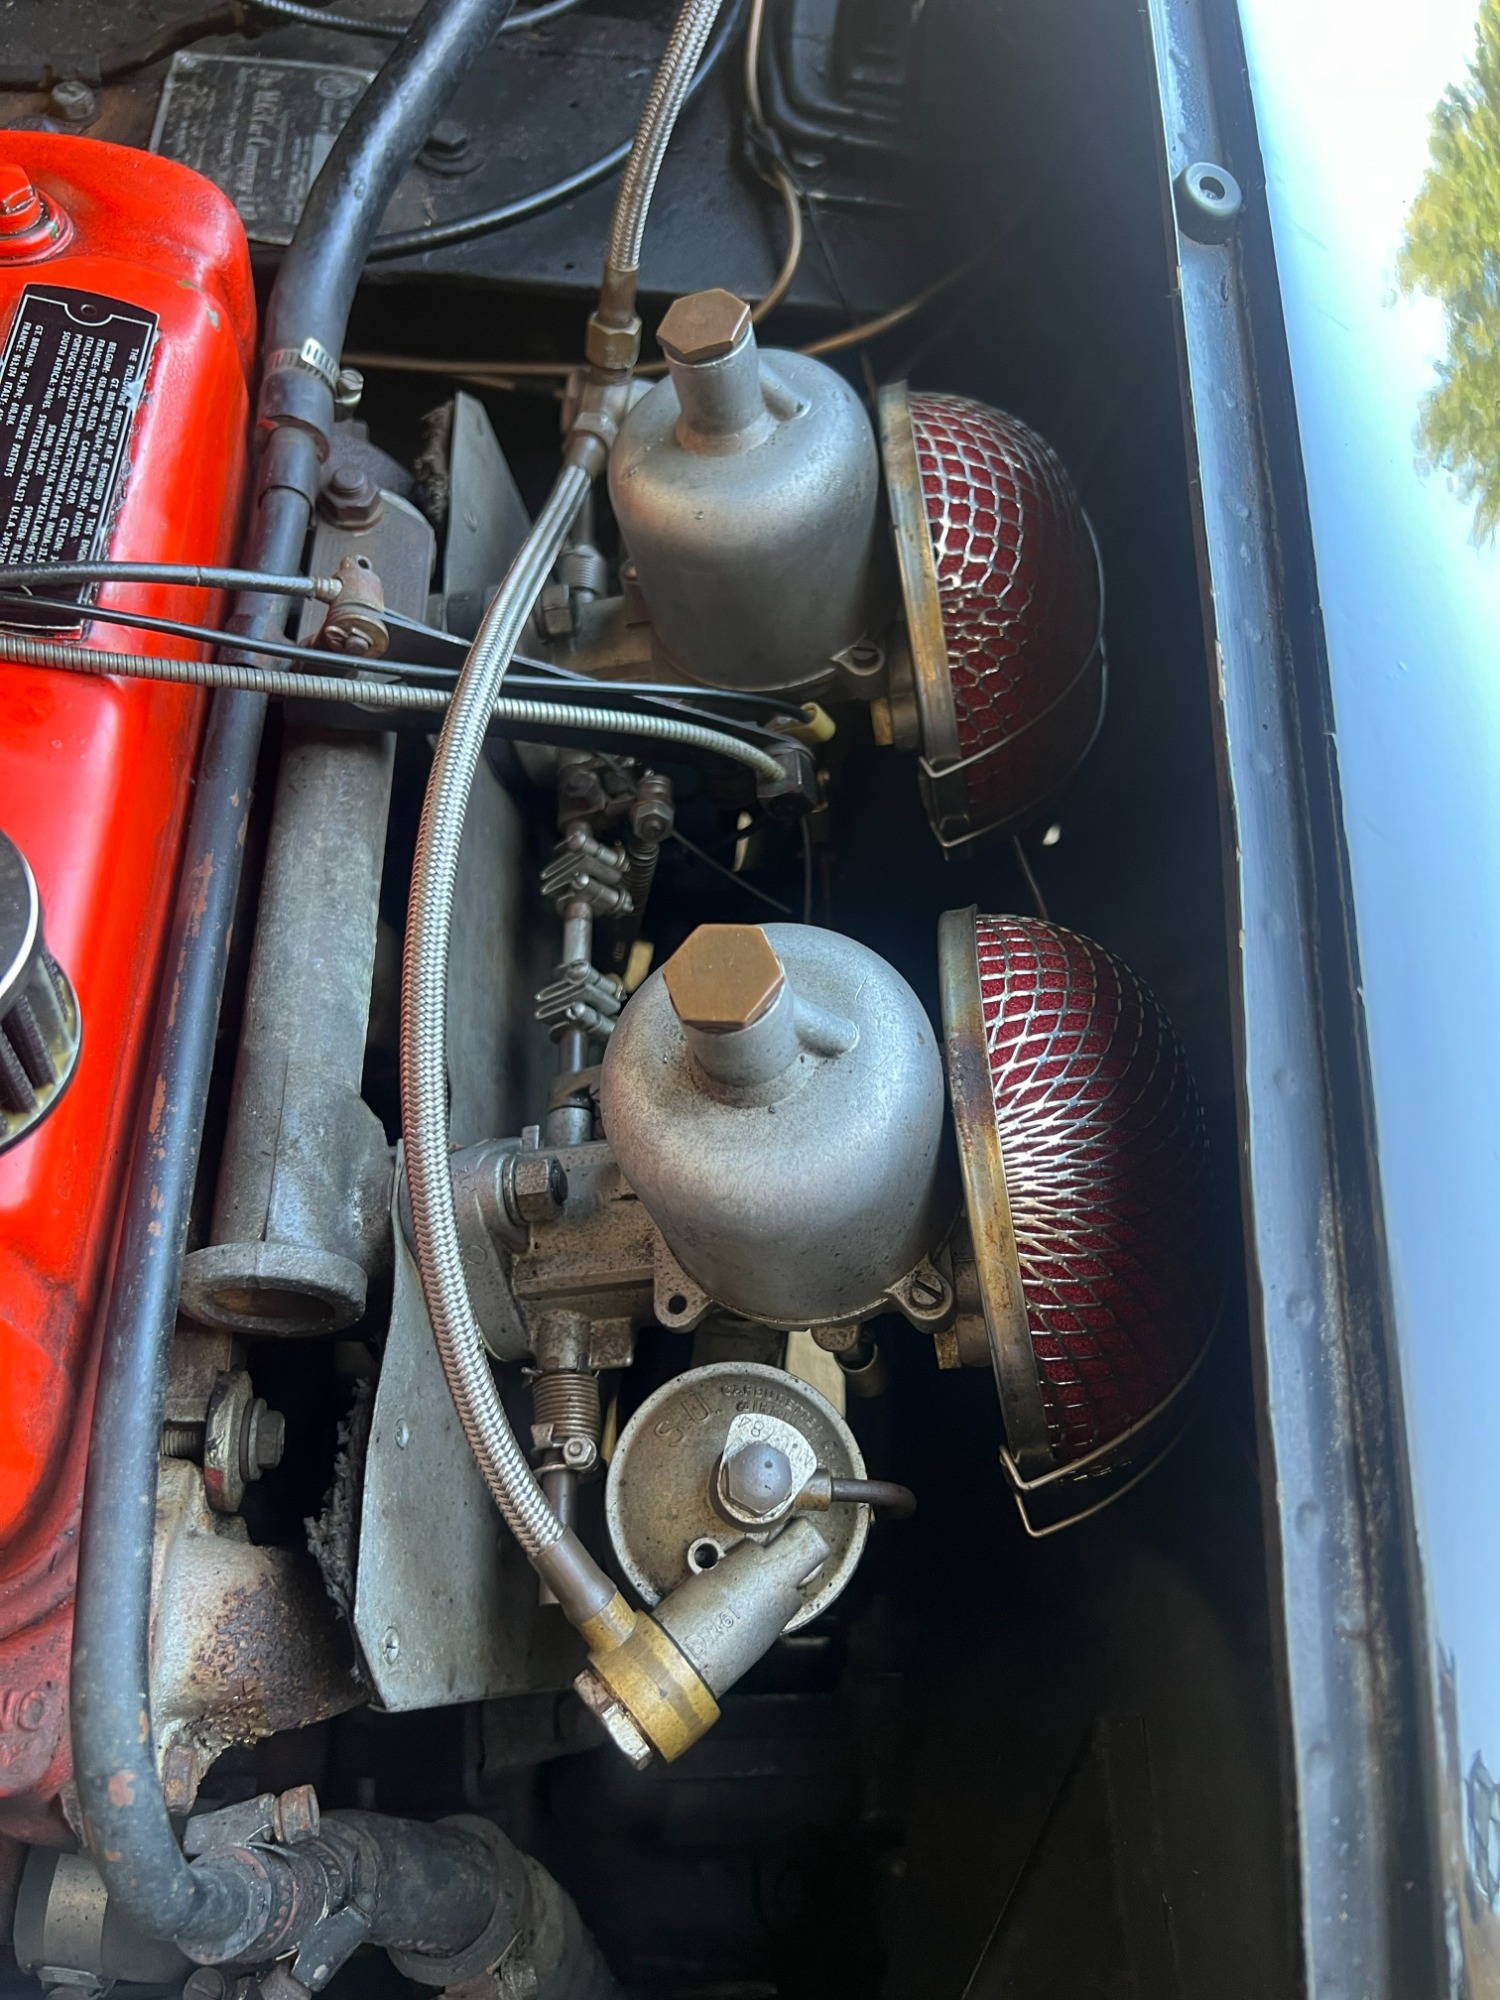
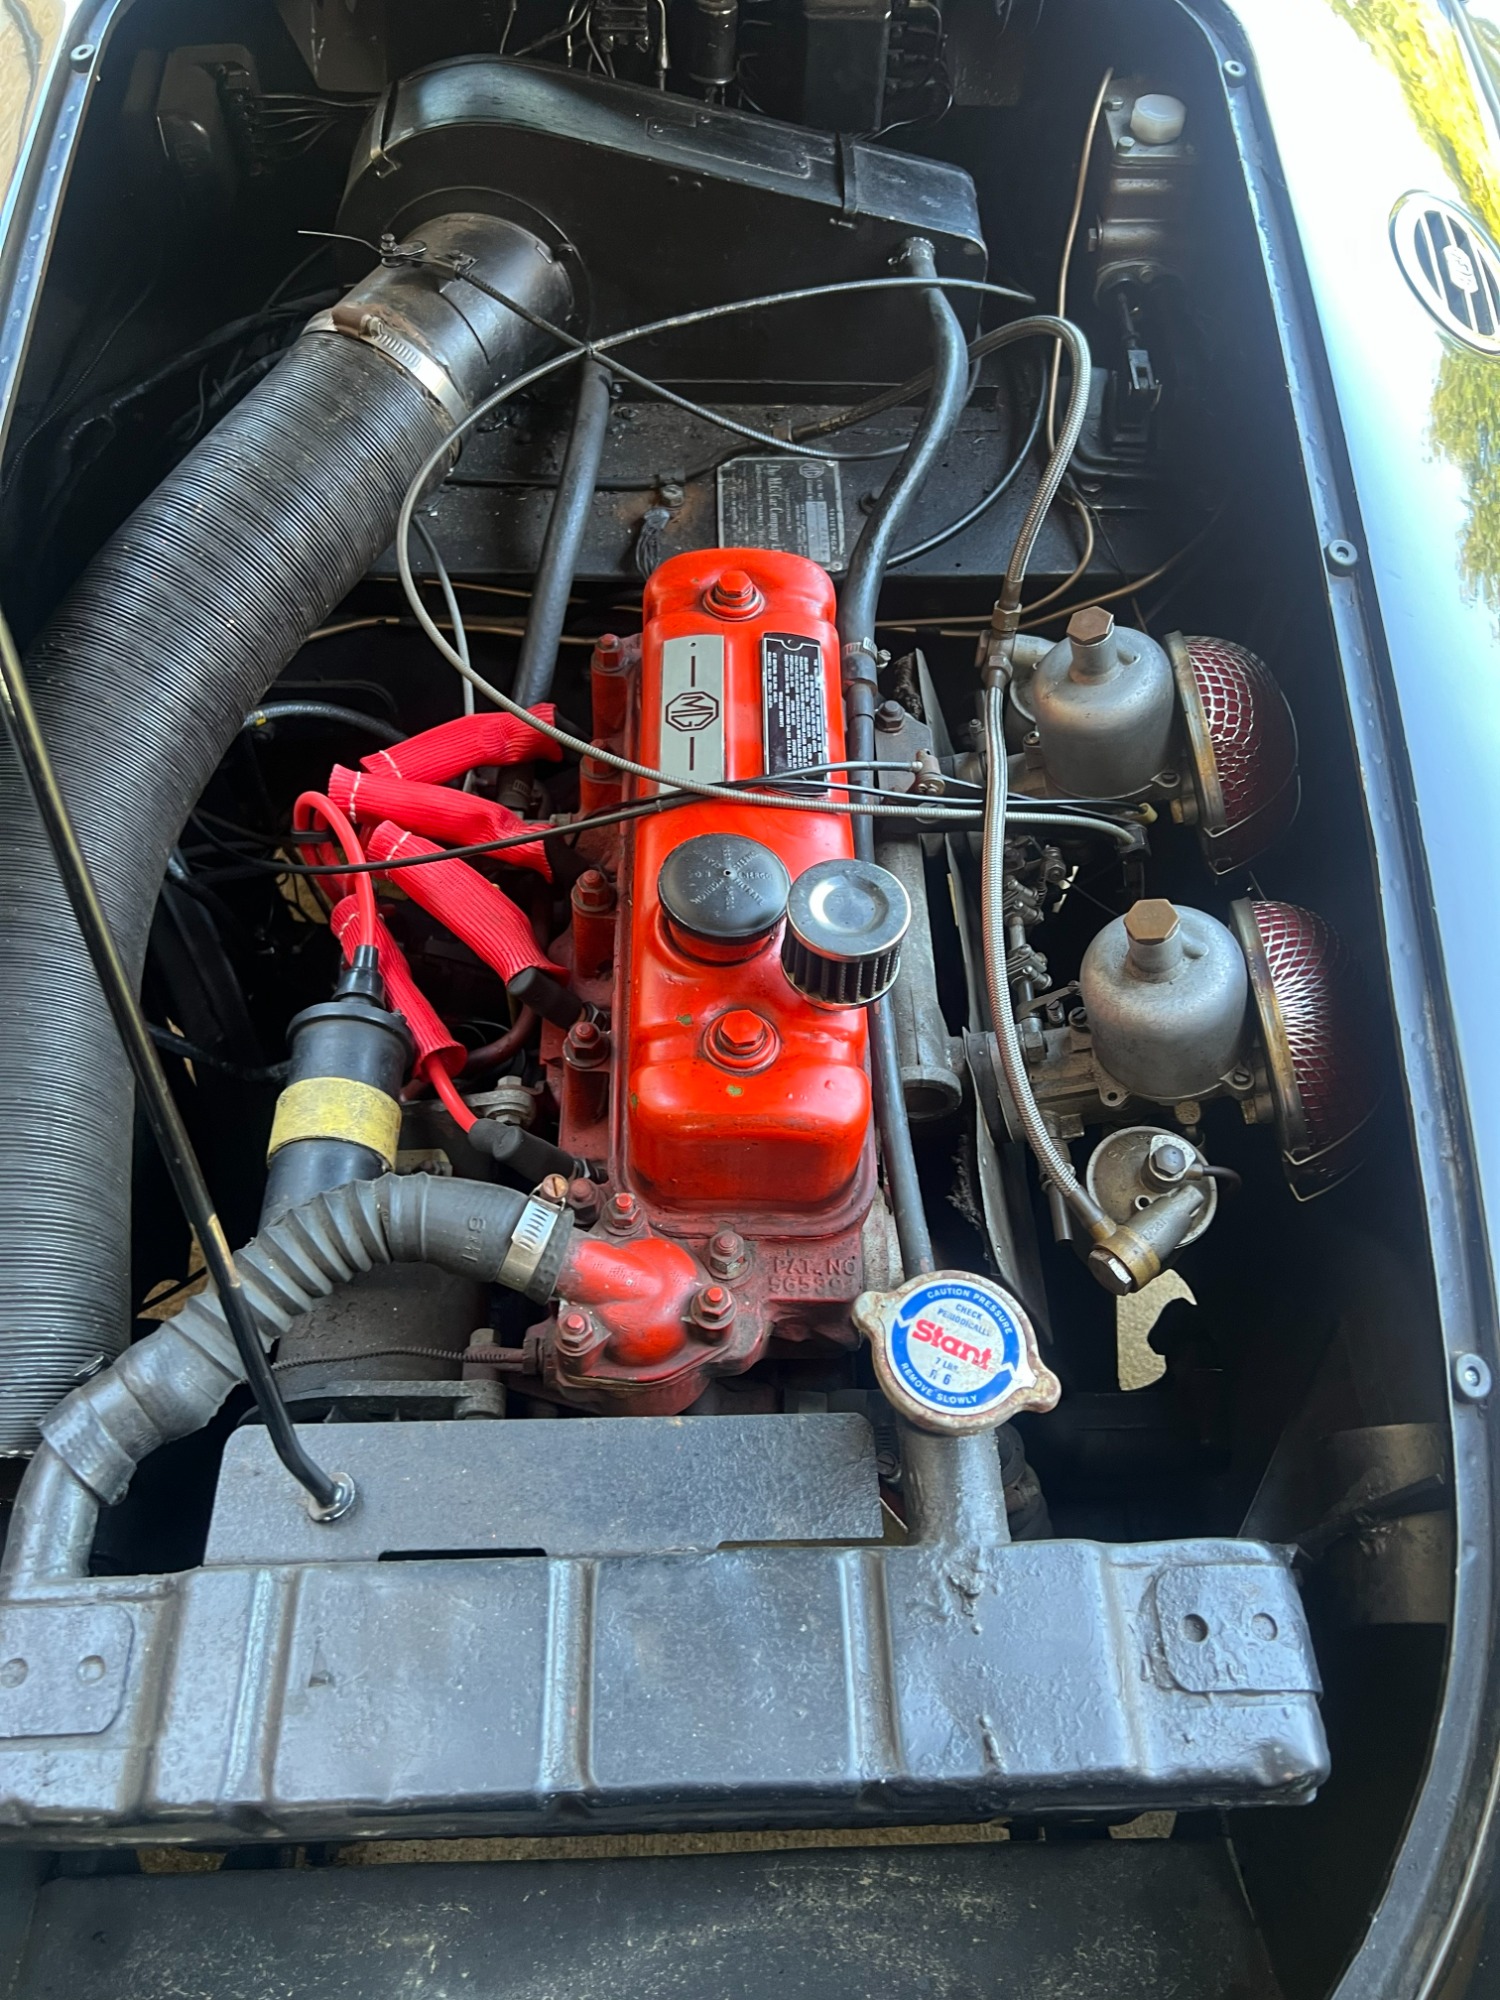
The engine has always been one of the highlights of this car. It has been reliable and has always run well, so I’ve never had to do anything major to it. During the COVID shutdown, I finally had the time to rebuild the SU carburetors. It seemed like the perfect project to take on while spending more time at home.
I have to be honest, though—I’m still working on getting the carburetors adjusted exactly the way I want them. Every year I seem to go through the same process of making small adjustments, sometimes ending up a little lean and other times a little rich. Maybe I’m just too picky, but right now the engine is running slightly lean. It runs well, but I know there is still a little fine-tuning to do.
I also replaced the spark plugs and ignition wires. One of the old wires had some kind of damage or intermittent problem that was causing an occasional misfire. Replacing the plugs and wires took care of the issue, and the engine has been running smoothly since.
I change the oil every year. The MGA originally used a canister-style oil filter housing, where the canister is removed and the paper filter element replaced. At some point, I decided to upgrade to a more modern spin-on oil filter. I purchased and installed an adapter kit, which makes future oil changes much easier. I kept the original canister-style setup and have it stored with the car.
Of course, the installation came with its own lesson. After installing the adapter and the new filter, I started the engine and quickly discovered a massive oil leak. The gasket between the engine and the adapter had not seated properly, and within seconds I had nearly two quarts of oil on the garage floor. The good news? I can confidently confirm that the oil pump works! The better news is that I corrected the gasket installation, and the adapter has been completely leak-free ever since.
In full disclosure, there is one oil leak that I have not addressed. It is not a major leak—just a small amount of oil coming from the area between the engine and transmission. After researching the issue, everything pointed to the rear scroll seal, which is a very common source of leaks on these engines. There are conversion kits available that replace the original scroll-style seal with a modern rubber lip seal, but doing the conversion is a much bigger job and requires significant disassembly.
At this point, I decided it wasn’t a catastrophic issue and wasn’t worth taking the engine and transmission apart solely to address a minor leak. The car loses very little oil, and I simply keep an oil drip tray underneath it when it is parked. It’s one of those things that comes with owning a 1958 car—sometimes the most sensible repair is knowing which battles to pick.
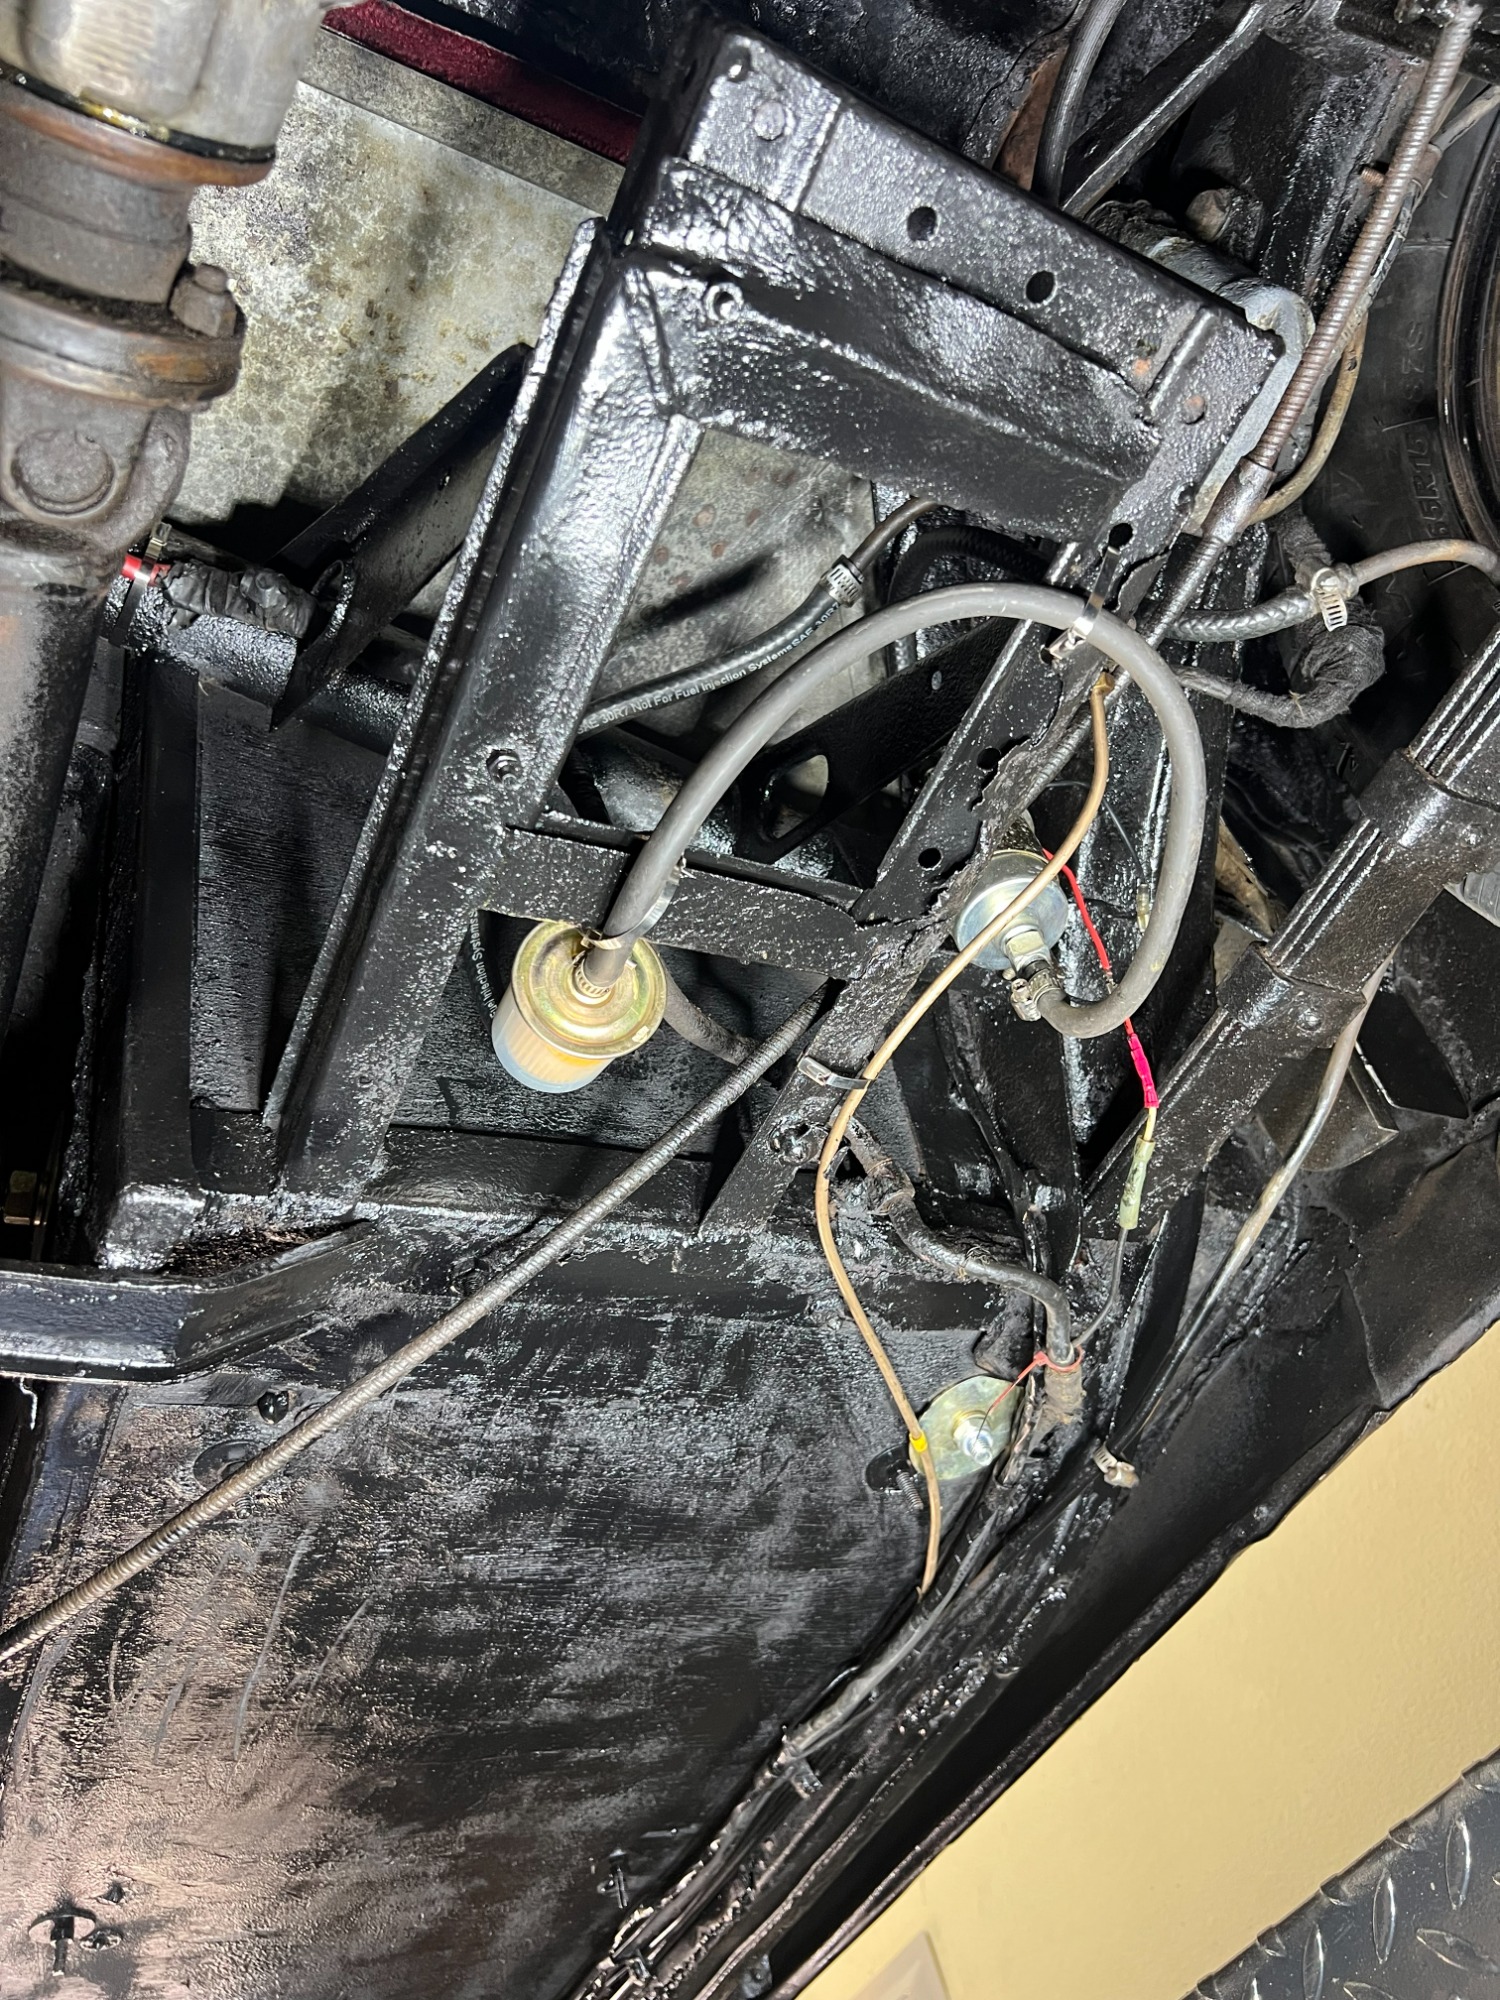
The fuel system gave me another little project. At one point, the fuel pump failed, and it took me a while to track down the problem. I started at the SU carburetors and found dirt and rust around the inlet screen/strainer. I installed a new fuel pump, added a translucent inline fuel filter so I could easily monitor the fuel, and flushed the fuel line all the way back to the engine. I also keep extra fuel filters and a spare fuel pump with the car.
The starter has also given me a few lessons in old-car troubleshooting. I replaced the starter with a new one, only to have the replacement fail. After installing a second starter, I started thinking that the original starter probably didn’t need to be replaced at all—it may have simply needed new carbon brushes. I kept the original starter and have it stored with the car. If I ever need it again, it may just need a simple rebuild rather than replacement.
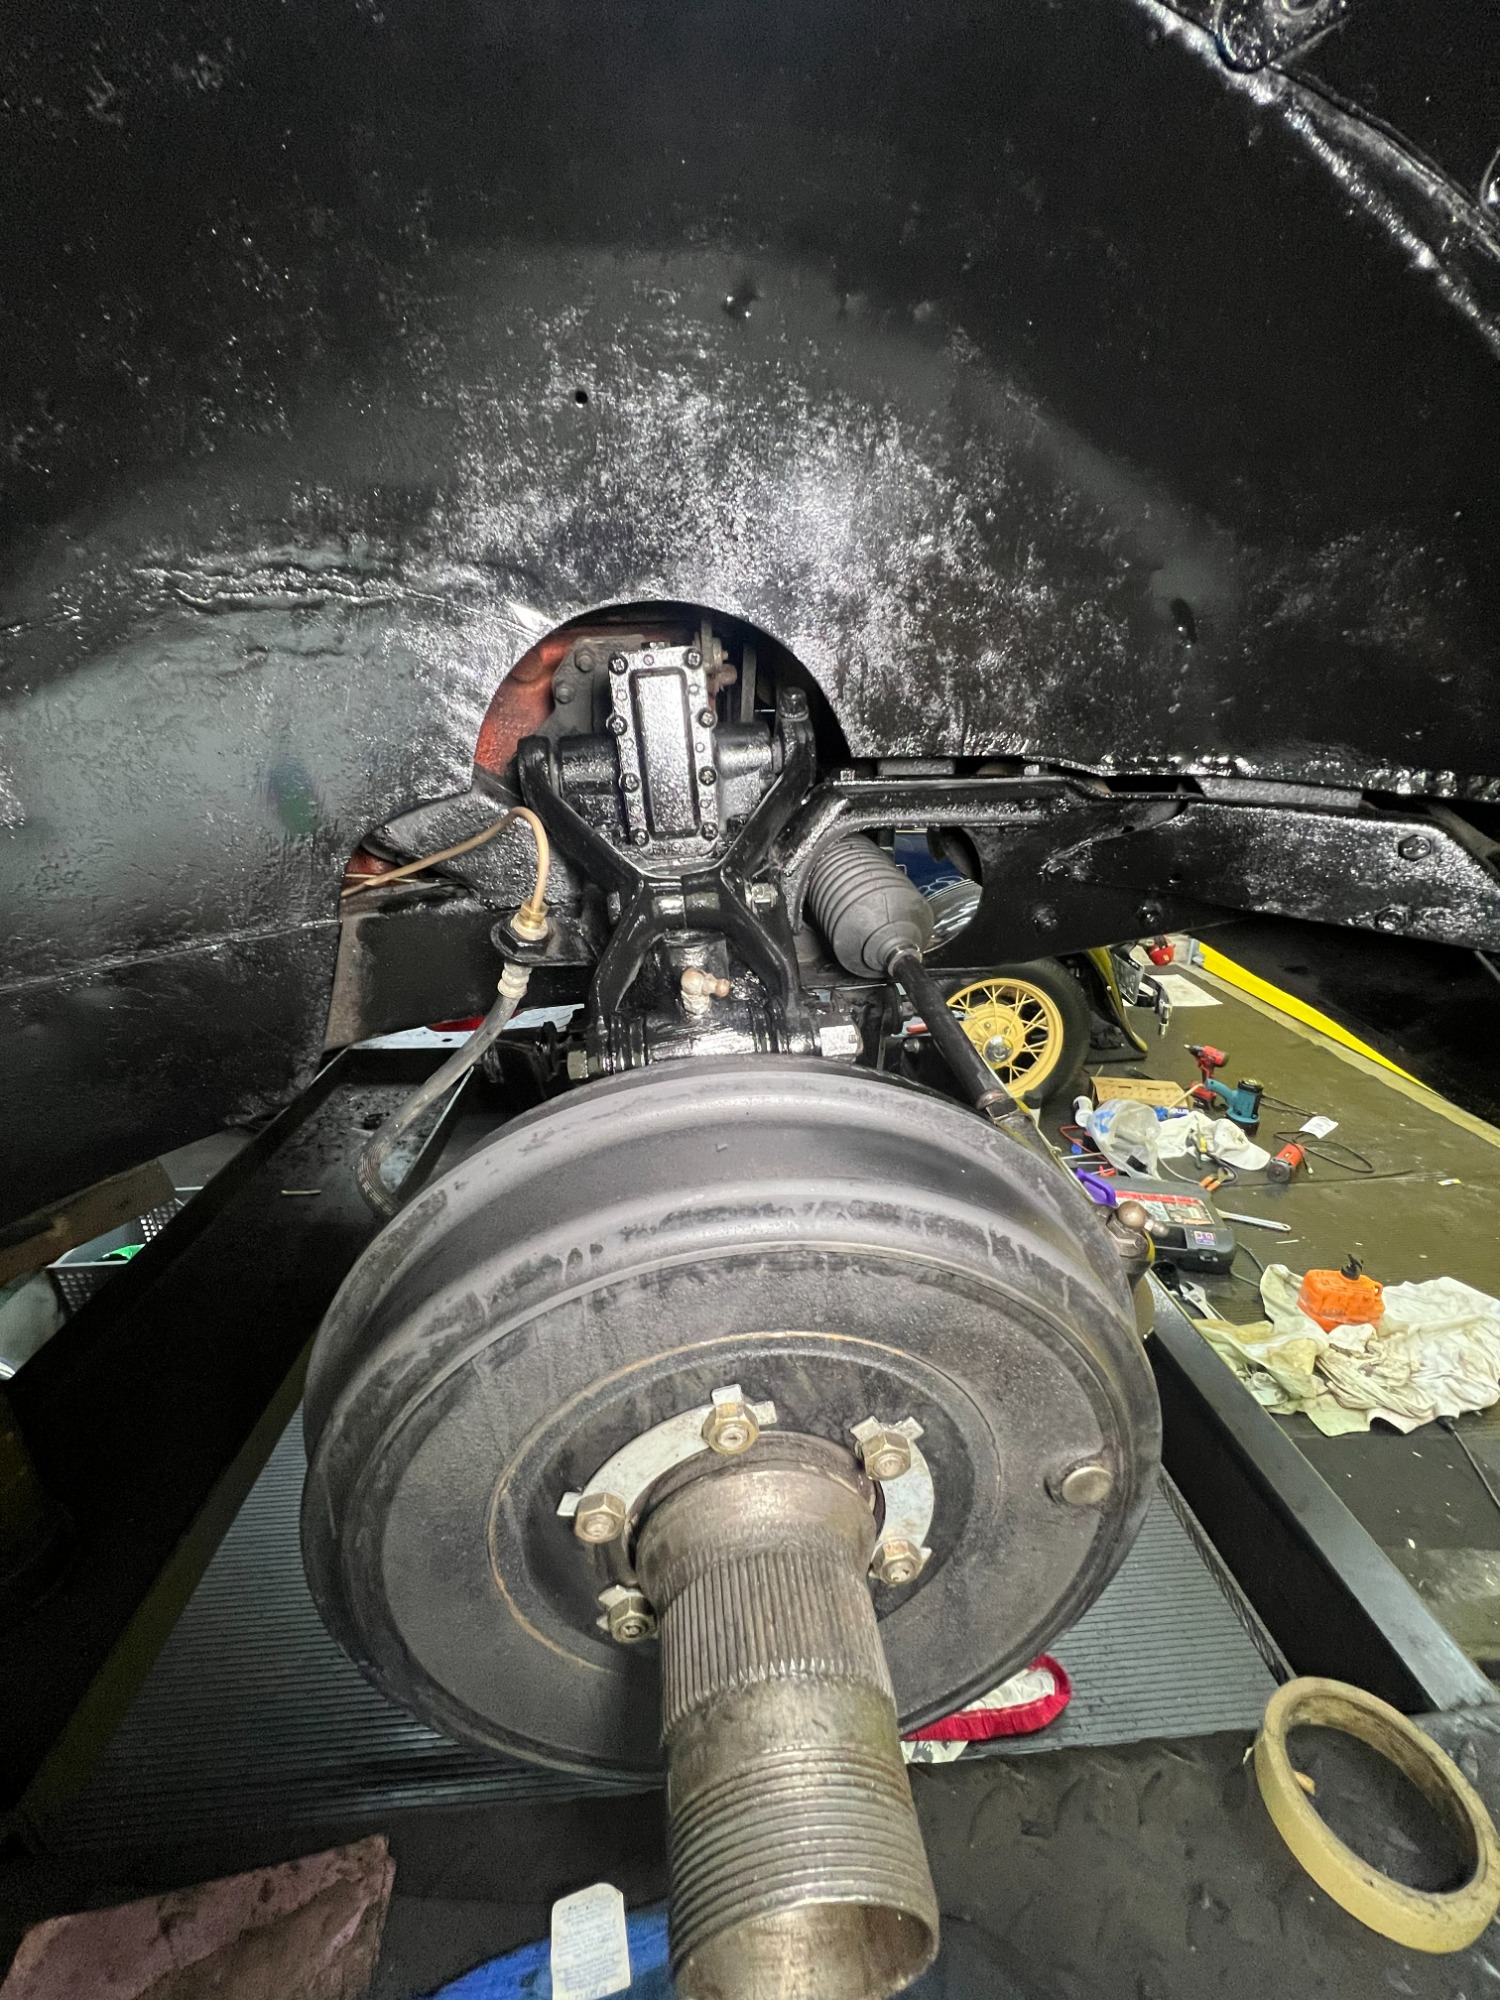
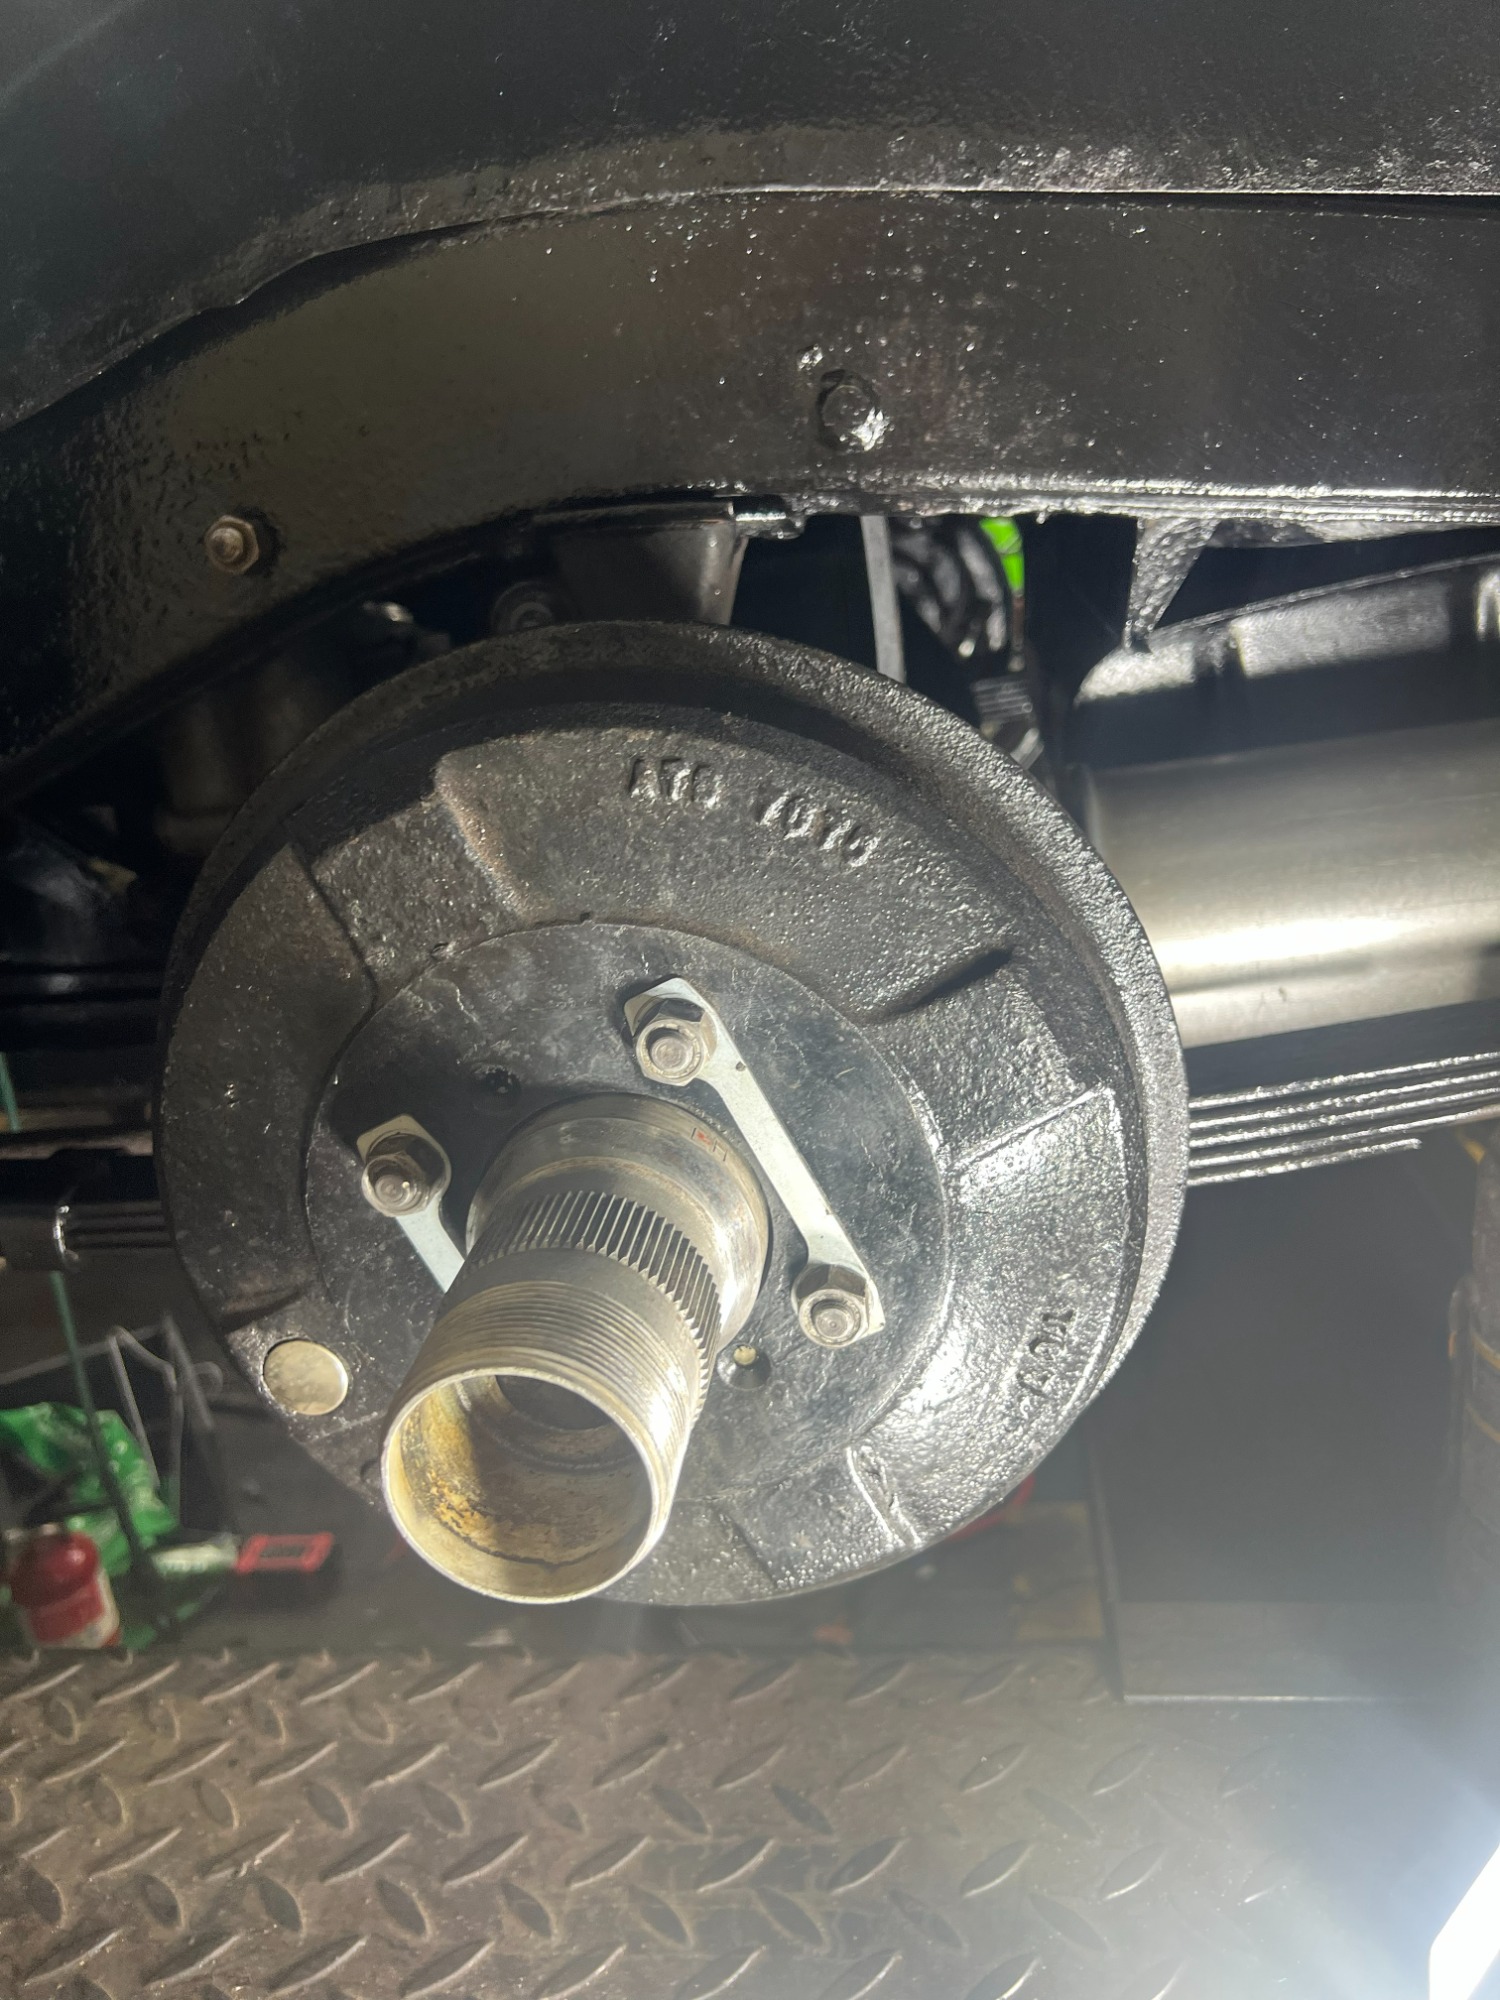
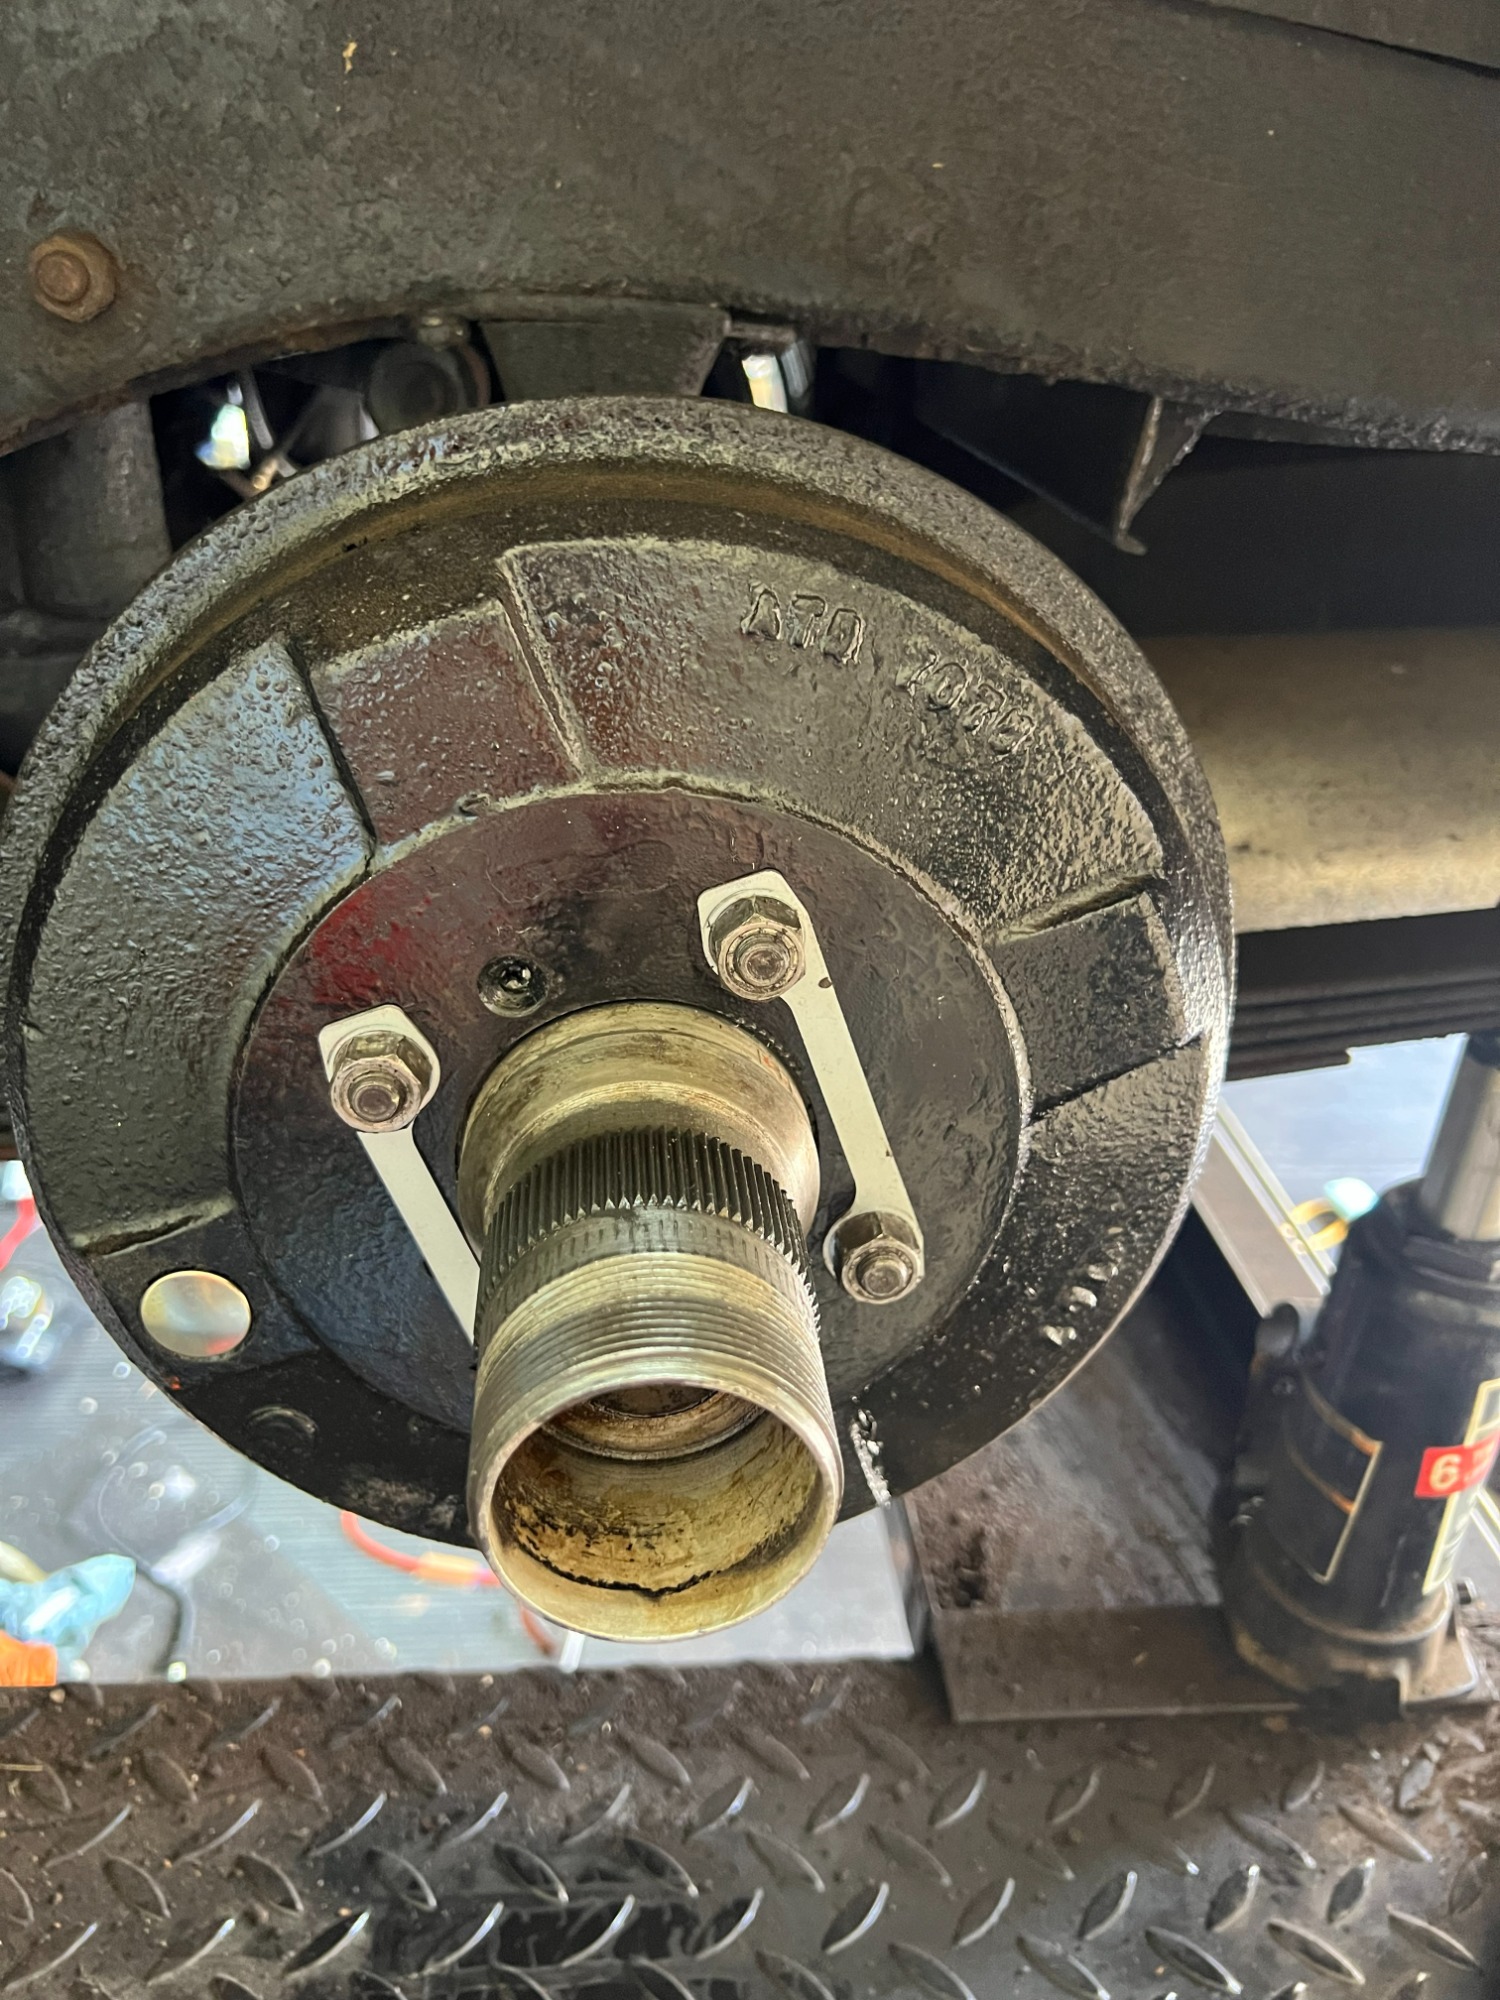
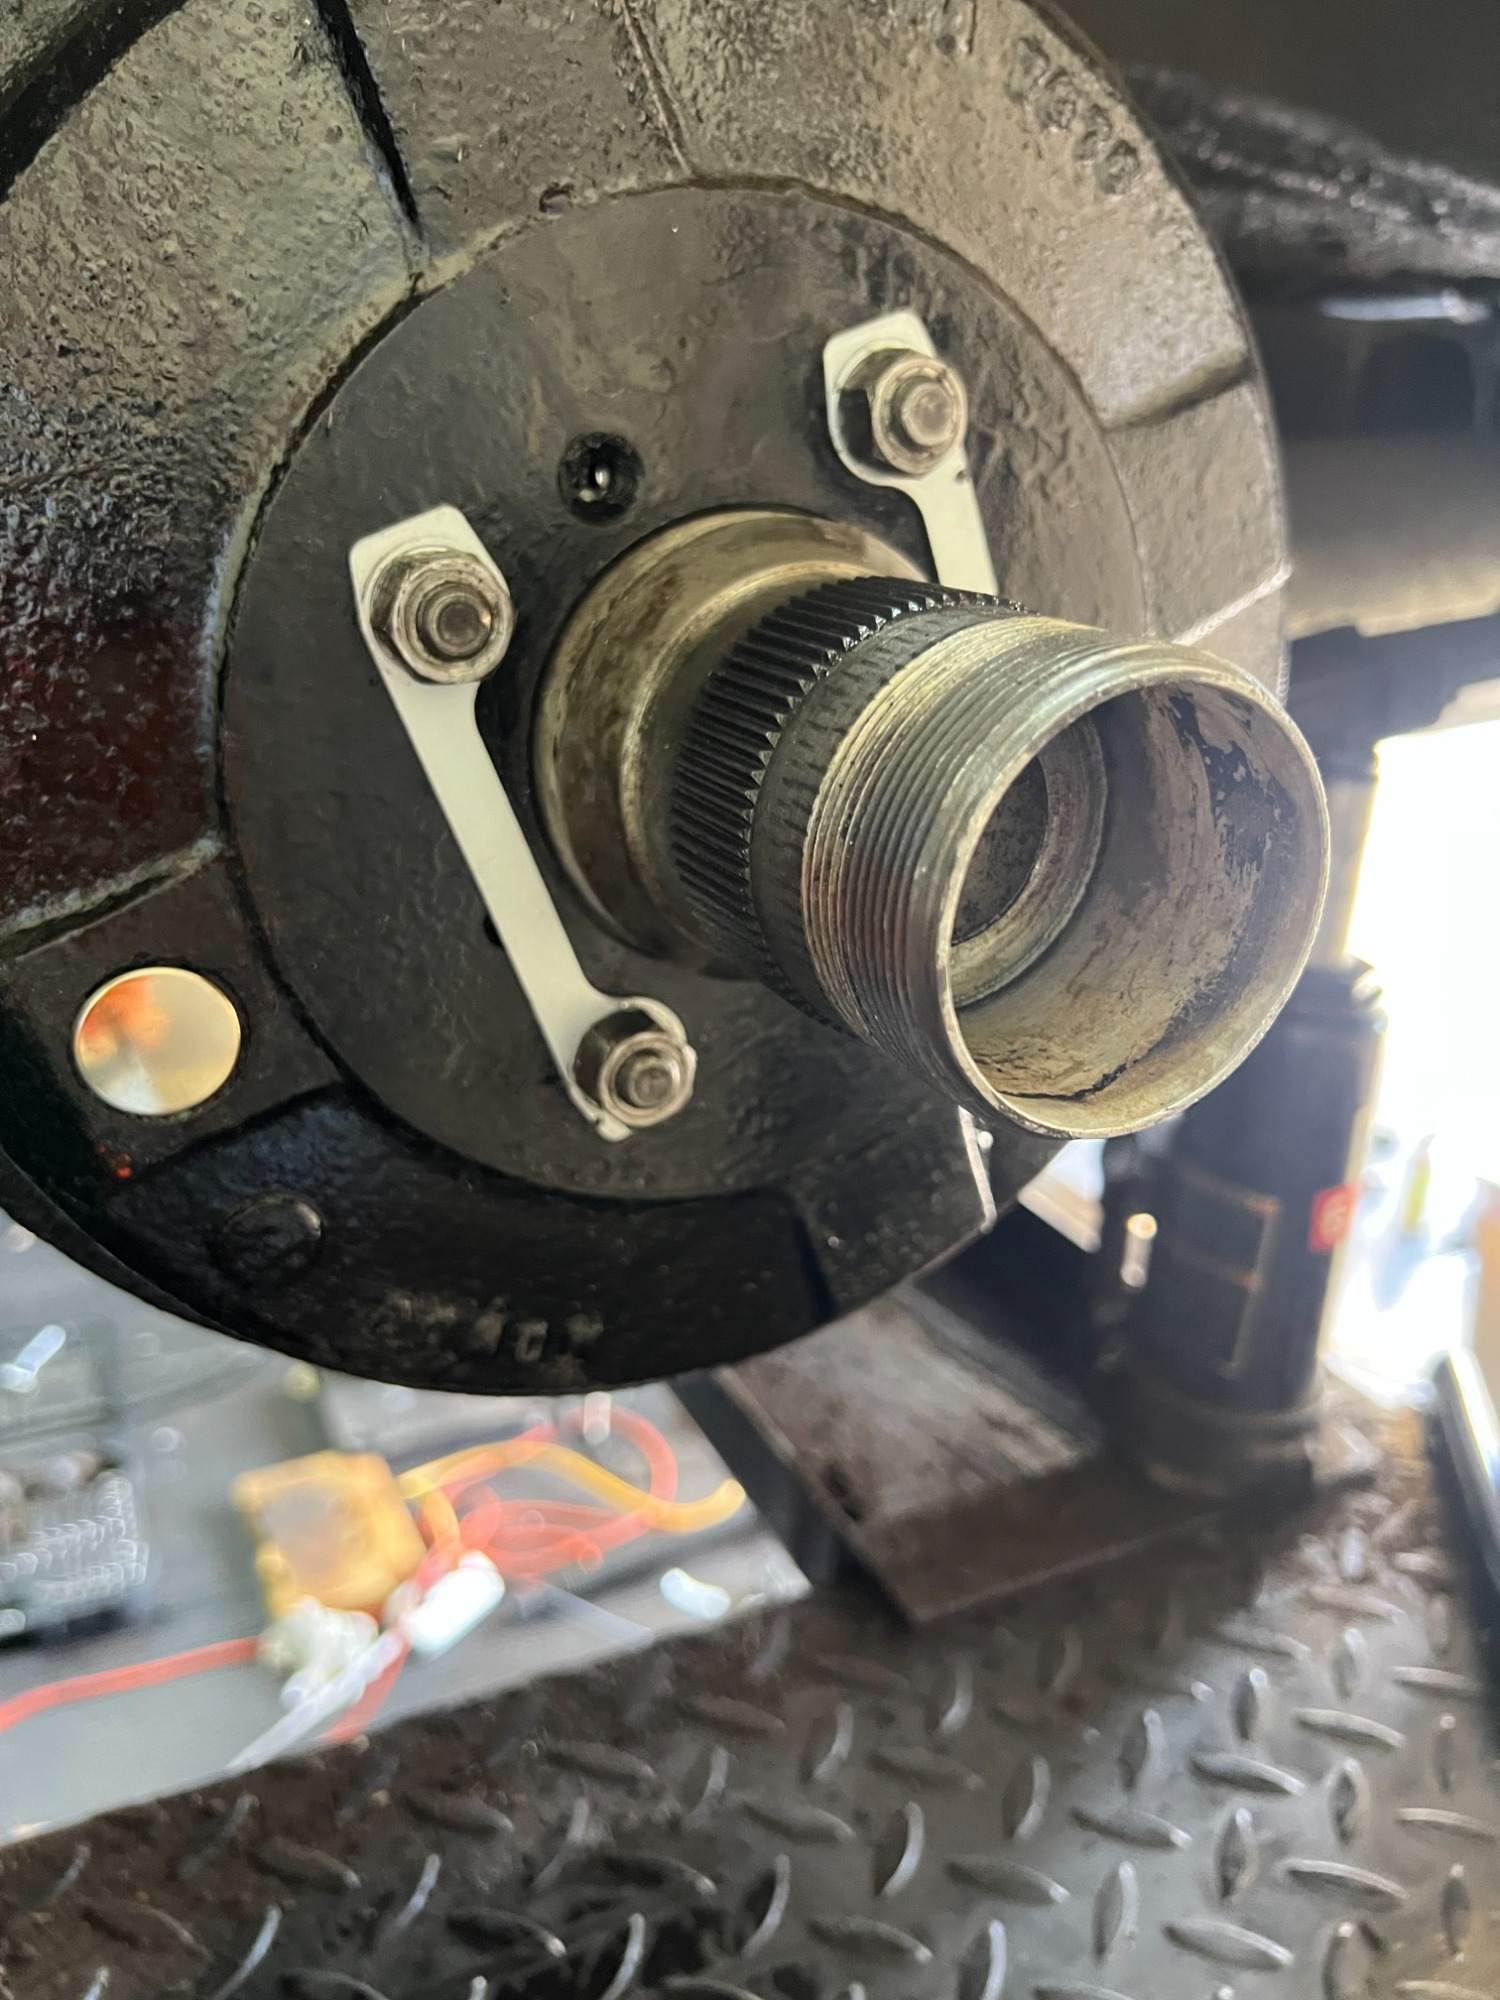
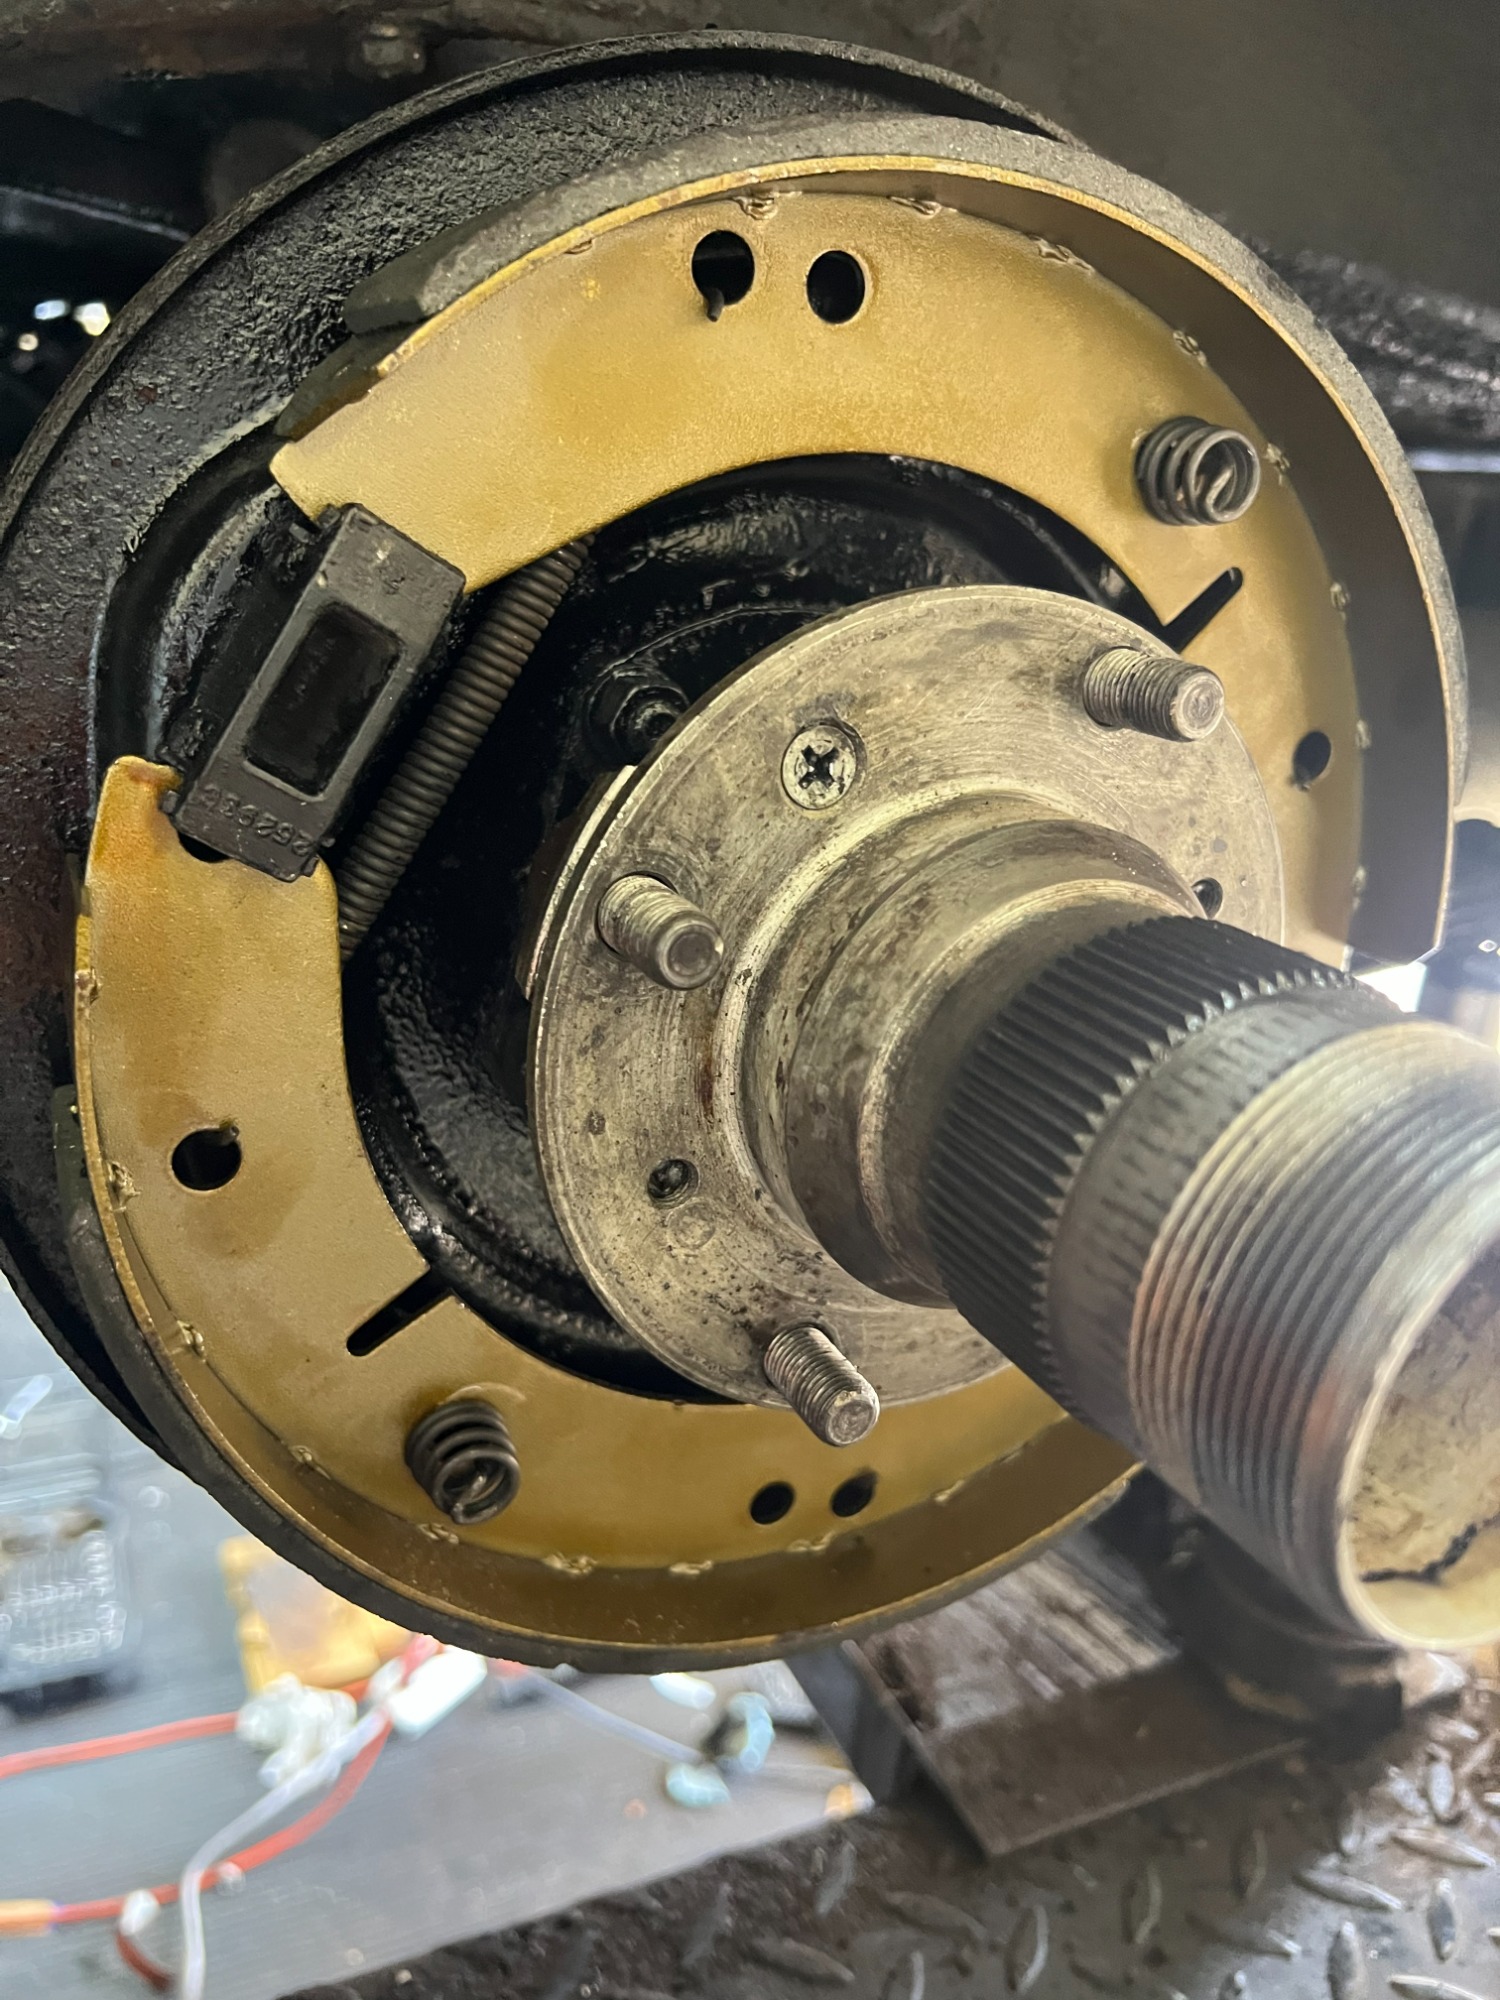
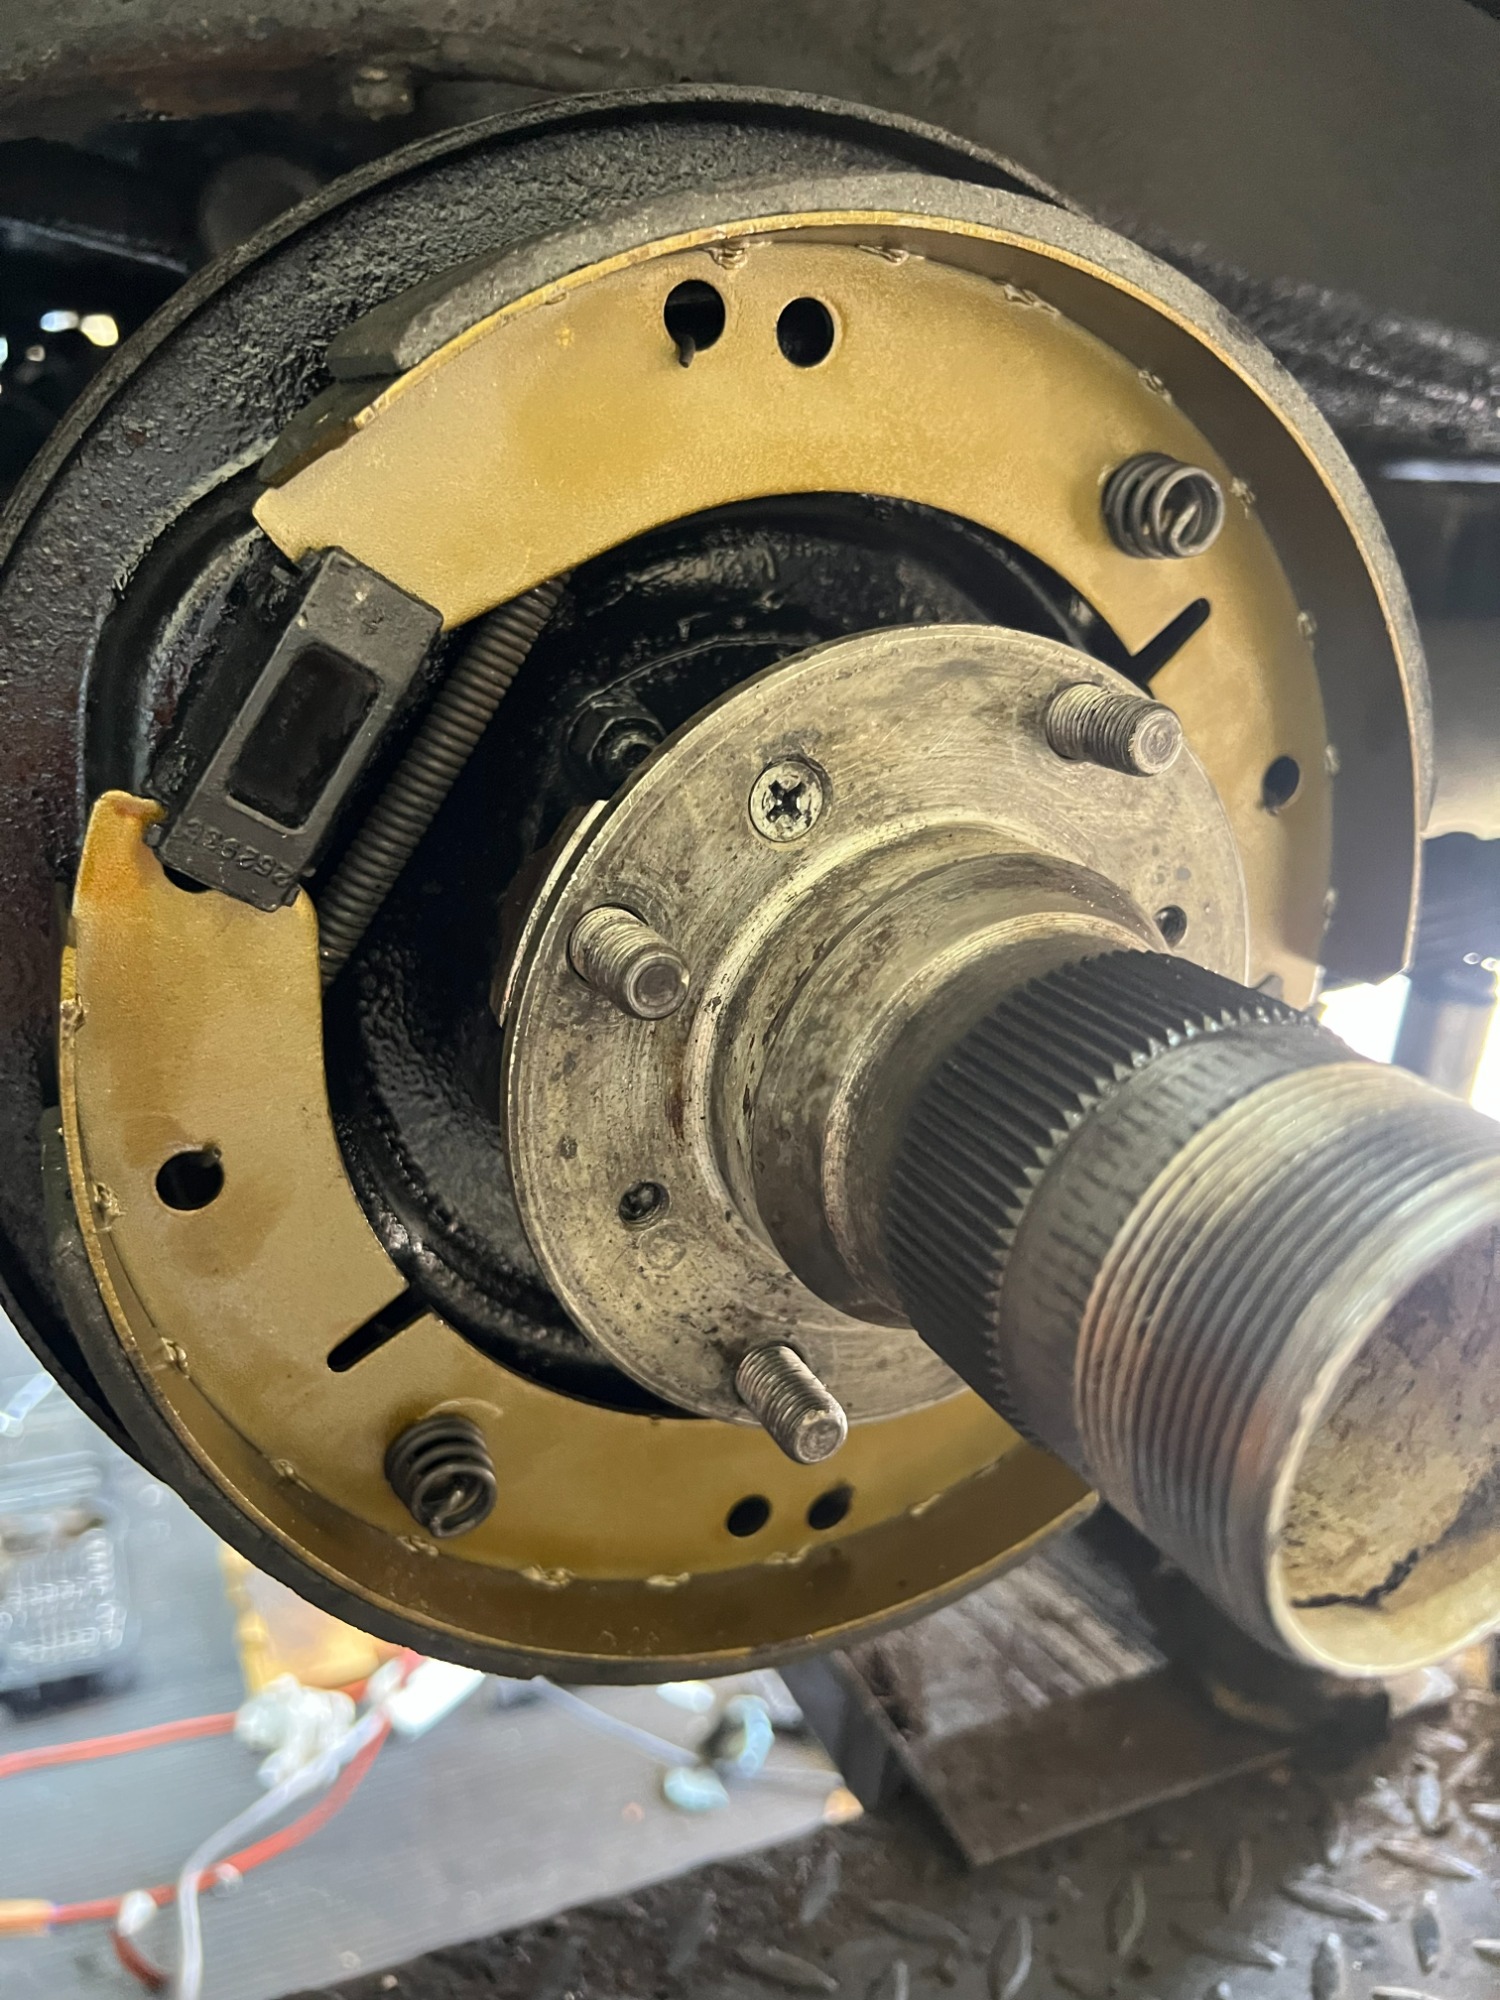
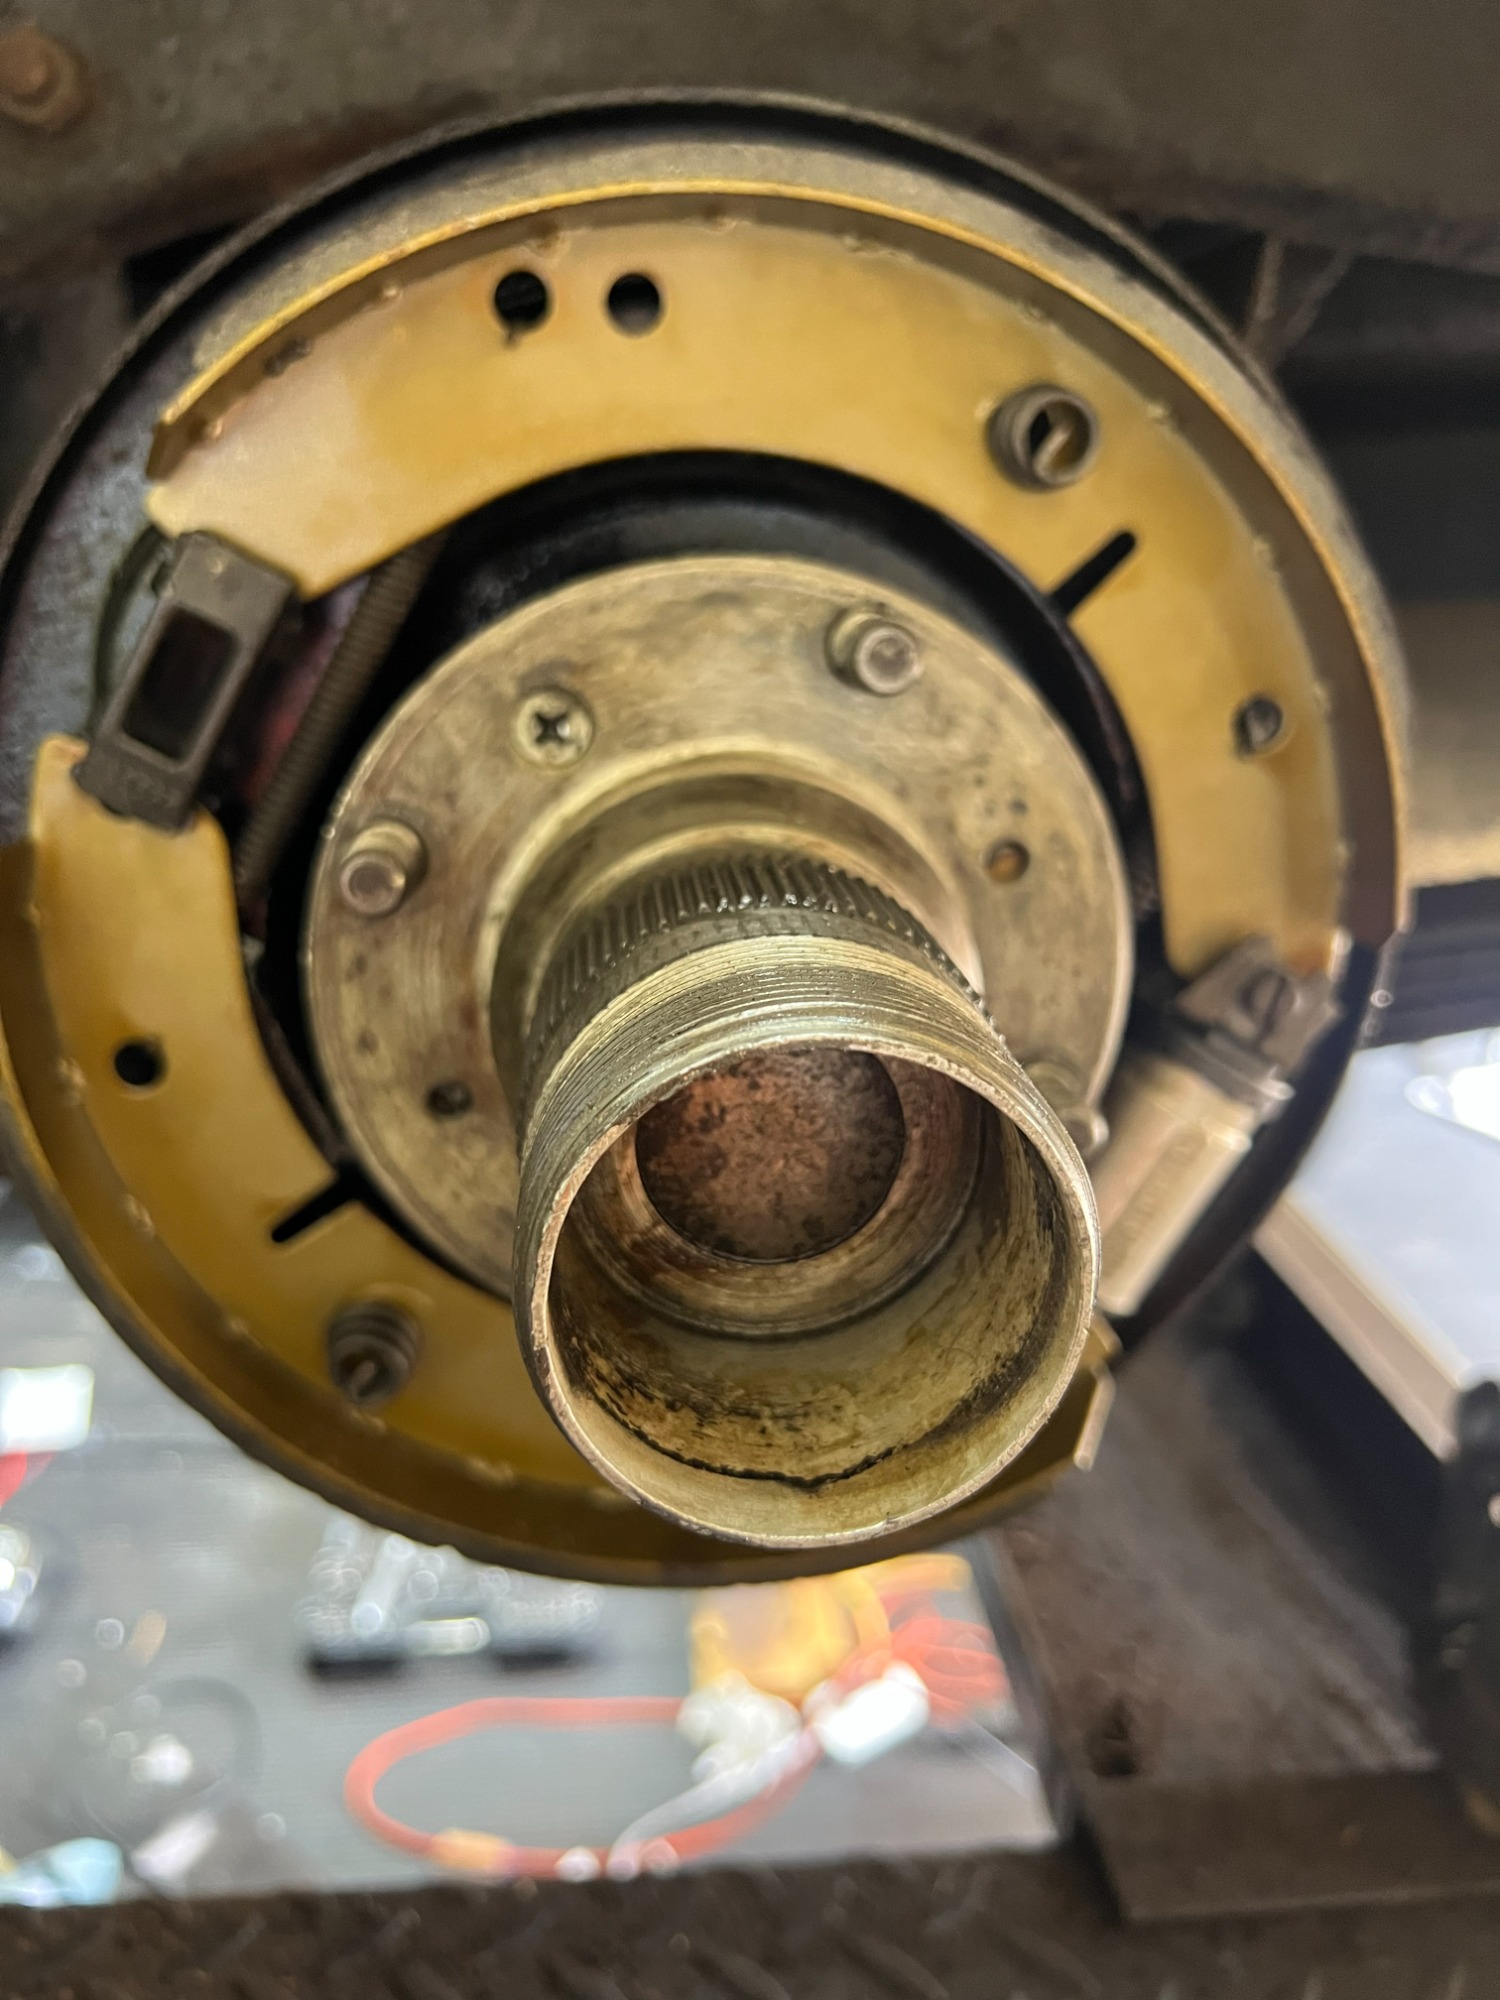
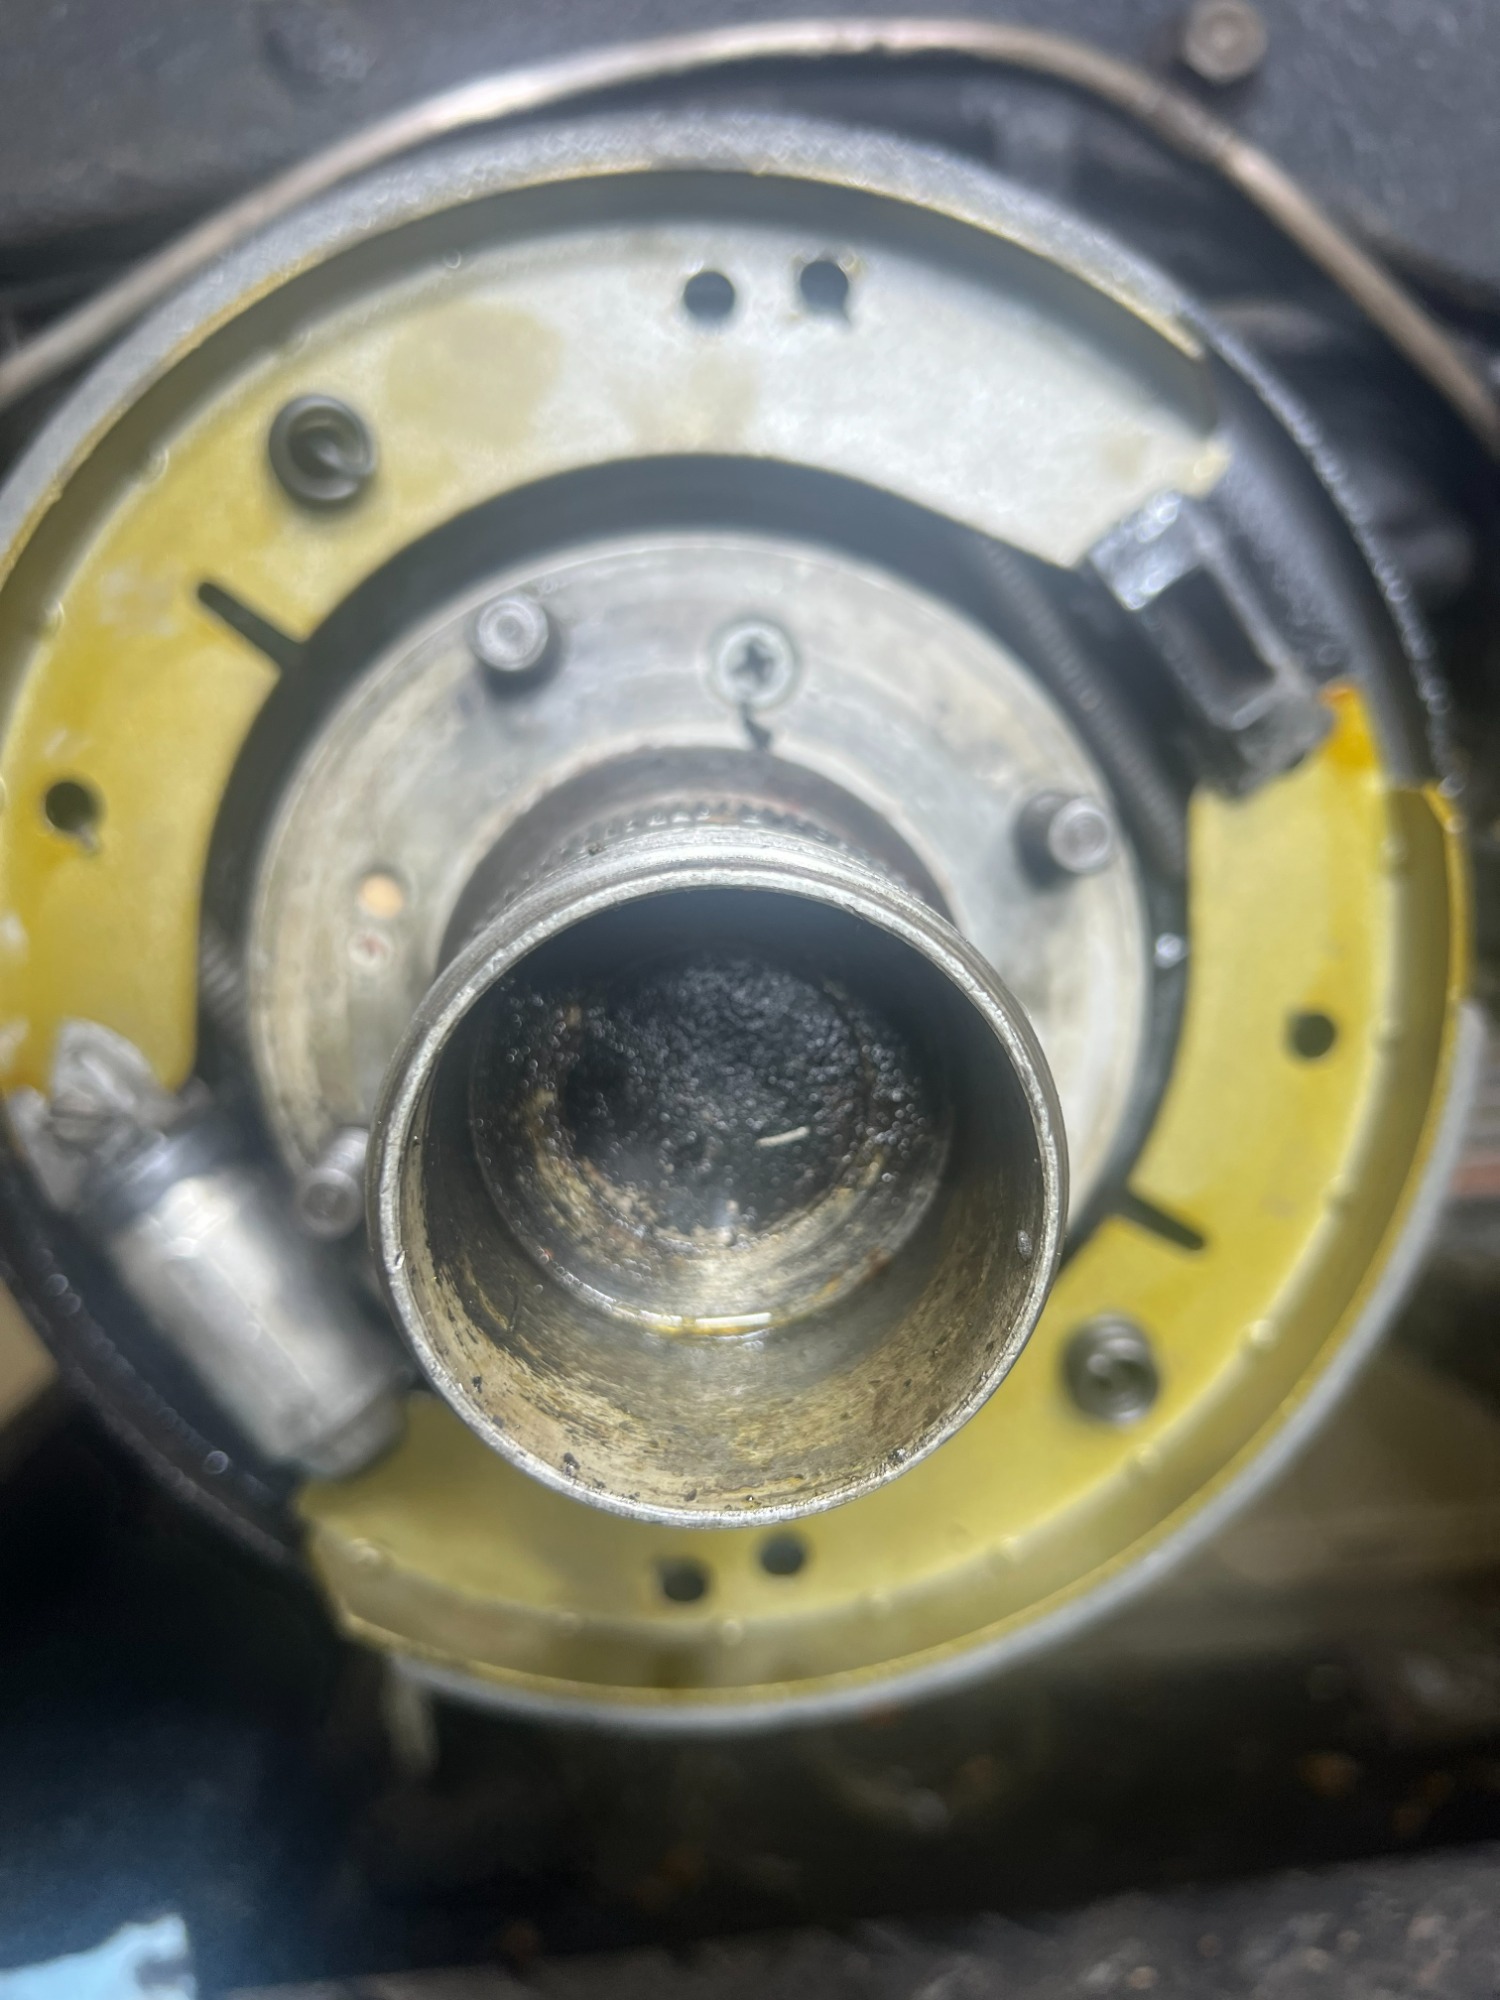
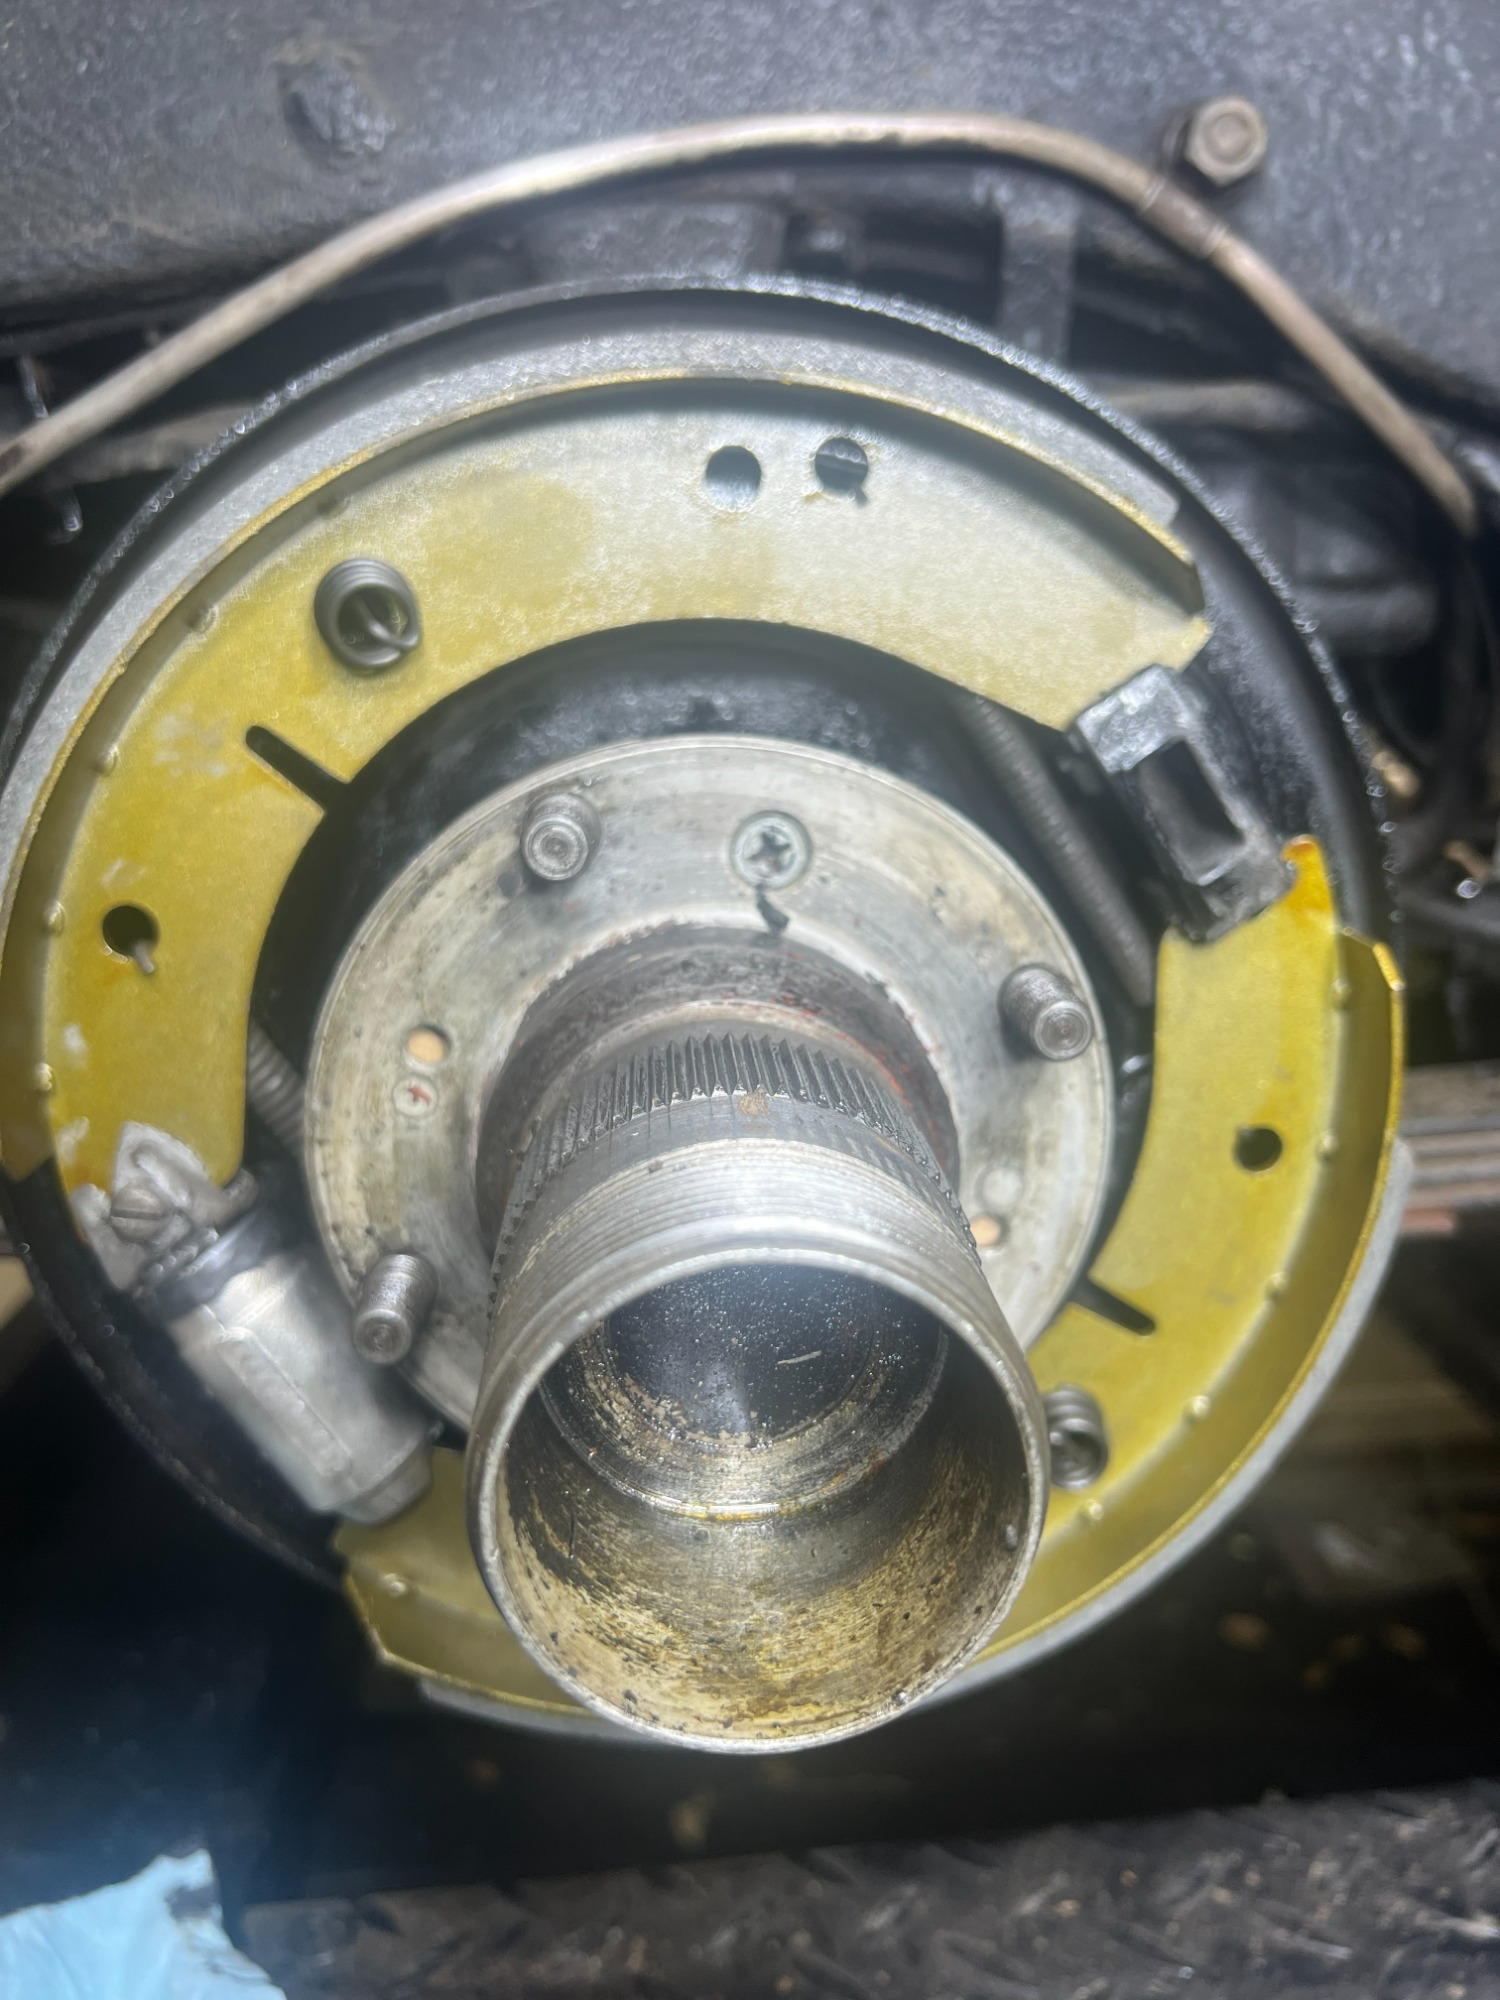
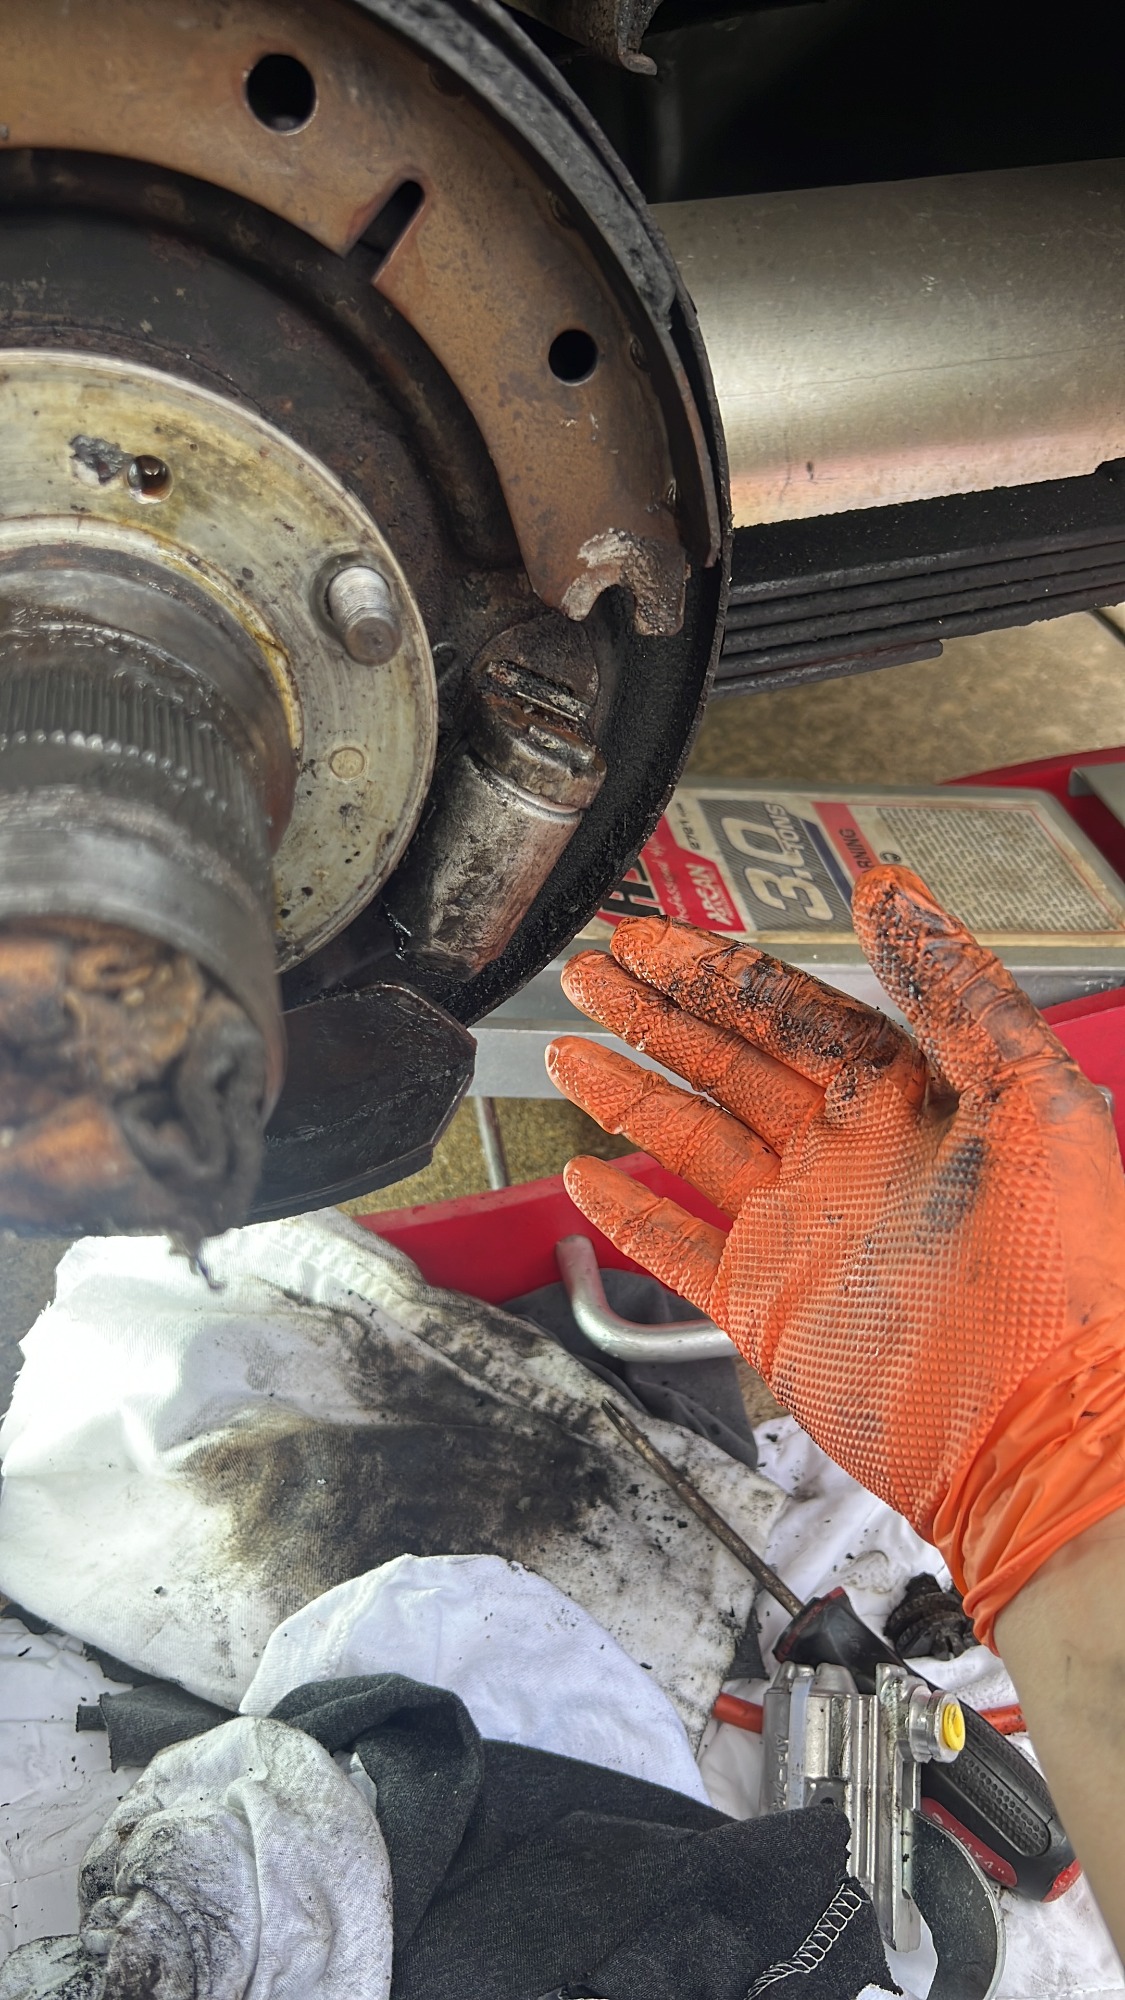
Another important job wasn’t directly related to the engine, but it was definitely one of the biggest pains in the butt: replacing the rear hub seals on both sides. The car was leaking gear oil from the rear hubs, and the previous owner had apparently come up with his own solution—he had stuffed pieces of towel inside the hubs to absorb the leaking oil. It was certainly creative, but I decided the car deserved a proper repair.
Removing the old seals was quite a job. Getting them out of the hubs was surprisingly difficult, and installing the new ones required a little creativity as well. I ended up freezing the new bearings and heating the hubs to make the installation easier. It took some patience, but eventually everything went together properly. No more towels, no more leaking gear oil, and, most importantly, a repair done the right way.
Finally, the original muffler had become badly rusted, so I replaced it with a new one and added a chrome exhaust tip. It gives the rear of the car a much cleaner, more finished appearance while still maintaining the classic character of the MGA.
Overall, the engine and mechanical systems have been remarkably dependable. Most of the work I’ve done has been preventative maintenance, small upgrades, and, admittedly, a little trial and error along the way. But that’s also part of the fun of owning a 1958 MGA—you learn something new every time you work on it.
Undercarriage
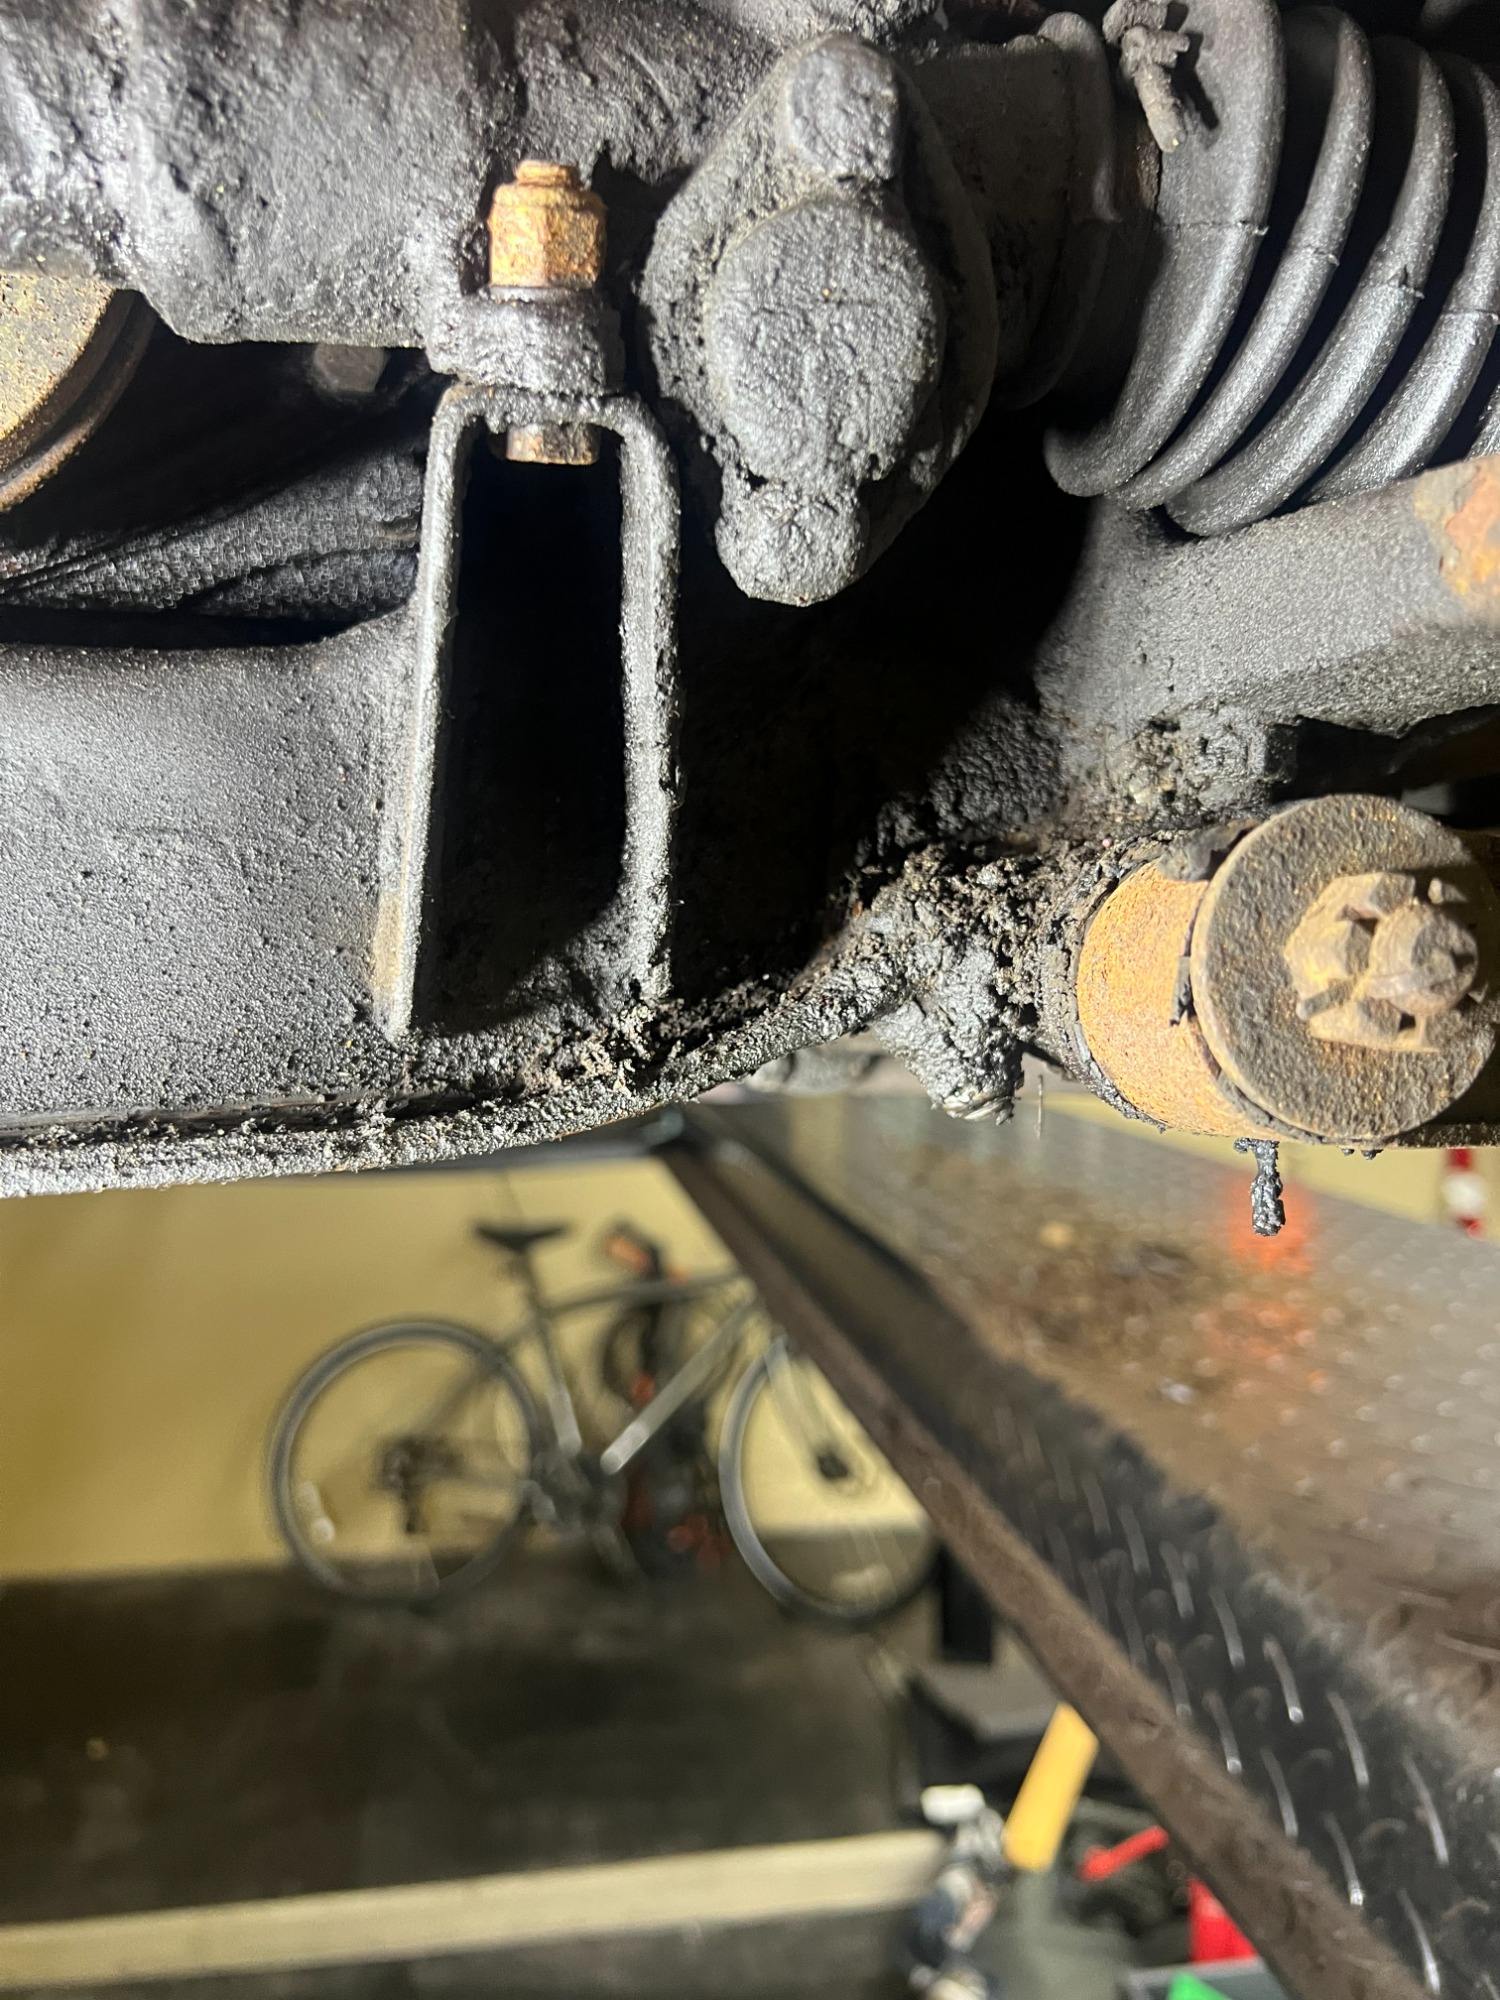
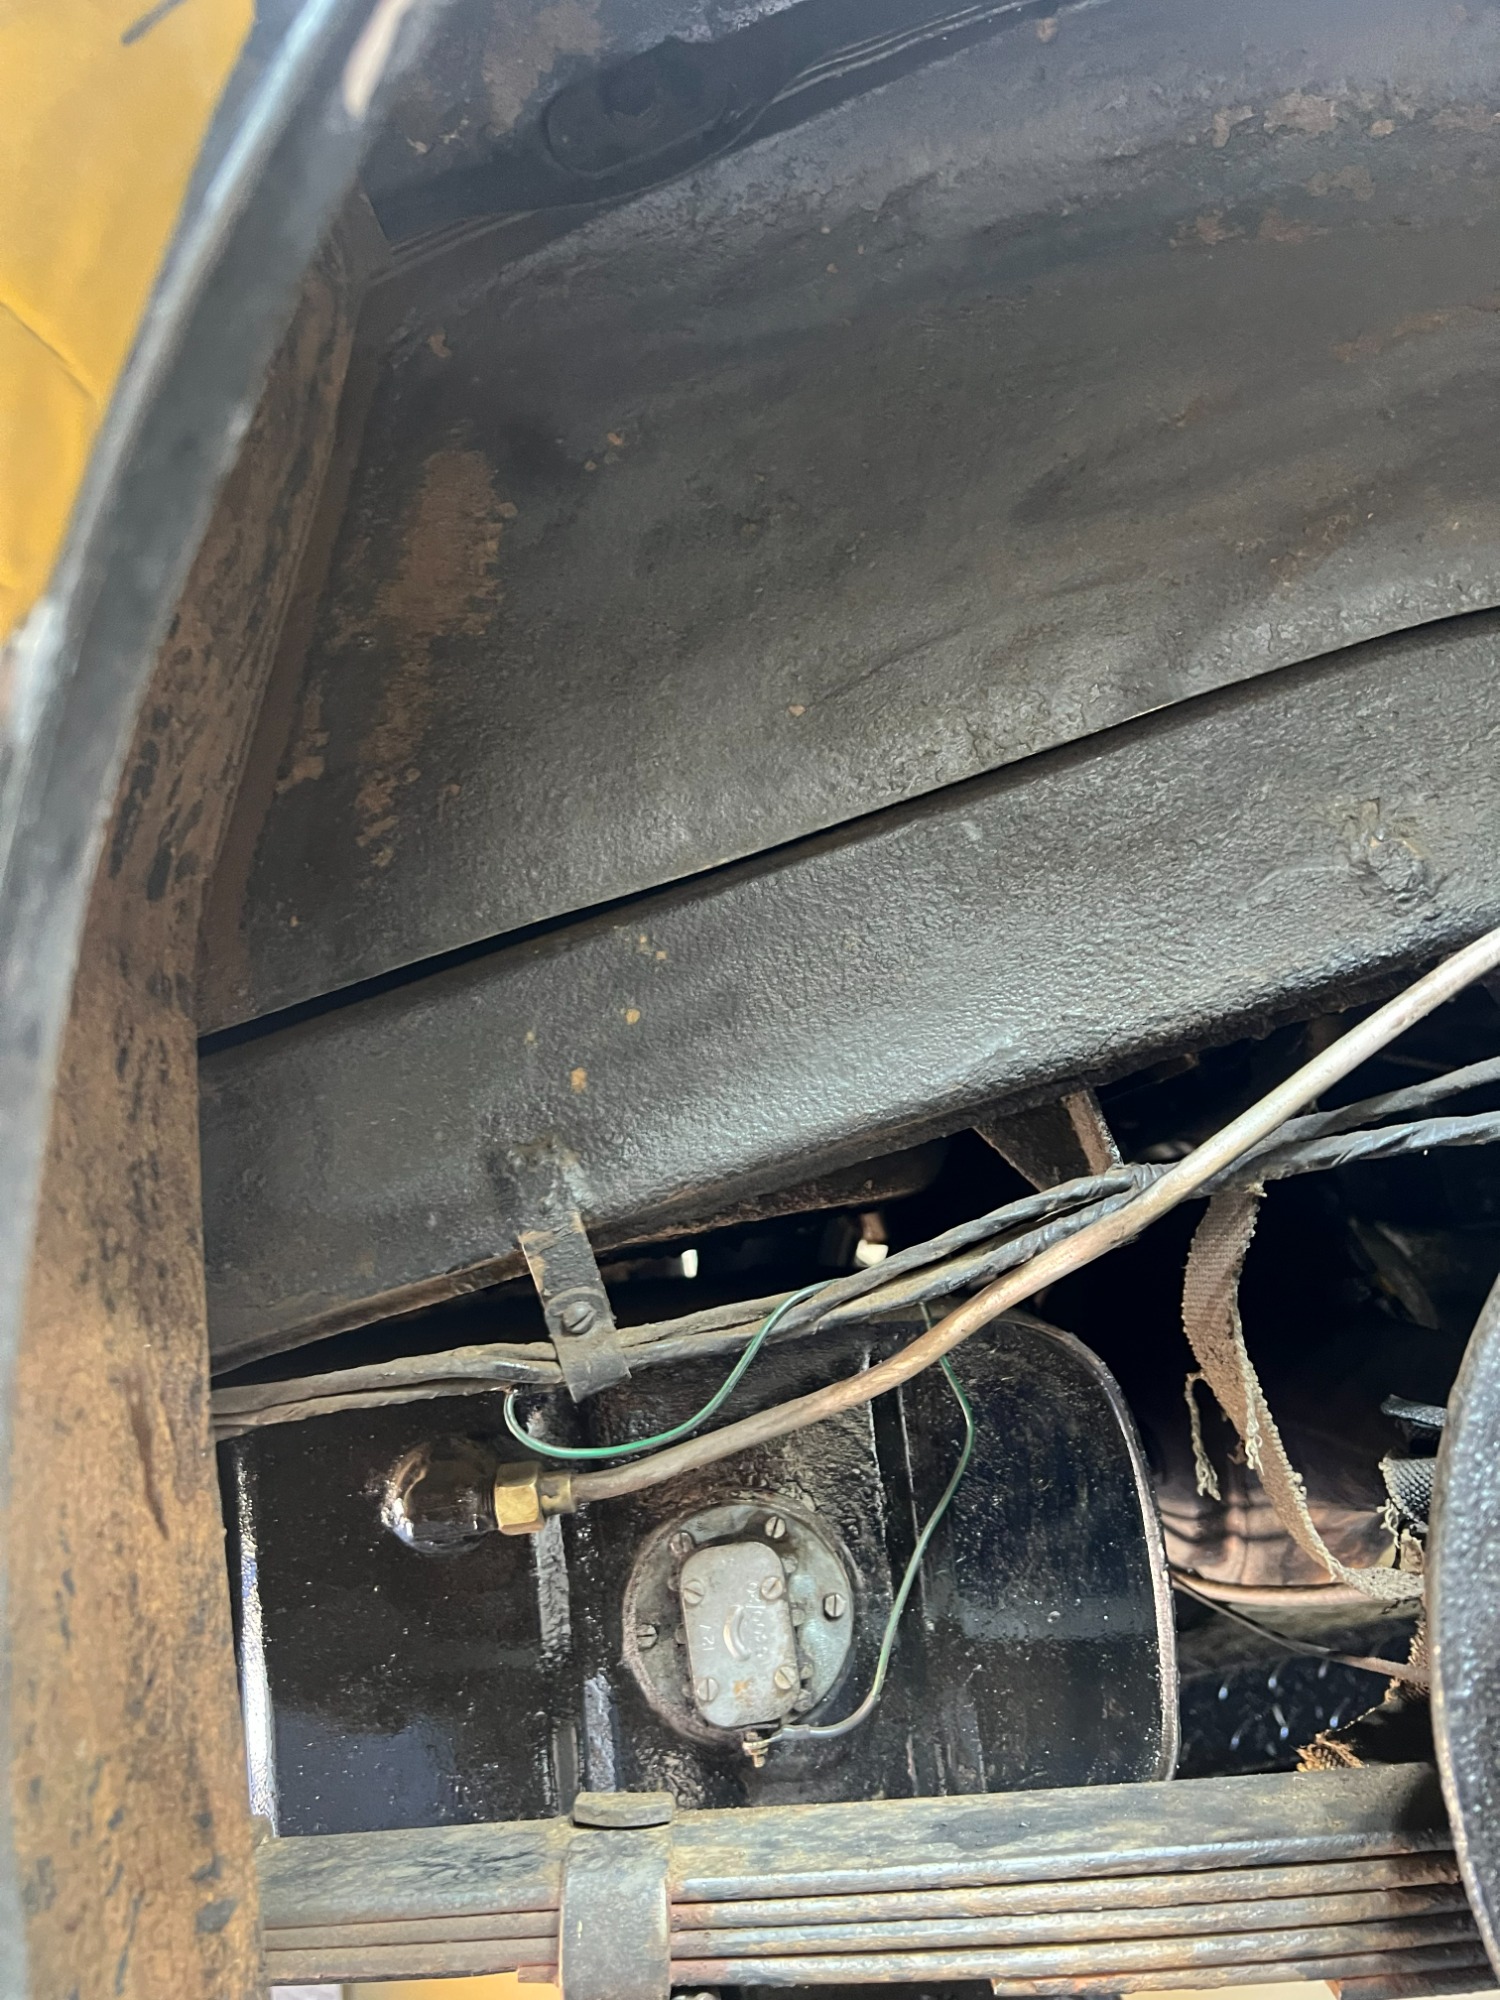
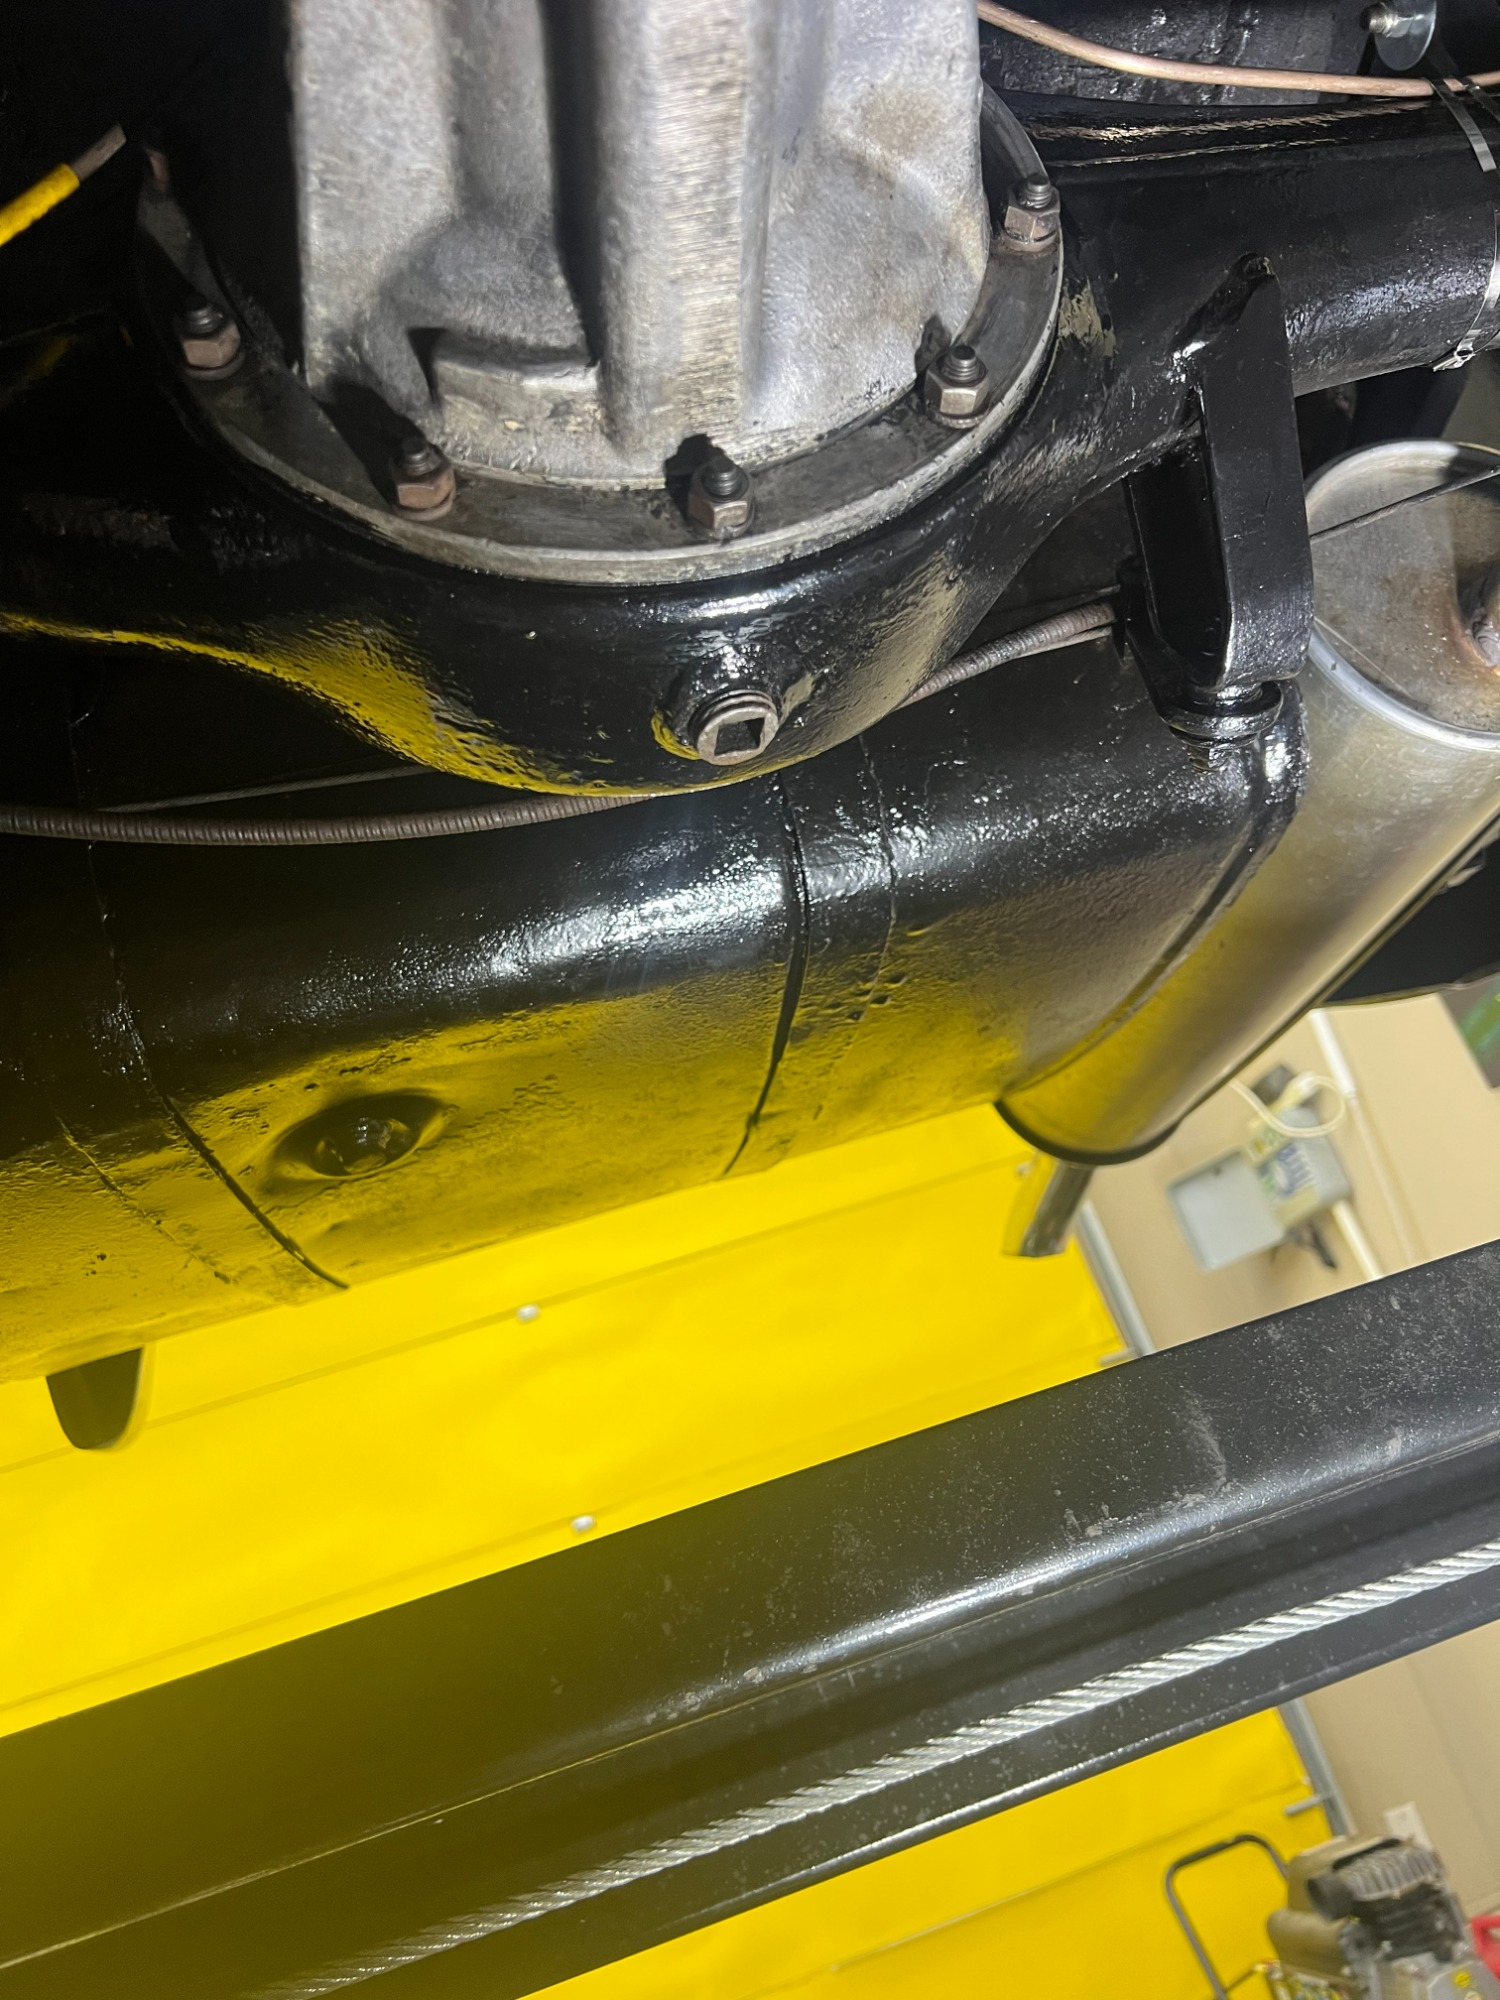
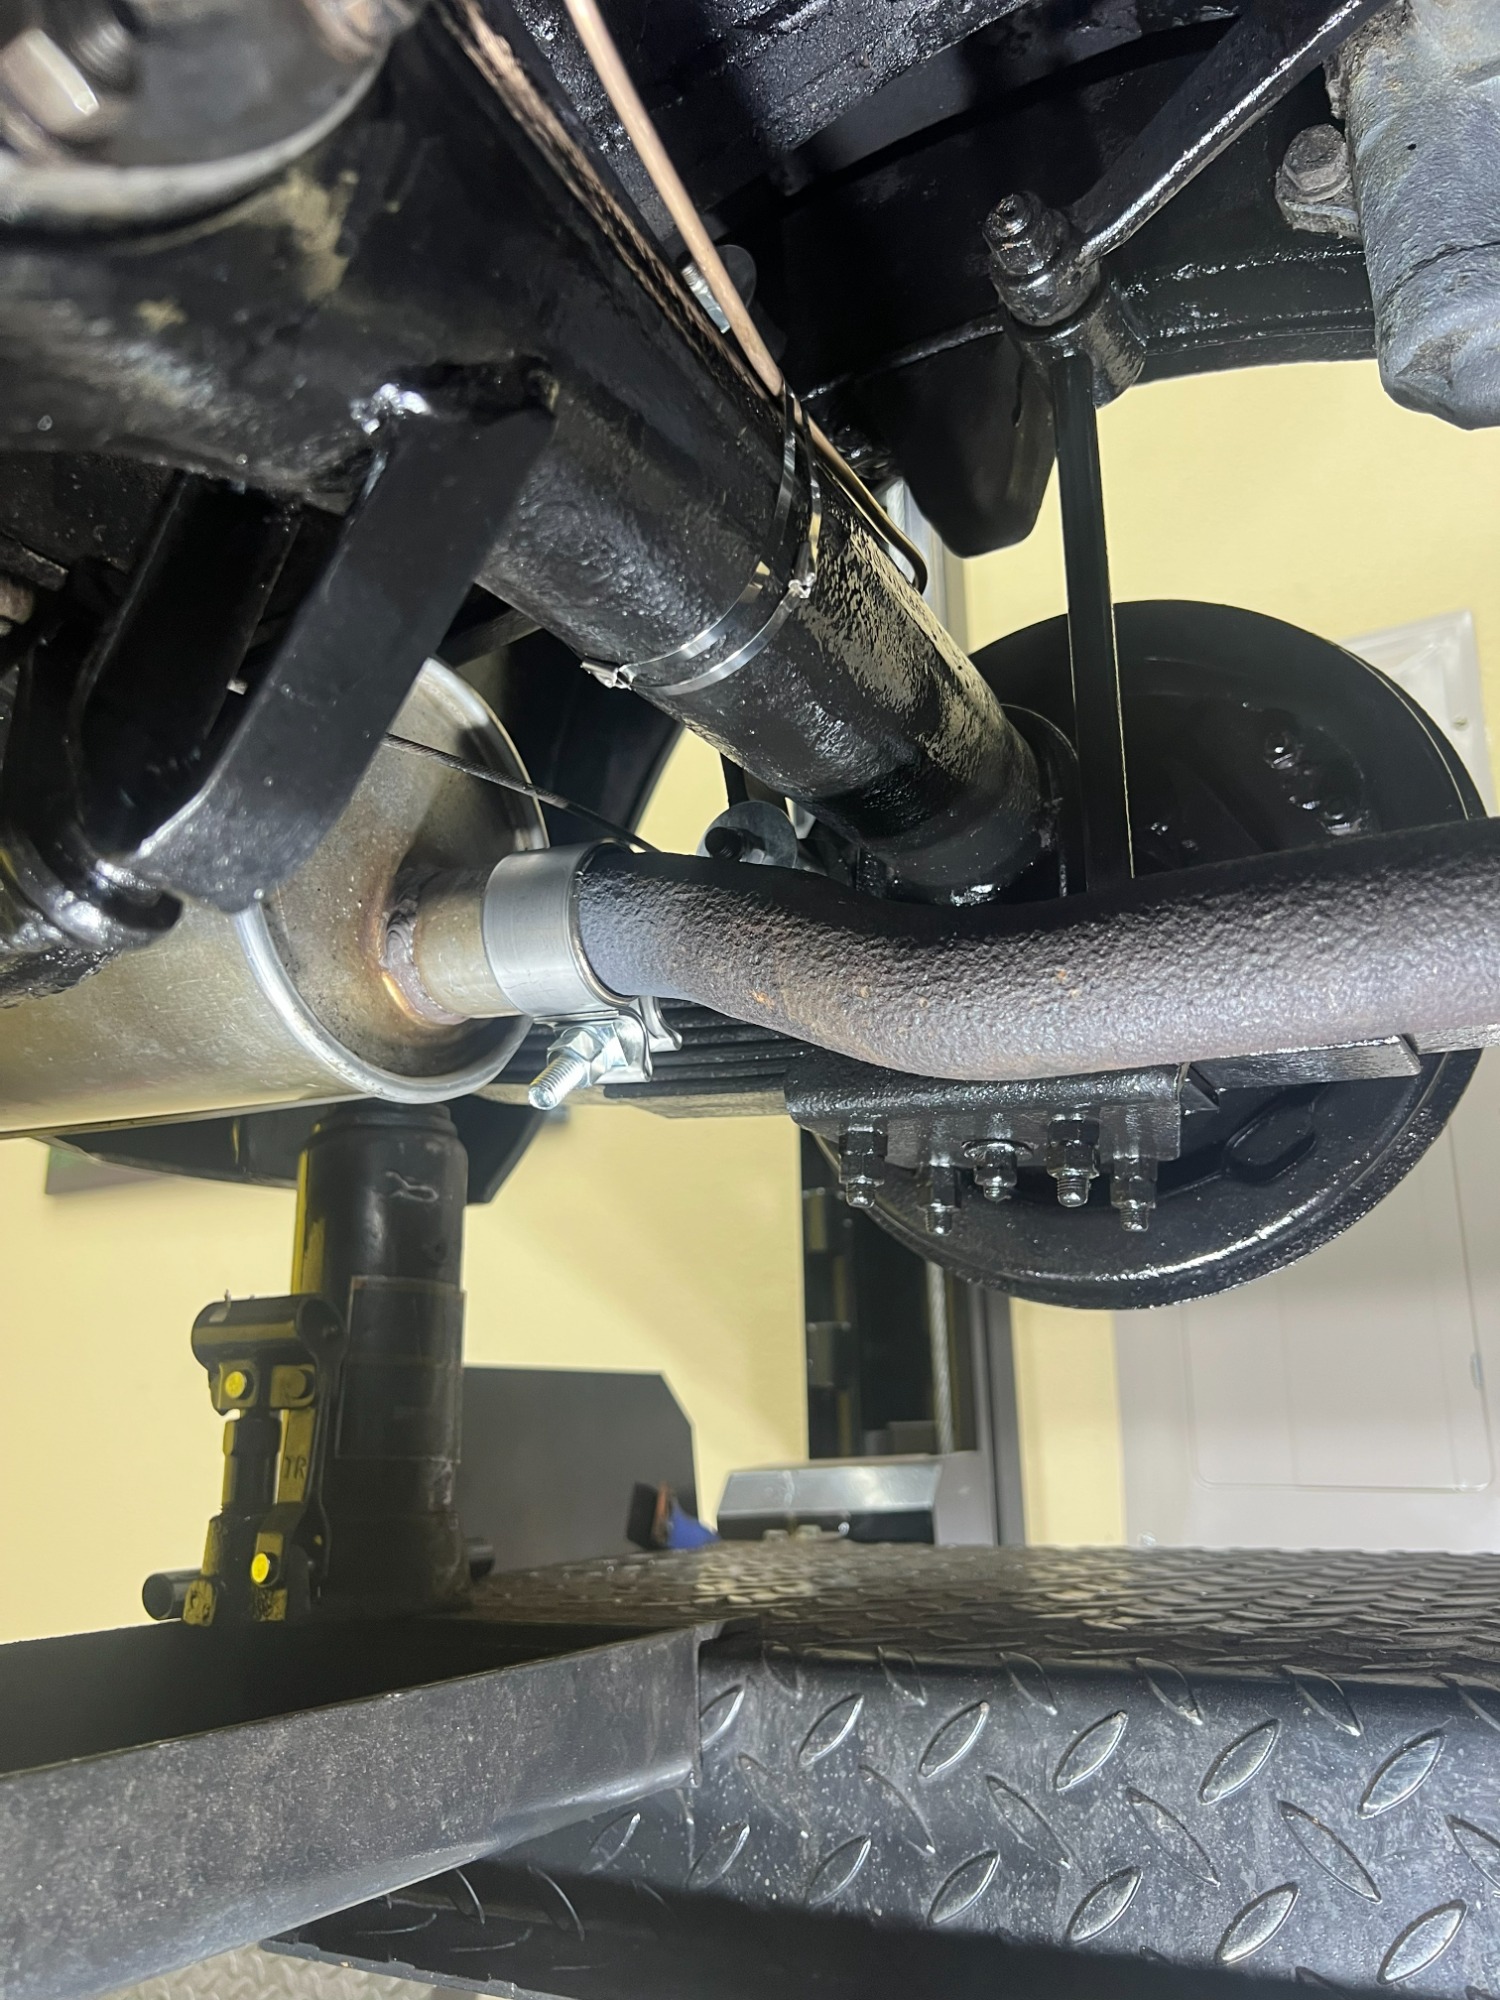
At some point, the previous owner had sprayed the entire undercarriage with a tar-like protective coating. In some areas, the coating was extremely thick; in others, there was barely any coverage at all. I knew this was going to be a big job, but I wasn’t ready to tackle it immediately. In the meantime, I treated the exposed areas with BOESHIELD T-9® Rust & Corrosion Protection, which worked surprisingly well and gave me some time before taking on the larger project.
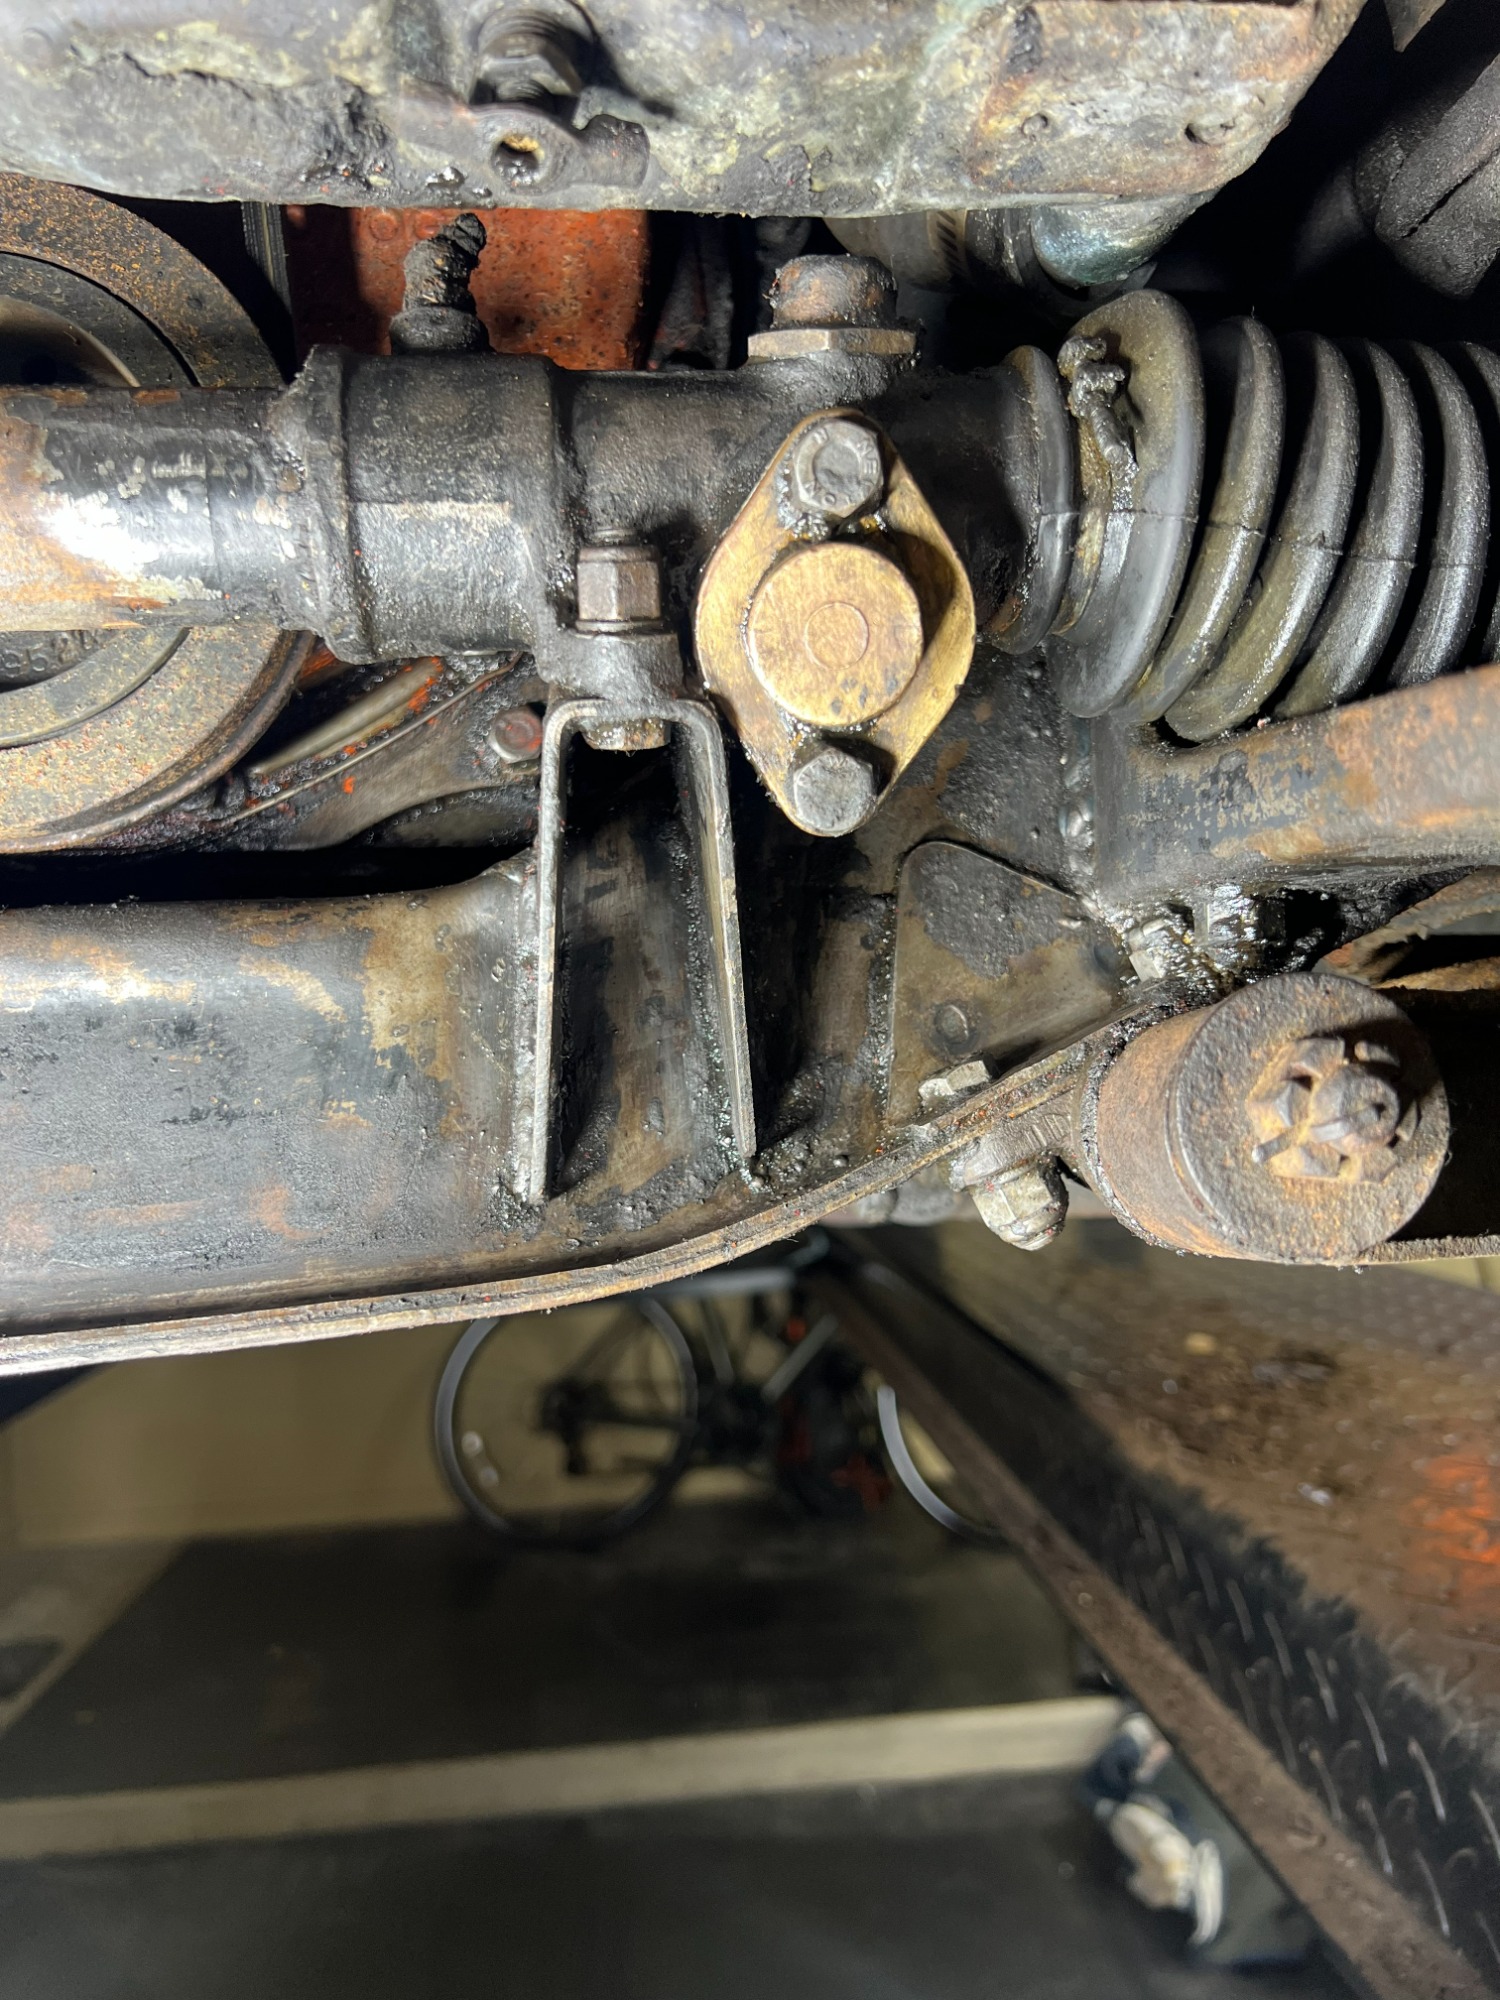
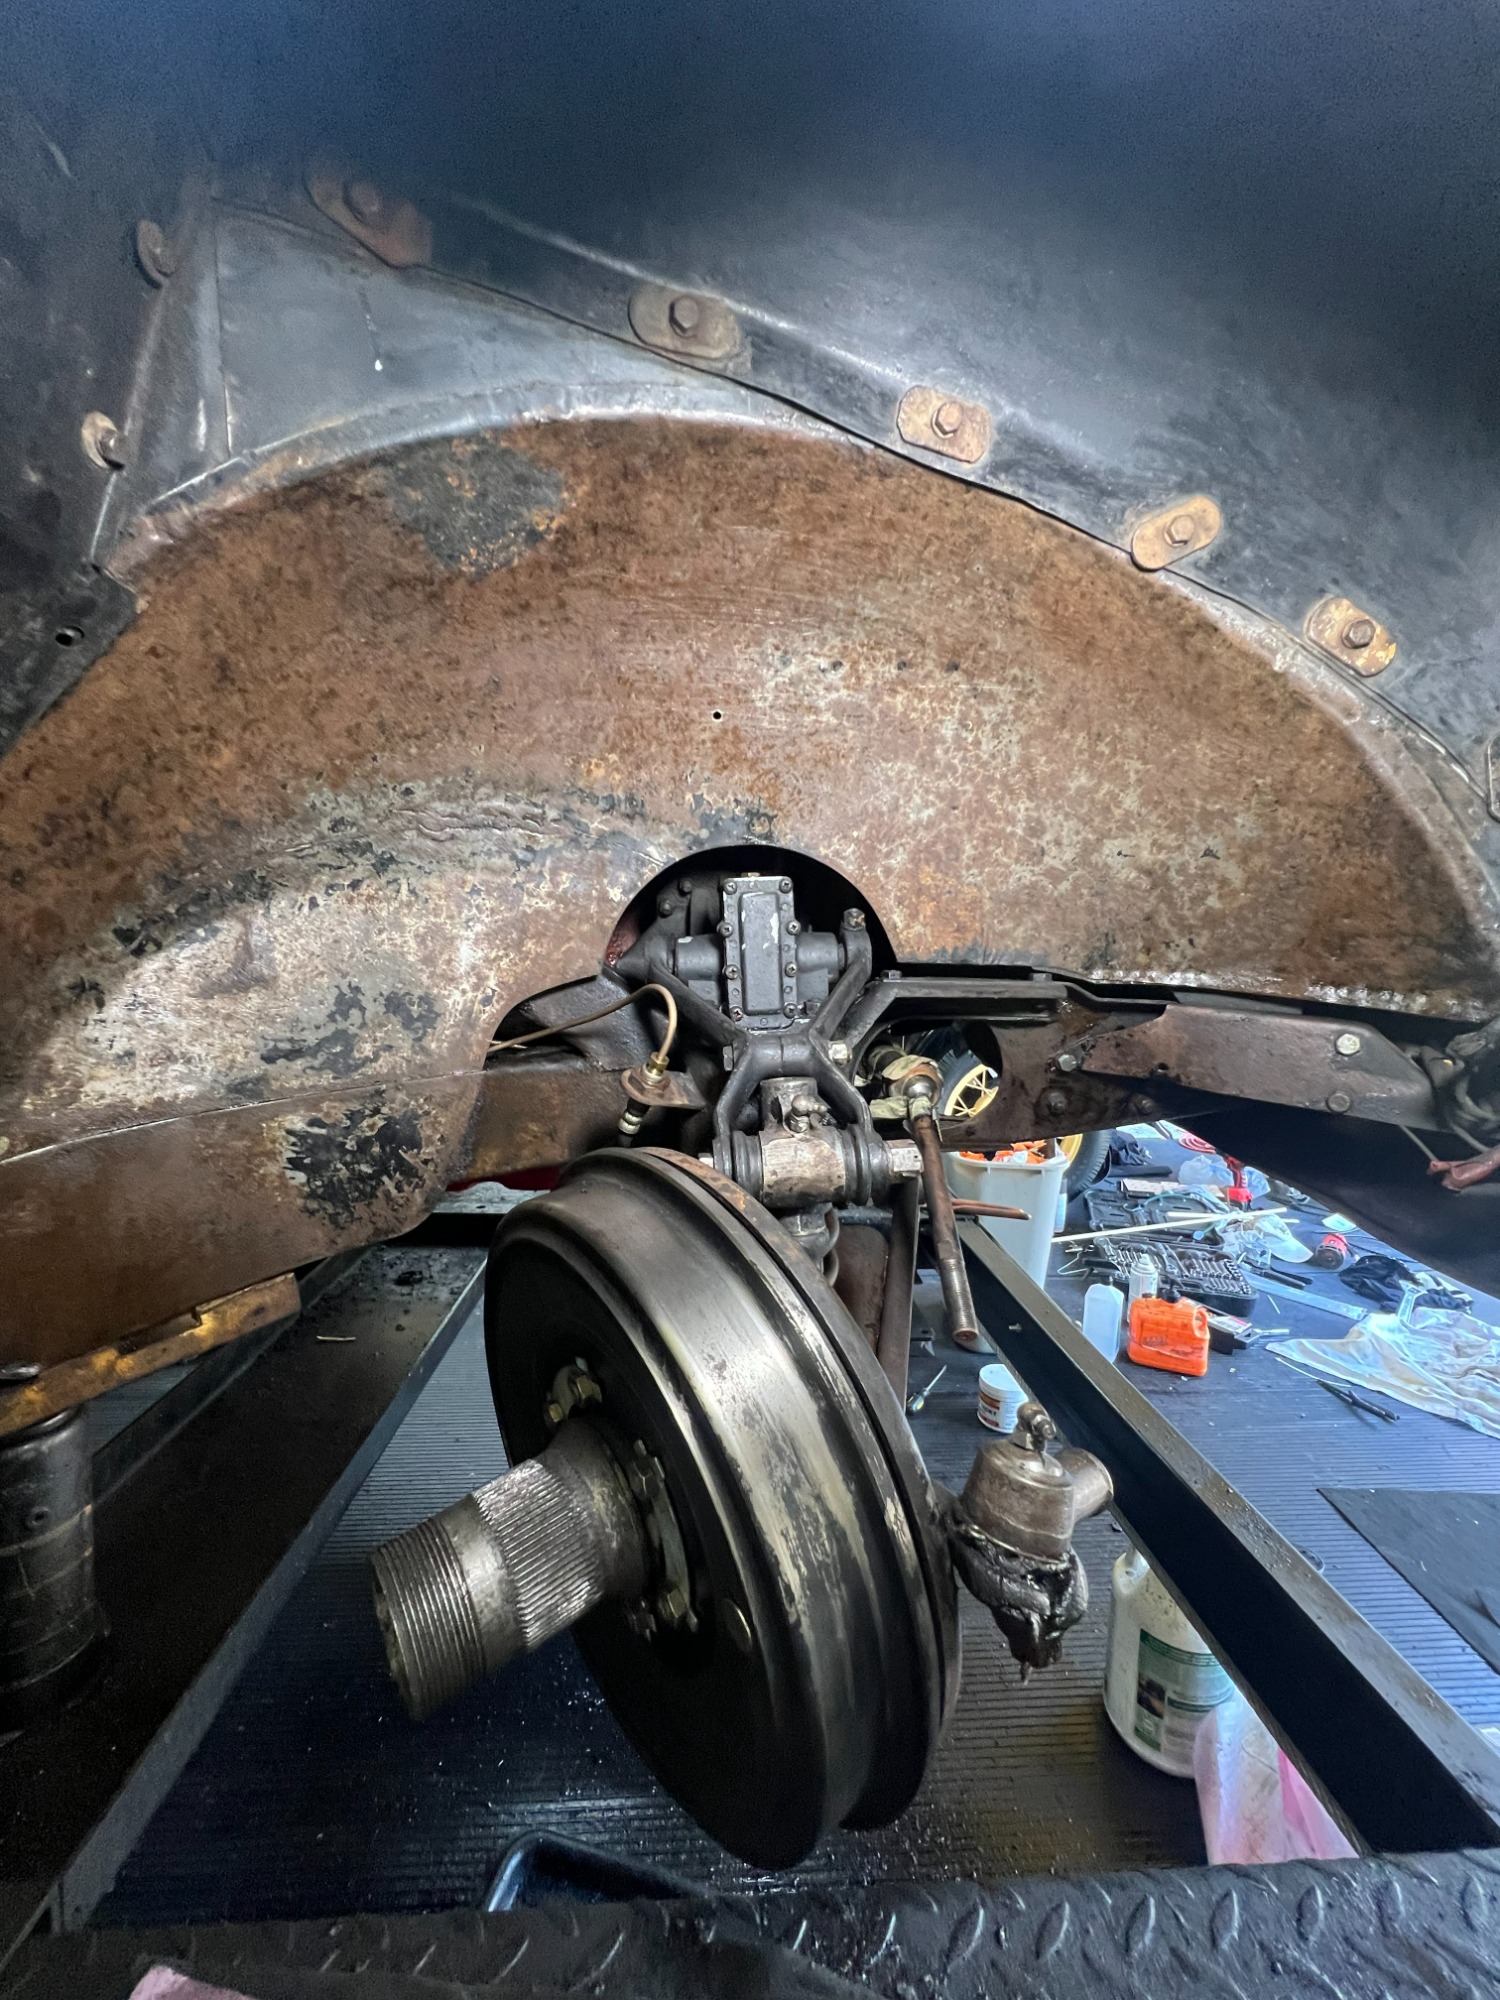
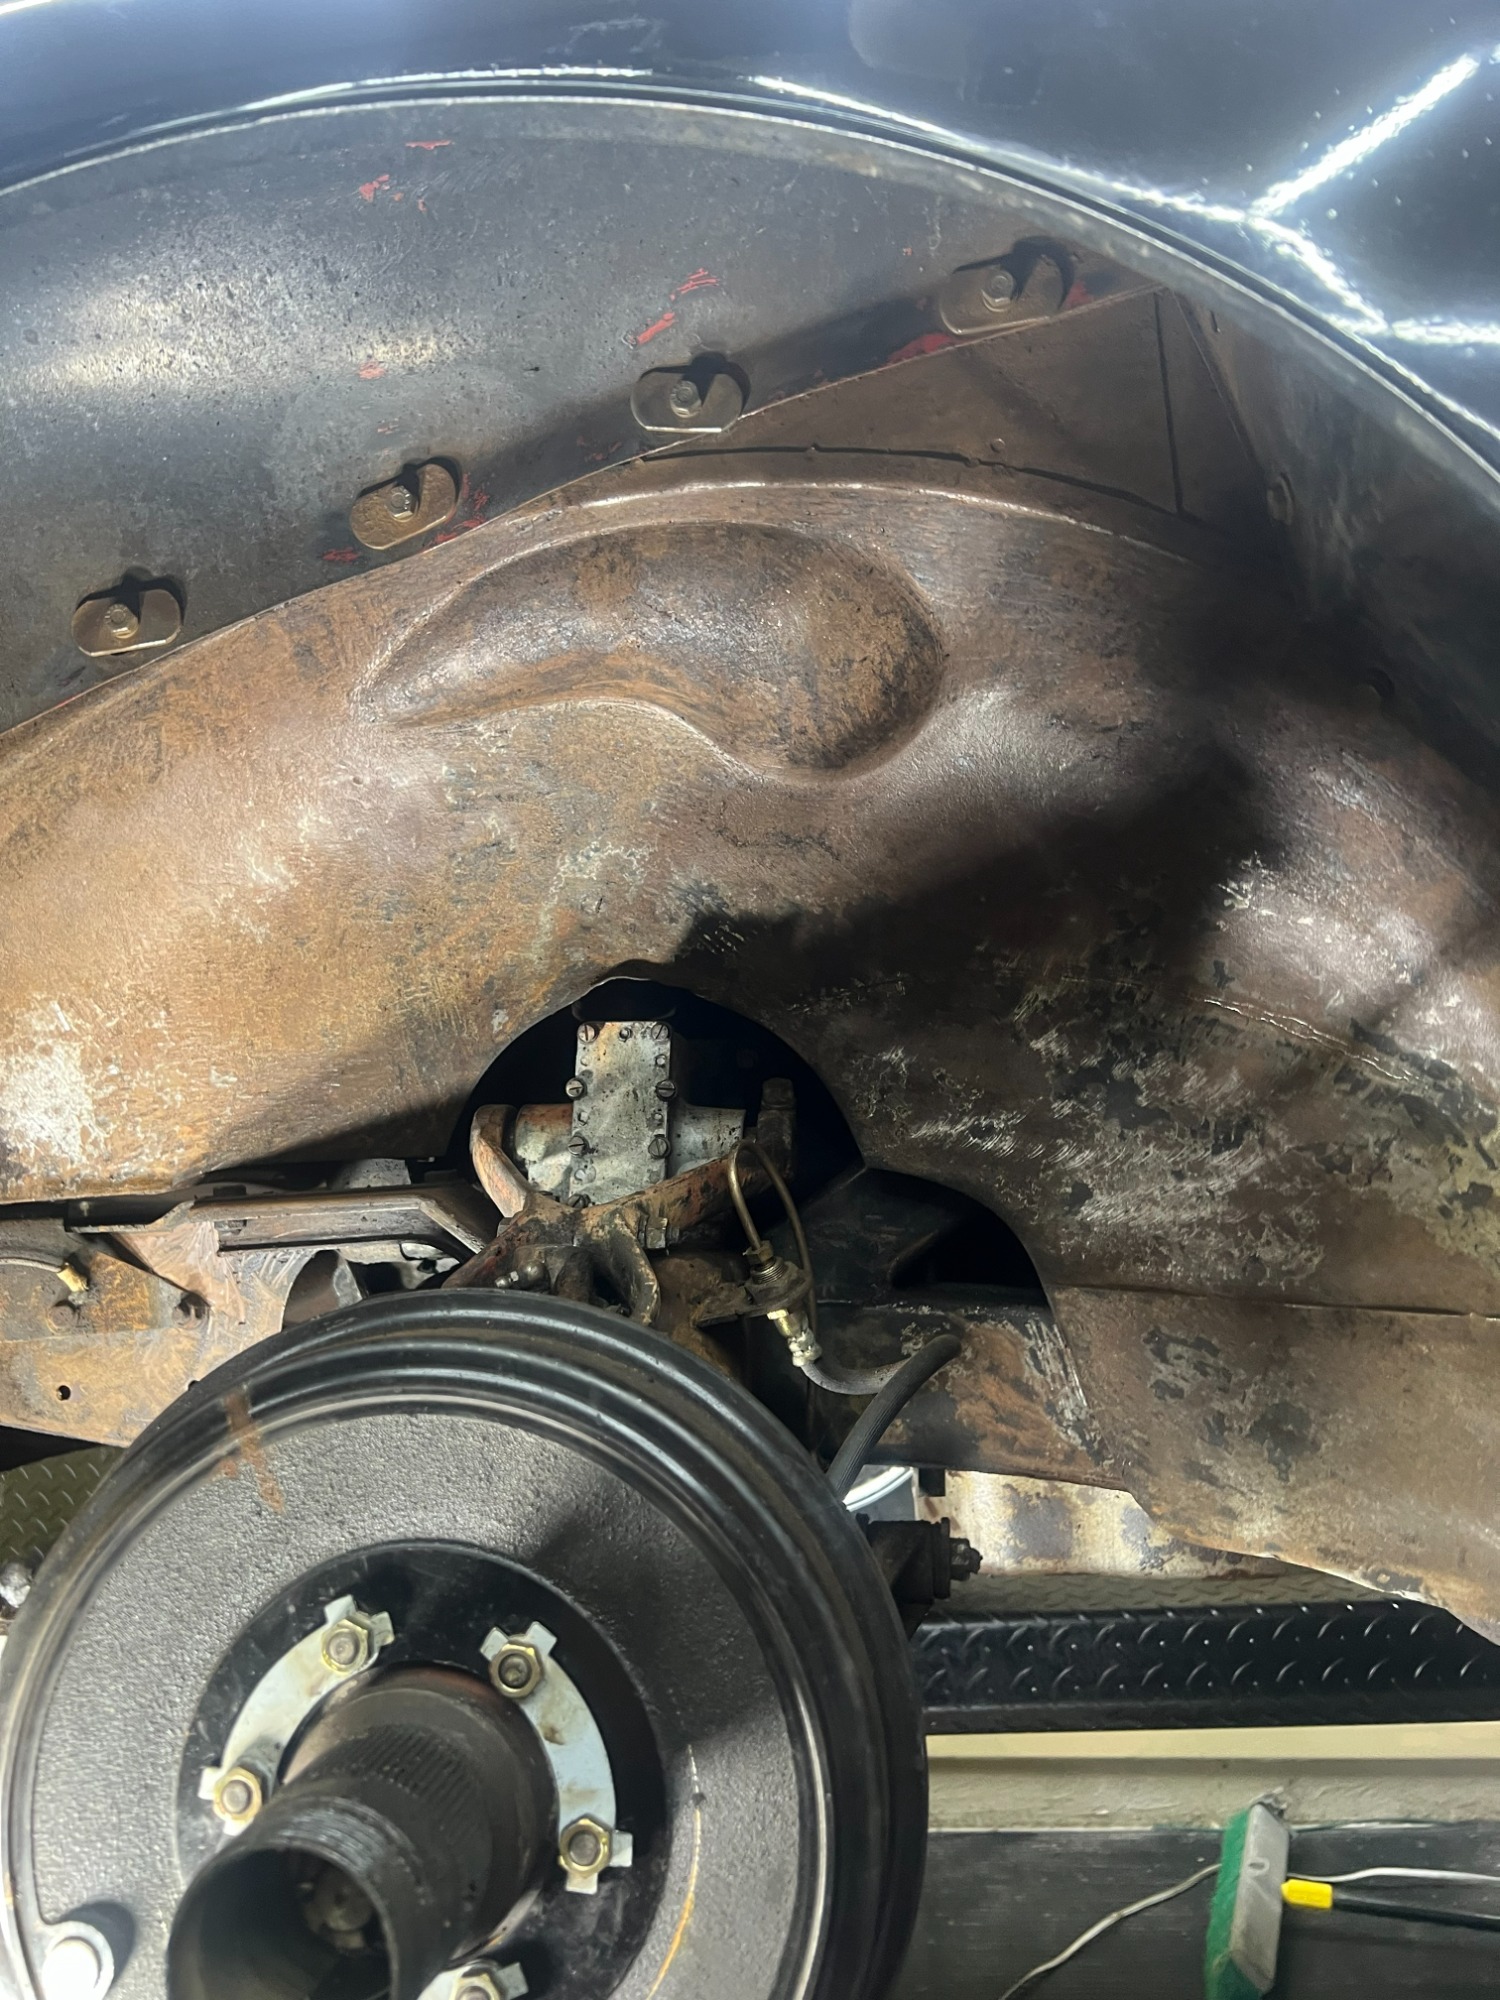
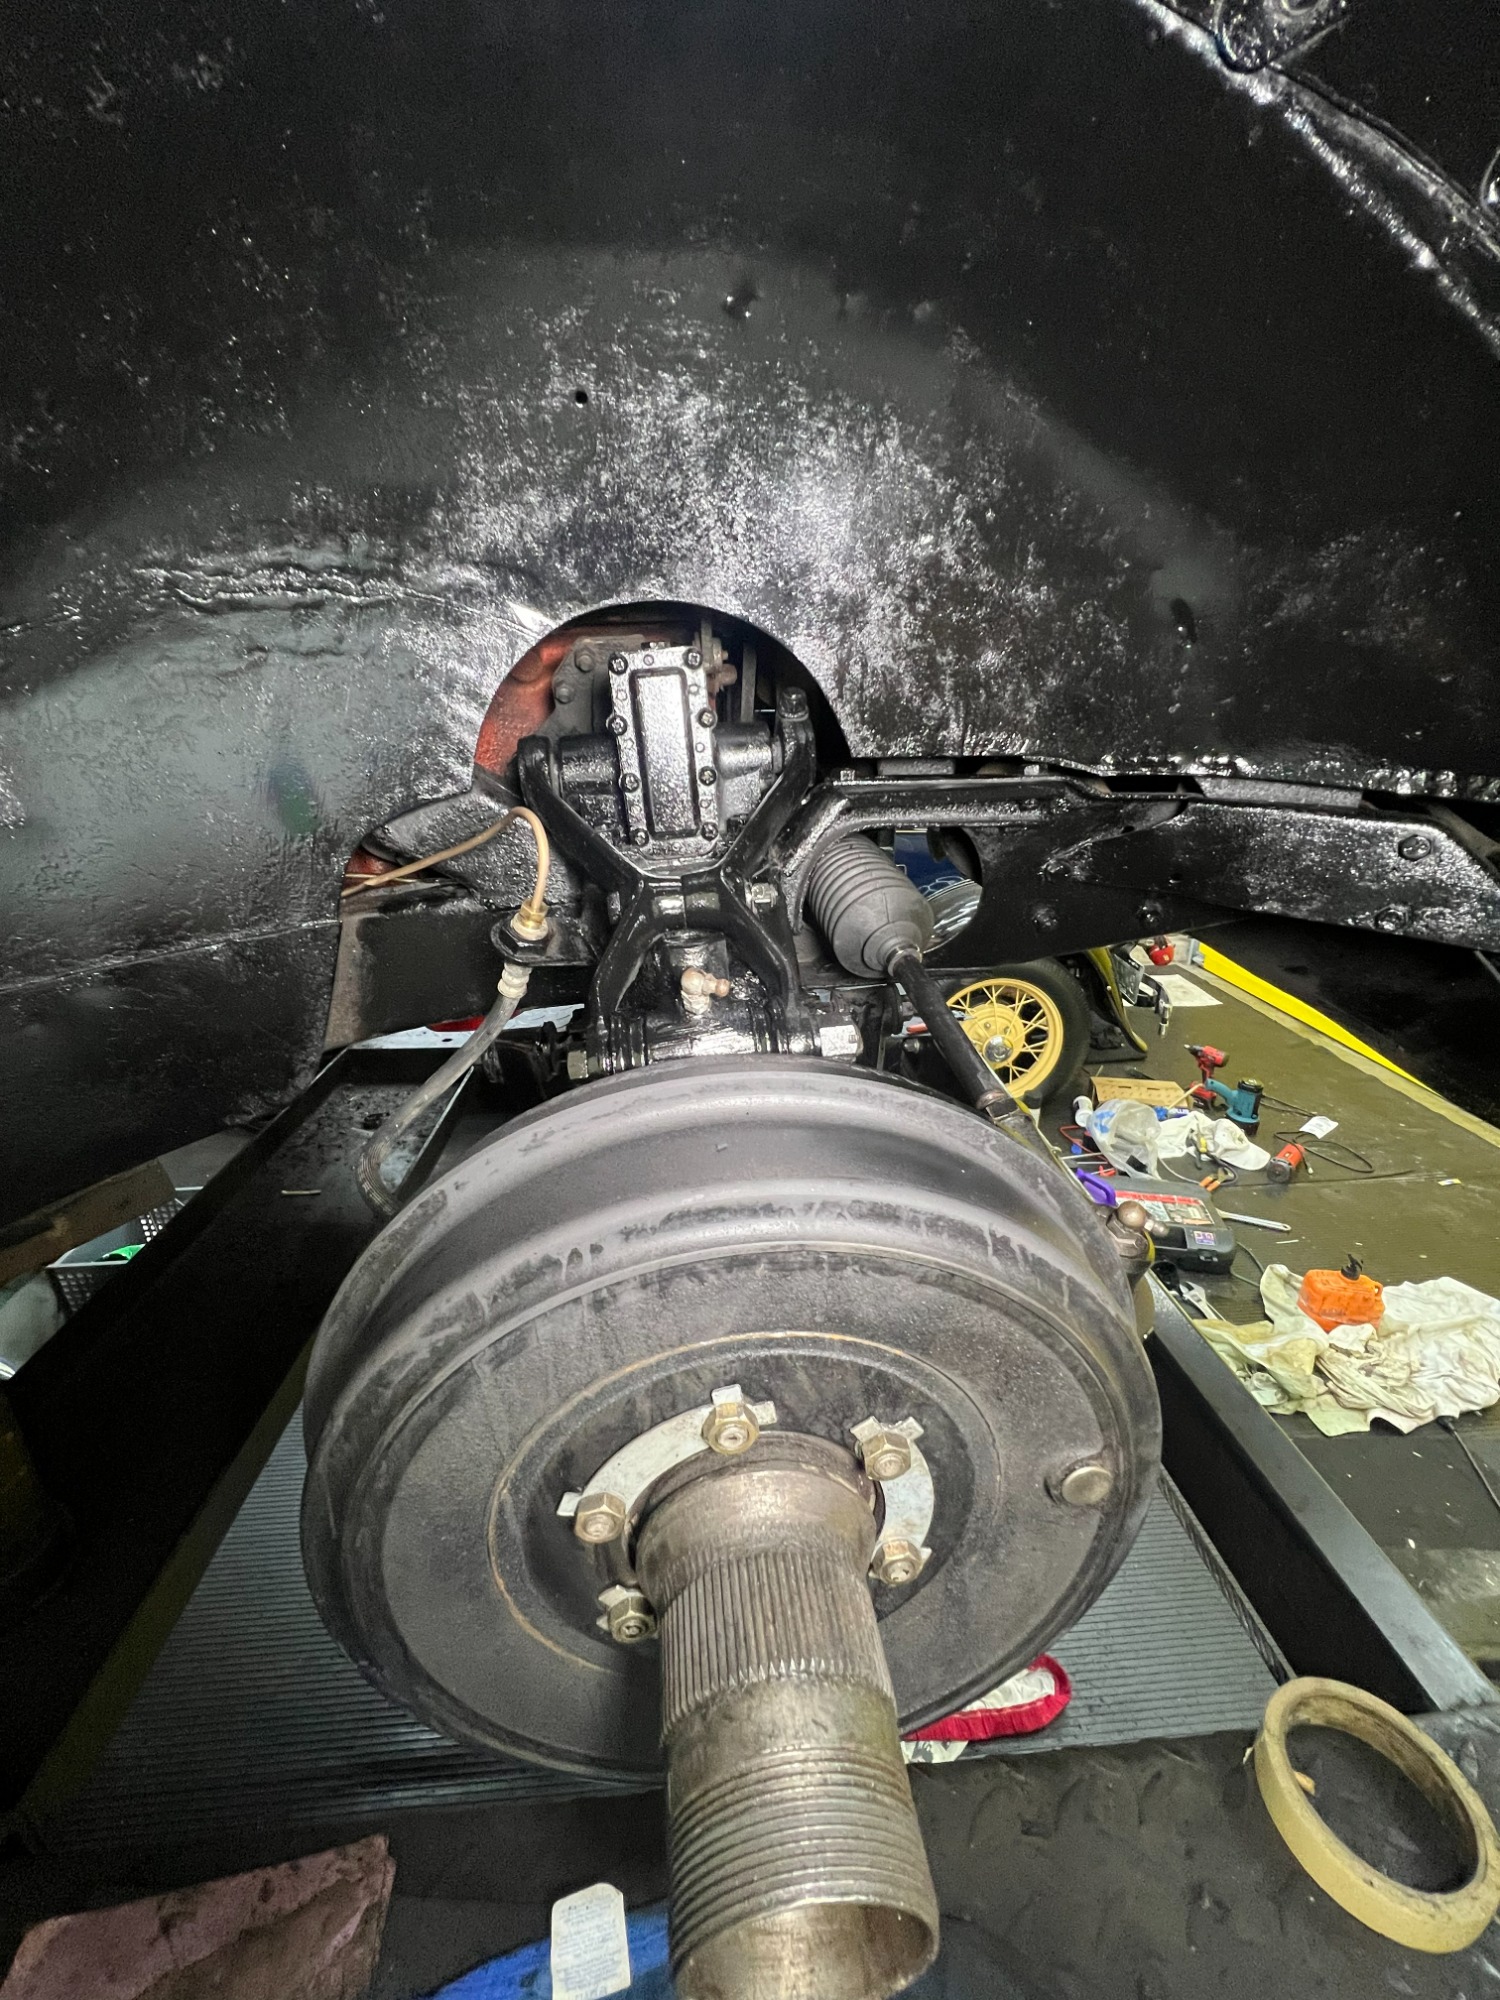
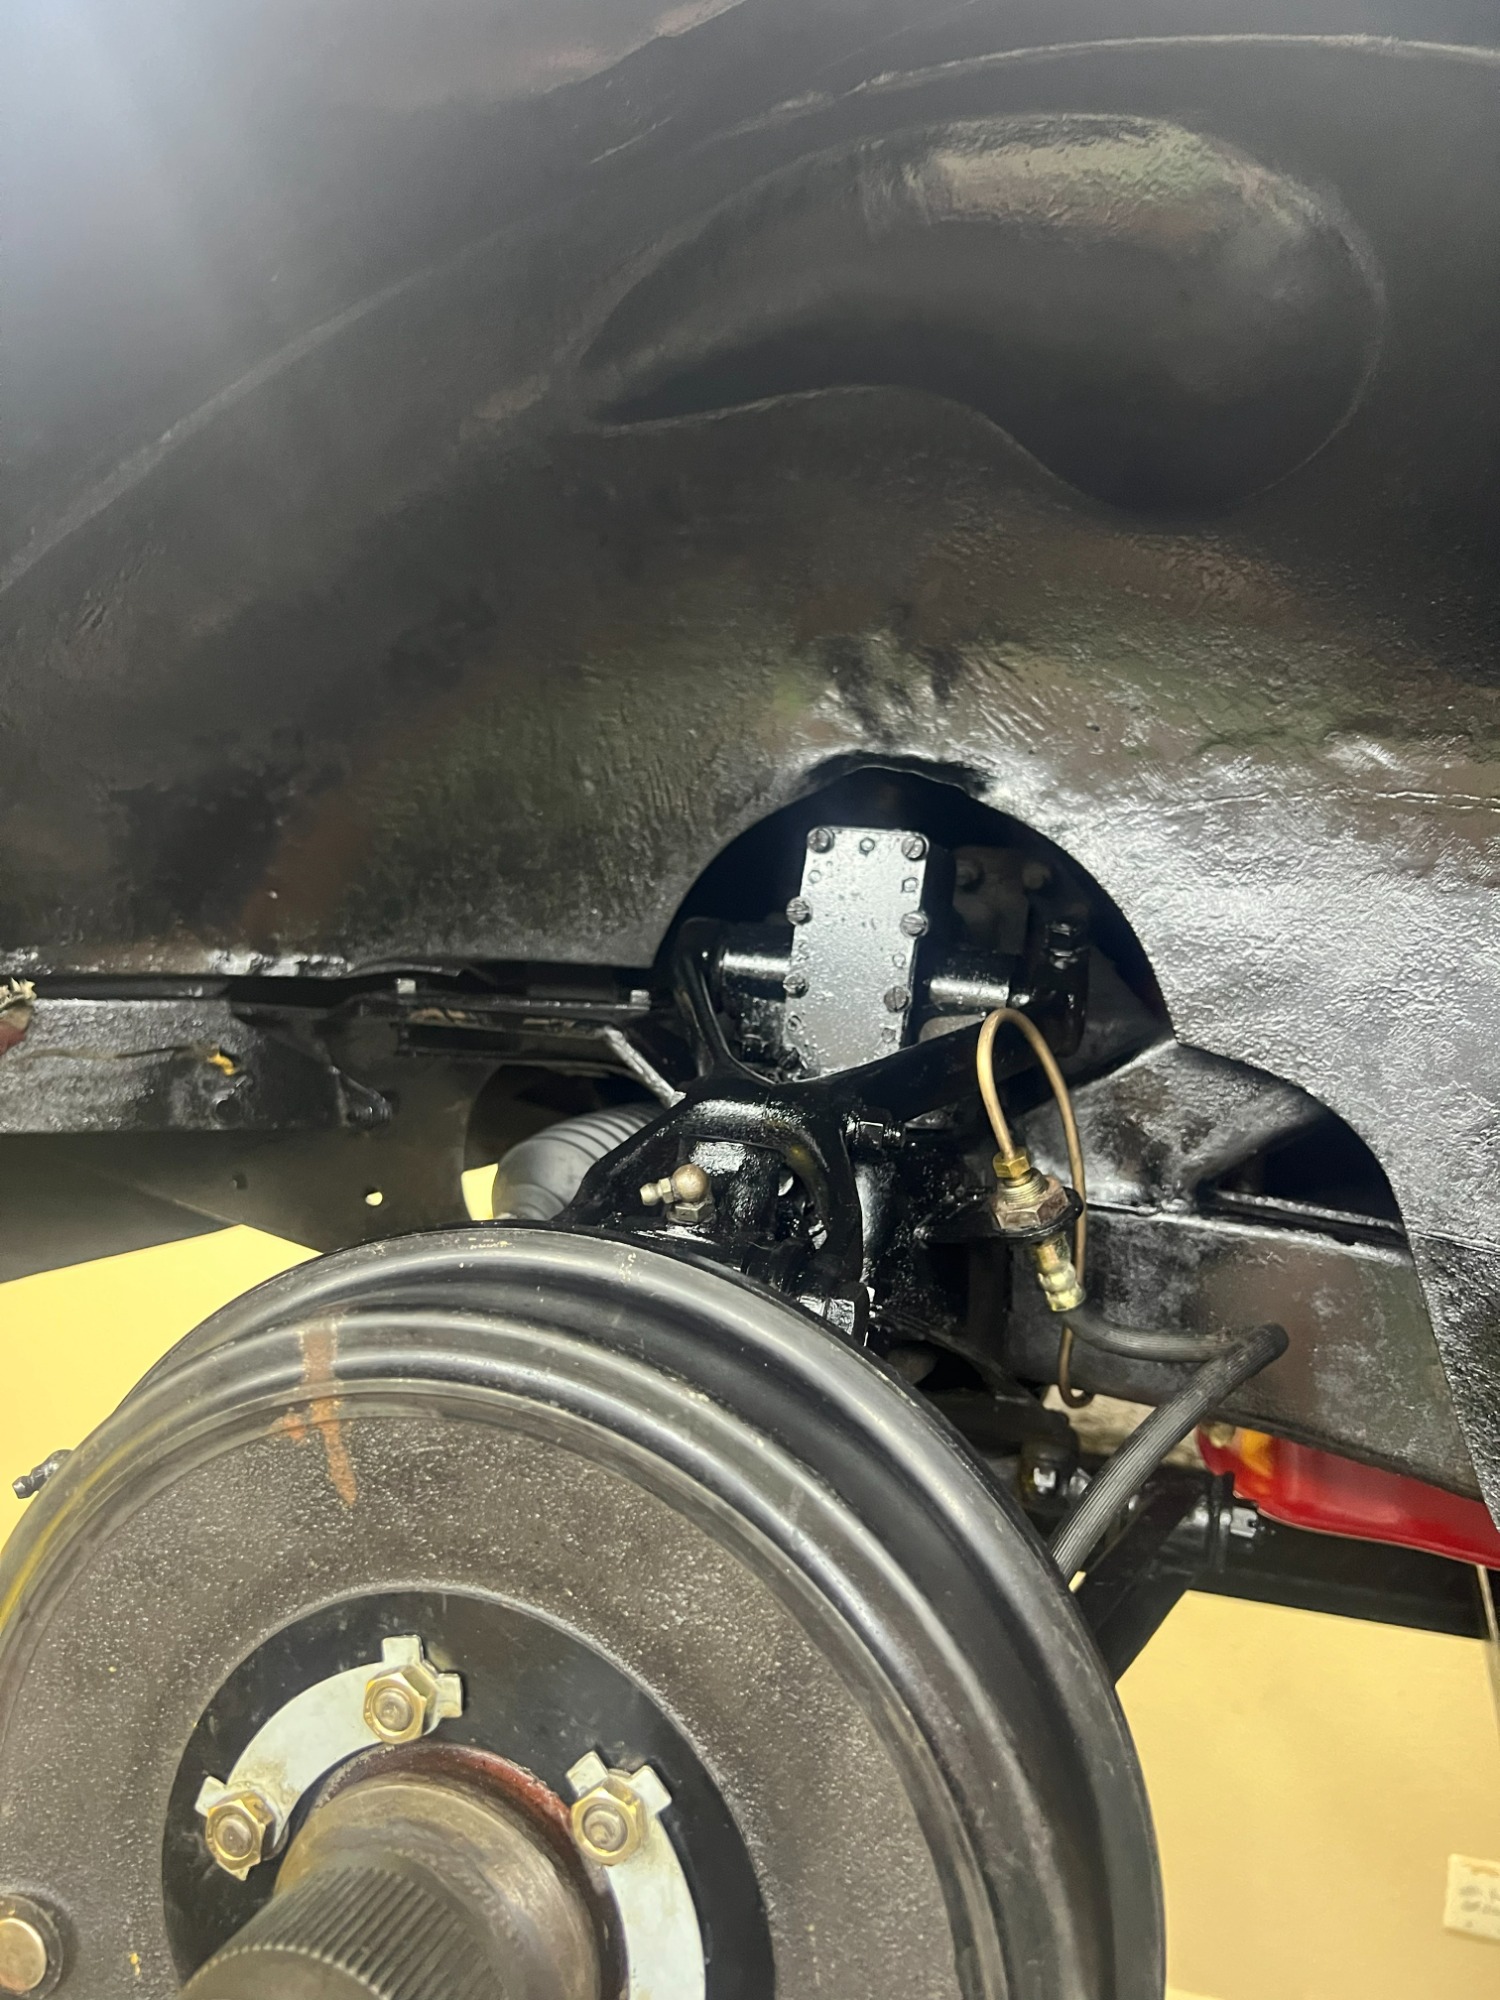
Eventually, I decided it was time to do it properly. Removing that old tar coating turned into a project of its own. I spent a lot of time experimenting with different products and methods—degreaser, parts cleaner, and even Easy-Off oven cleaner. Nothing made the job easy, but little by little I was able to remove the old coating and get down to the original metal so I could see what I was actually dealing with.
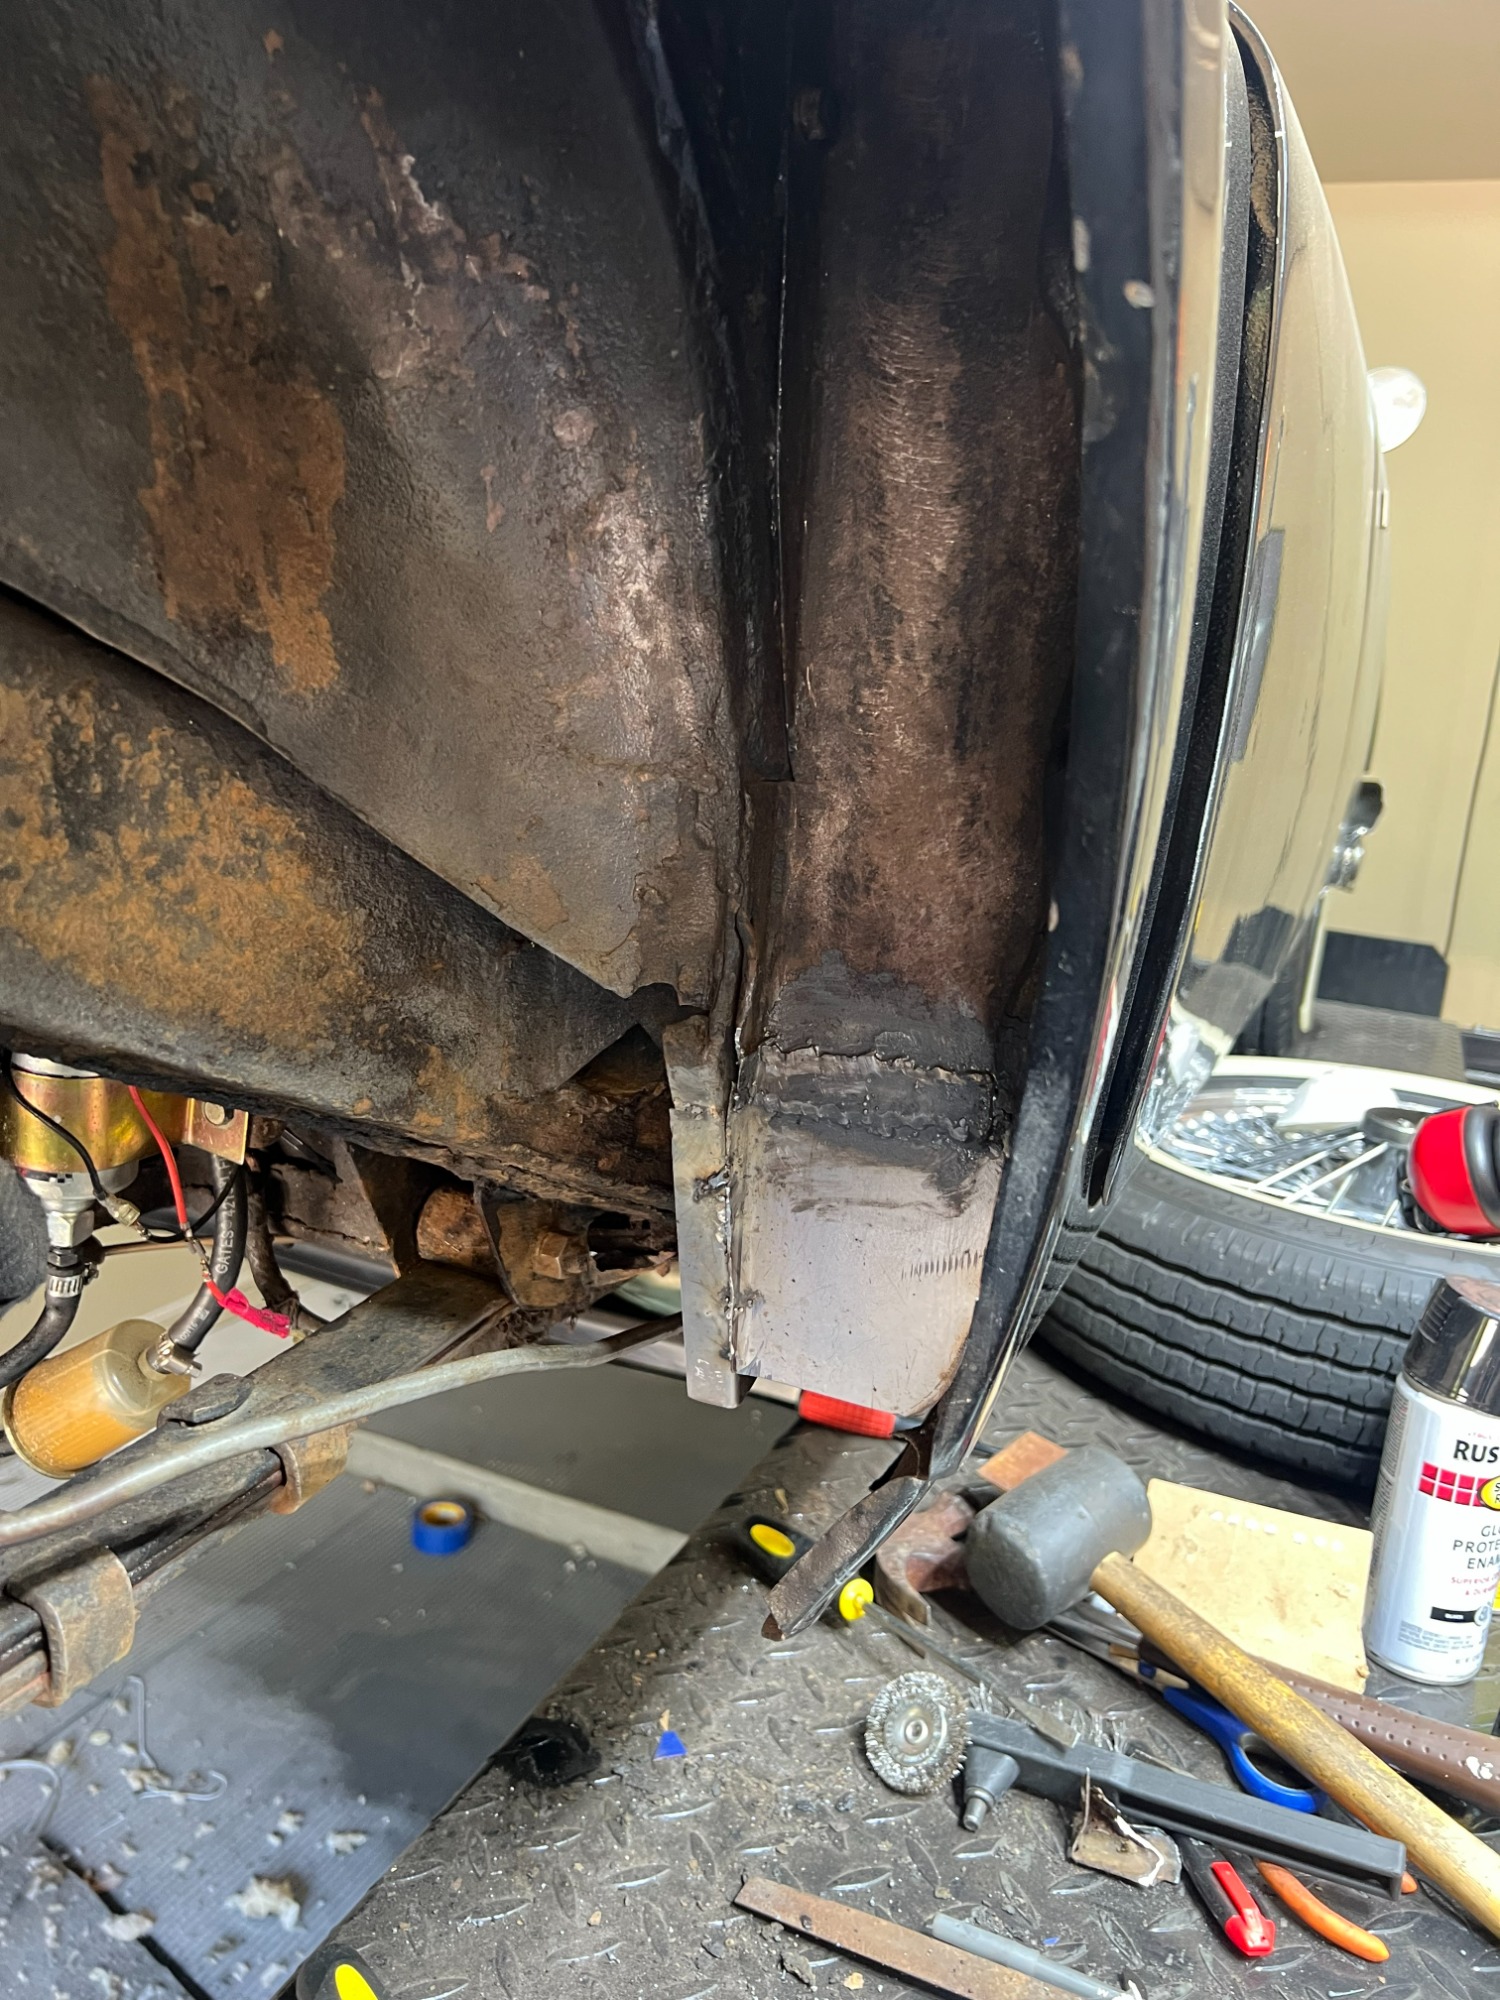
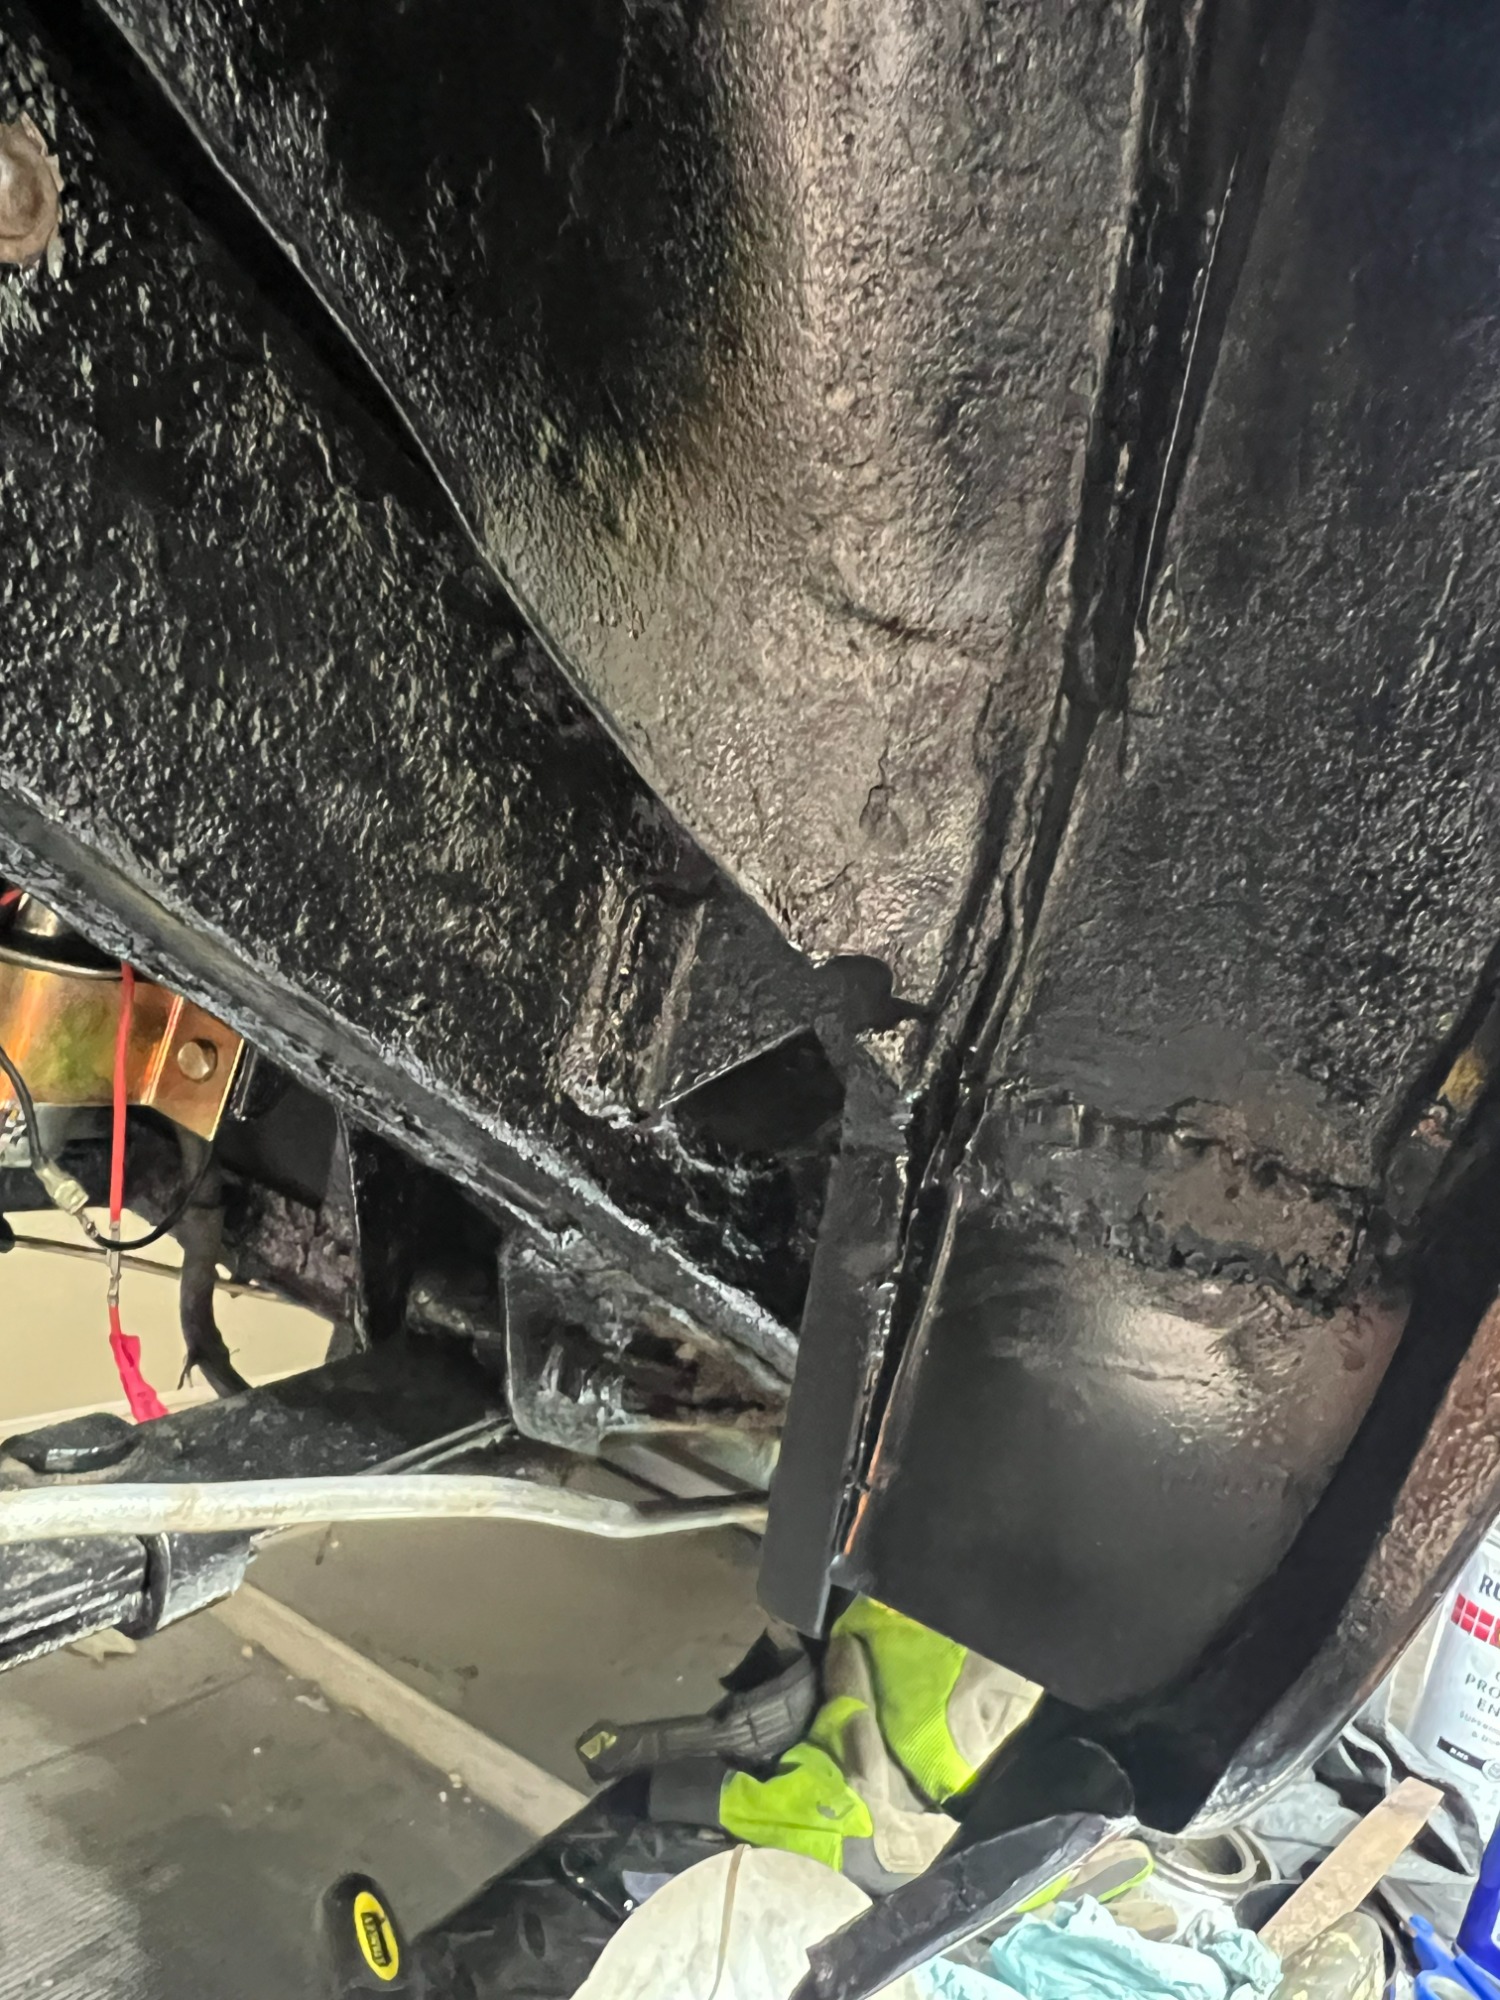
Once everything was exposed, I found some areas that needed real structural attention. One of the most important was the metal corners supporting the driver’s-side floor. The original metal was badly deteriorated, so I cut out the damaged sections and welded in new metal corners. It was more work than I expected, but it was important to restore the structural integrity rather than simply cover the rust.
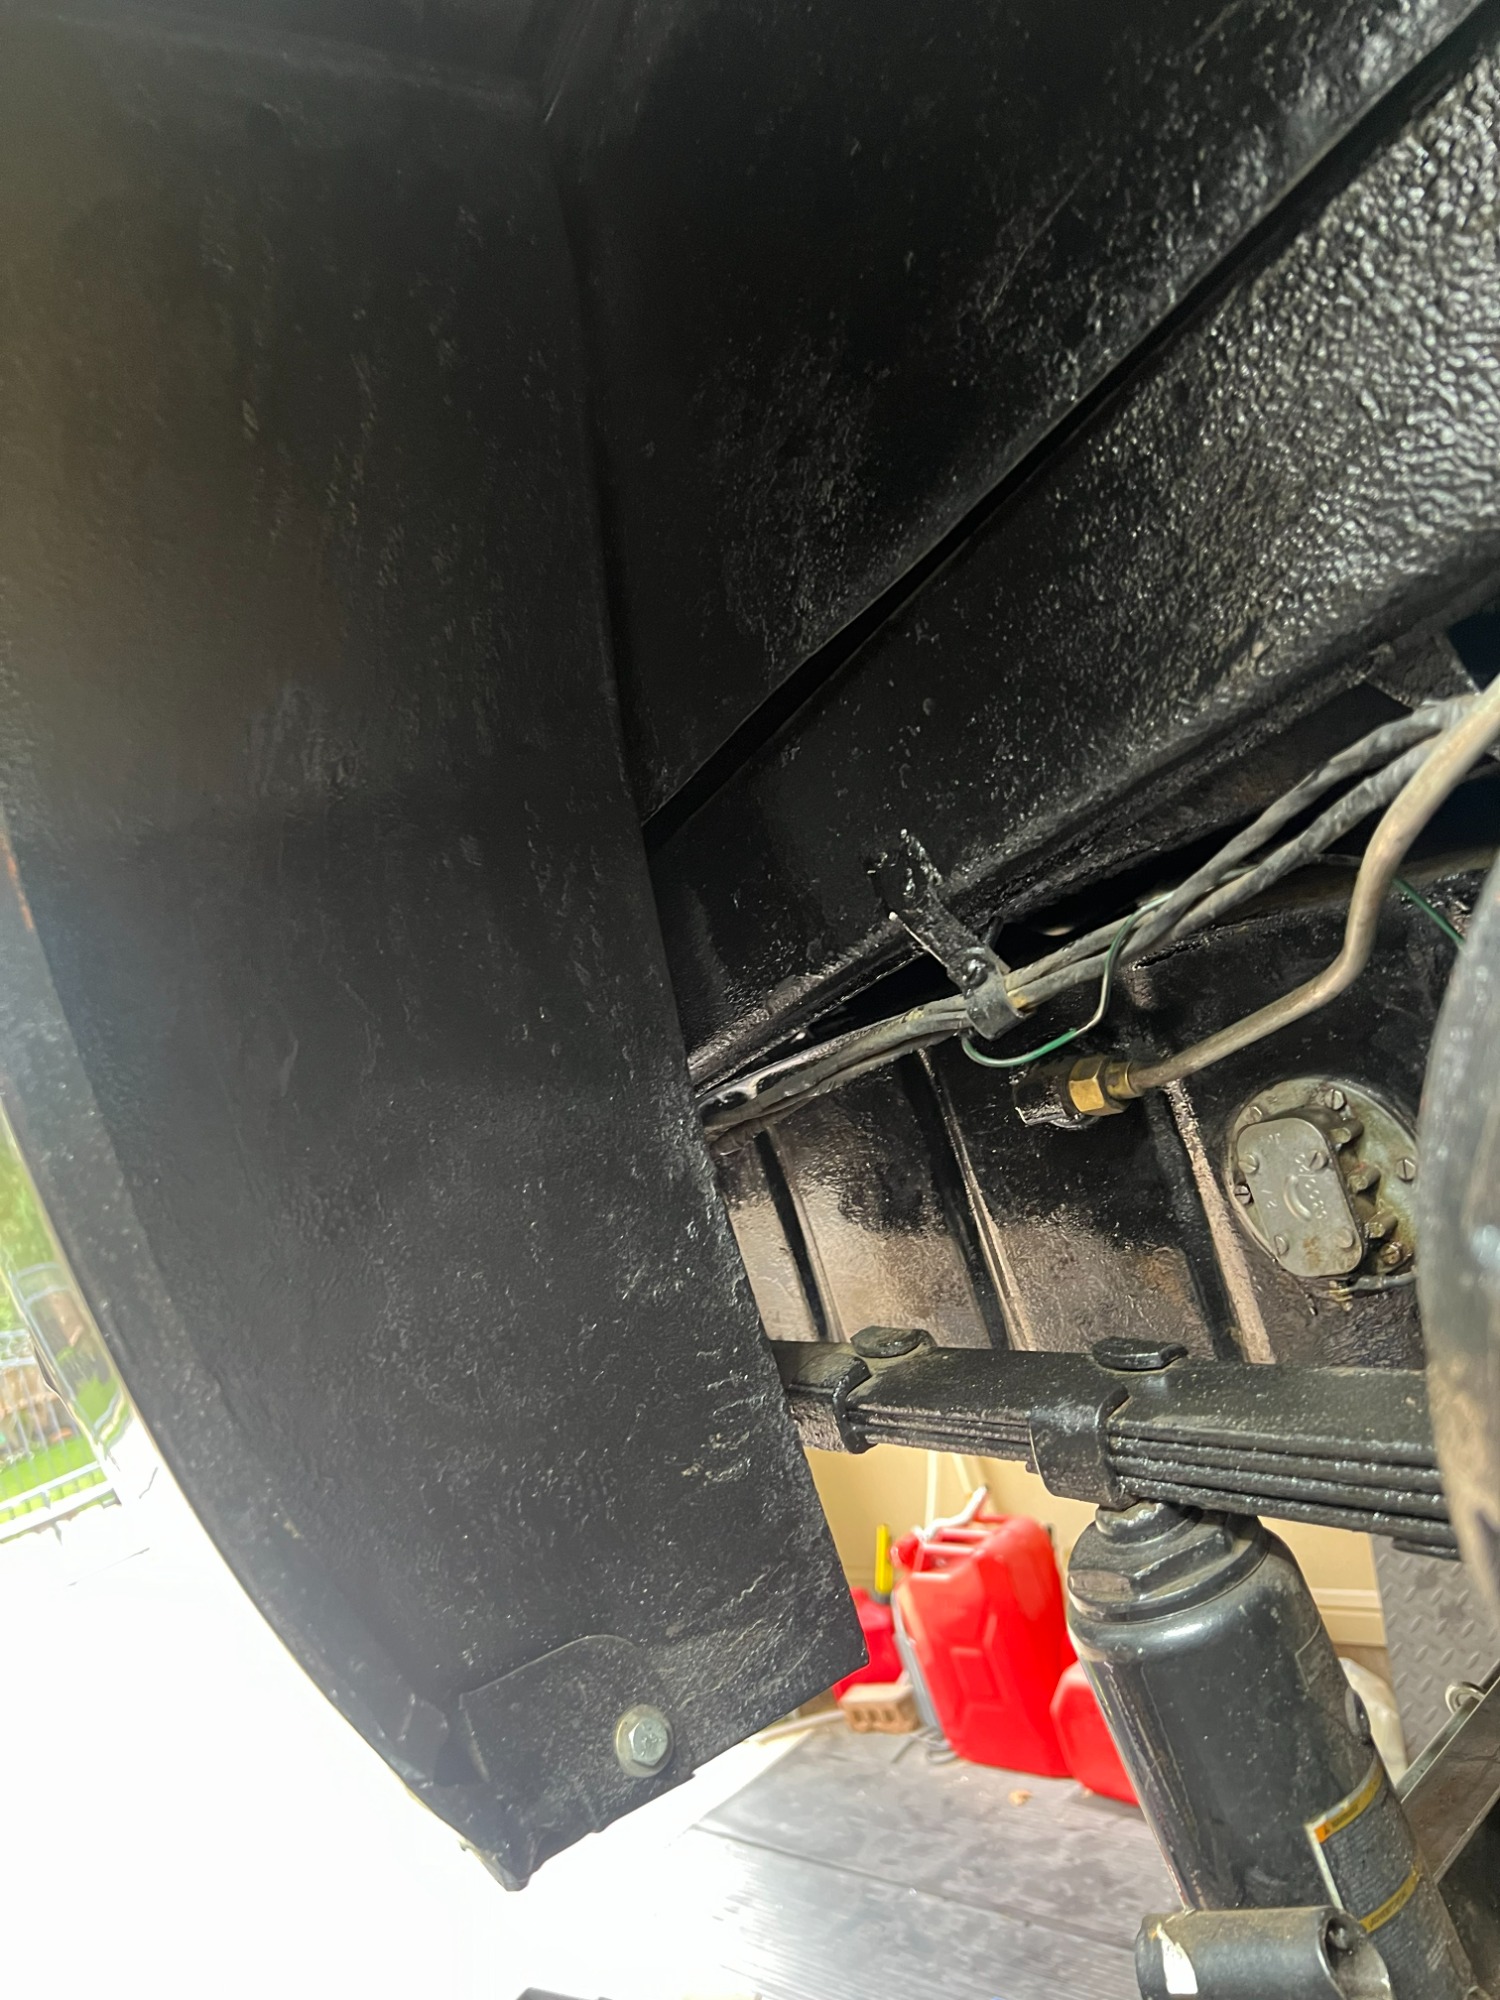
I also found that the inner door sill panels had significant rust. These are made from very thin metal, and replacing them would have turned the project into an even bigger undertaking. Instead, I decided to preserve what was still there as best I could. I cleaned them up, treated the remaining rust, and painted them with Rust-Oleum Specialty Farm & Implement spray paint. For the areas I could reach more easily and properly prepare, I used POR-15 for additional rust protection.
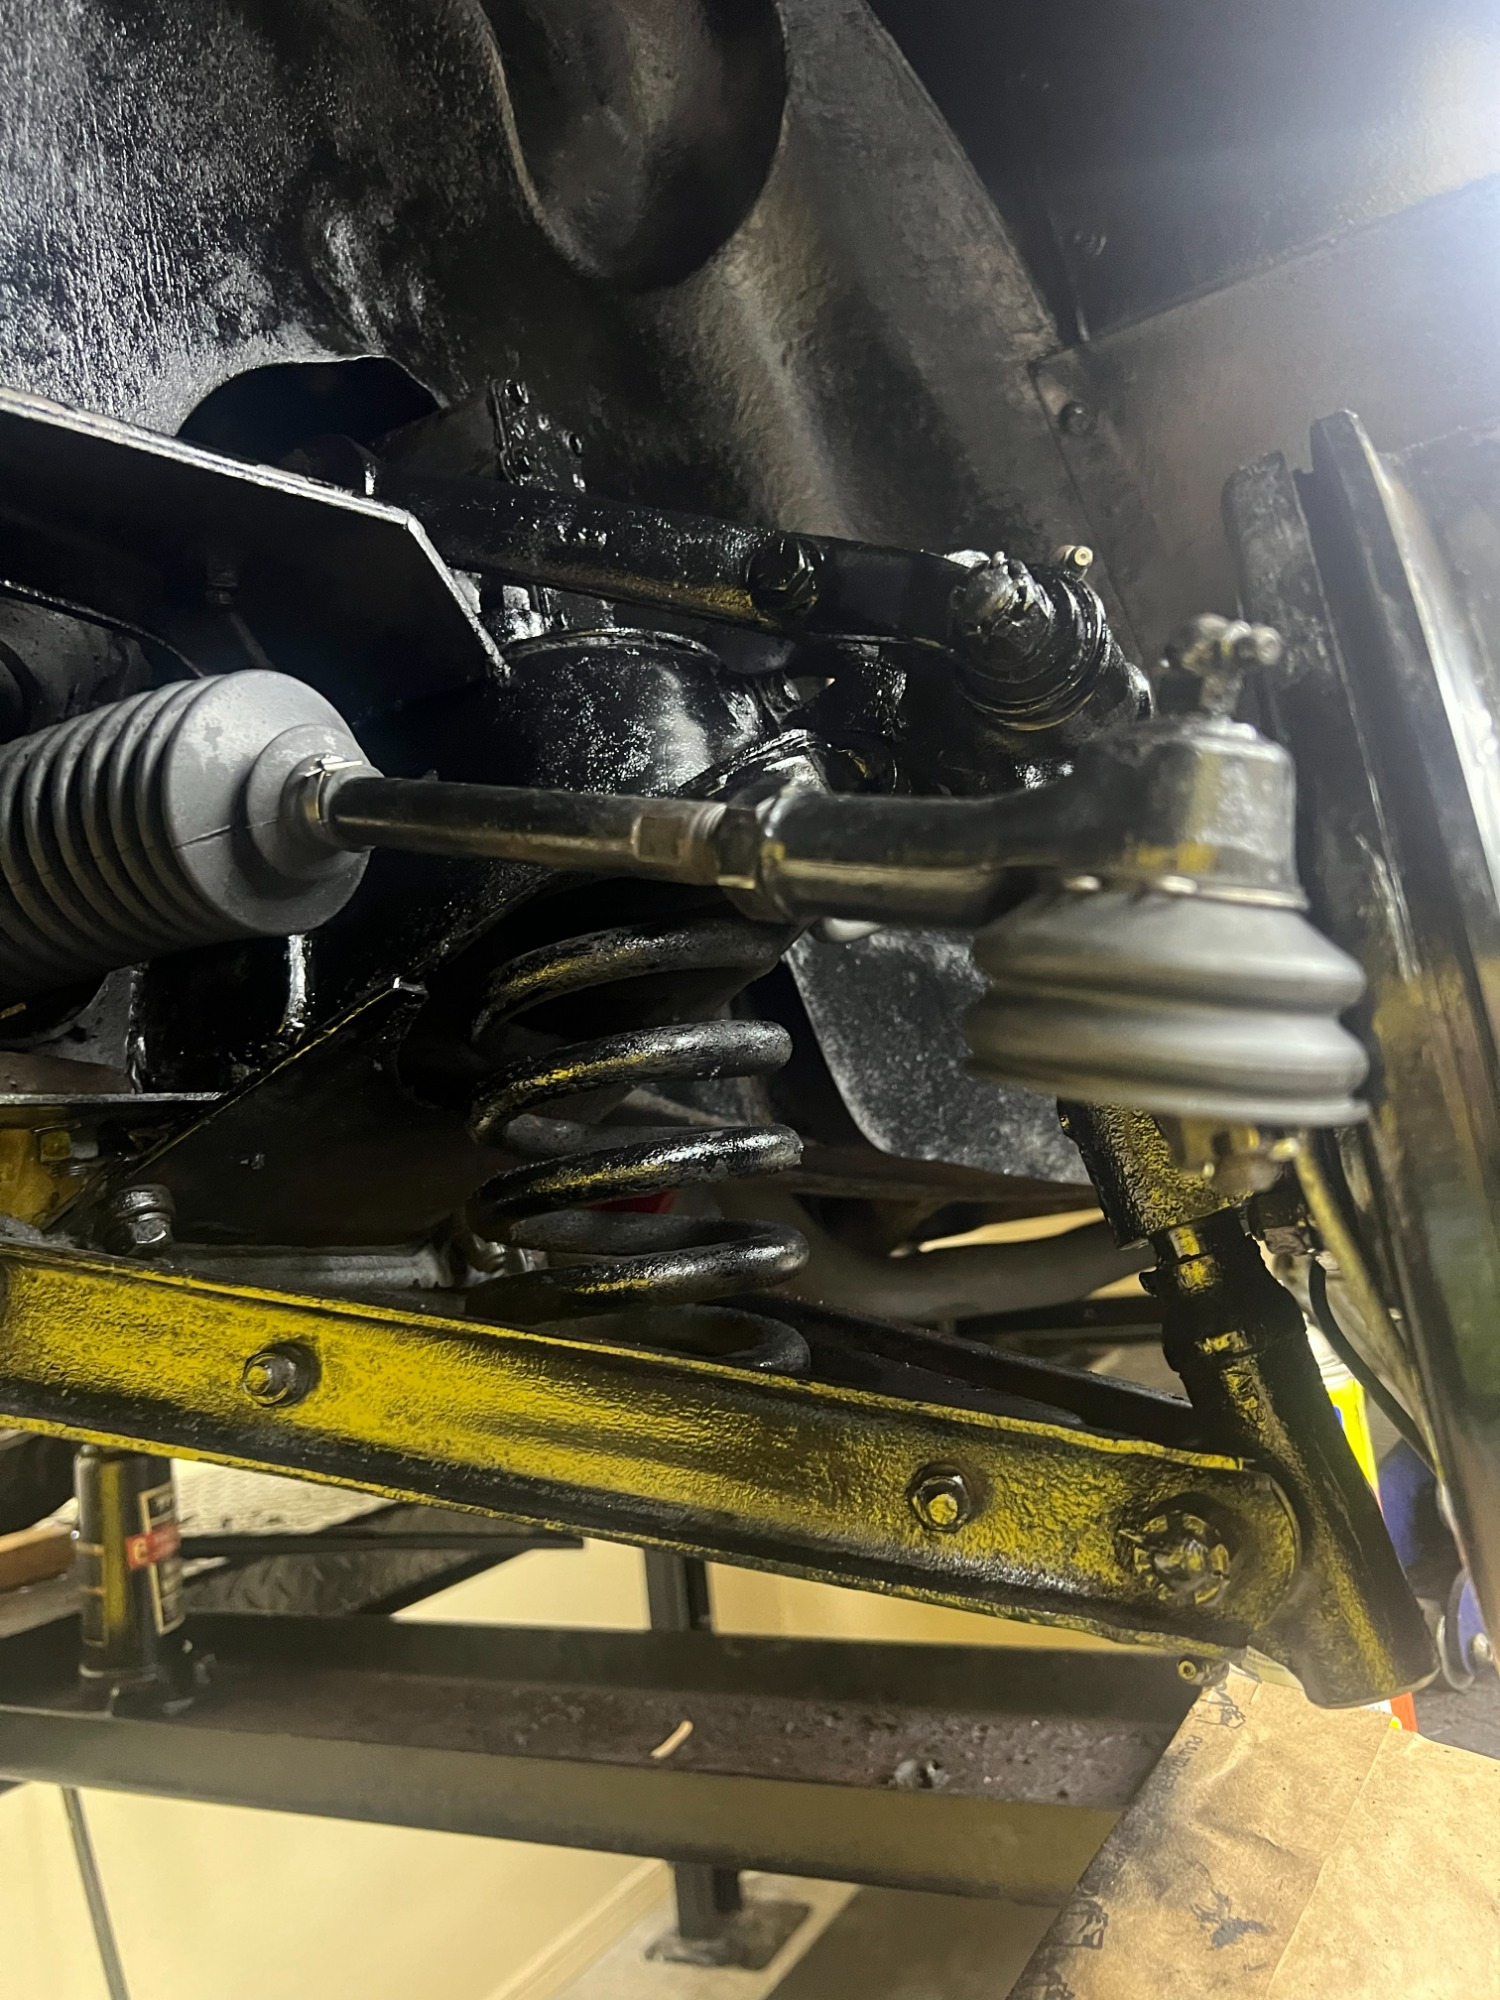
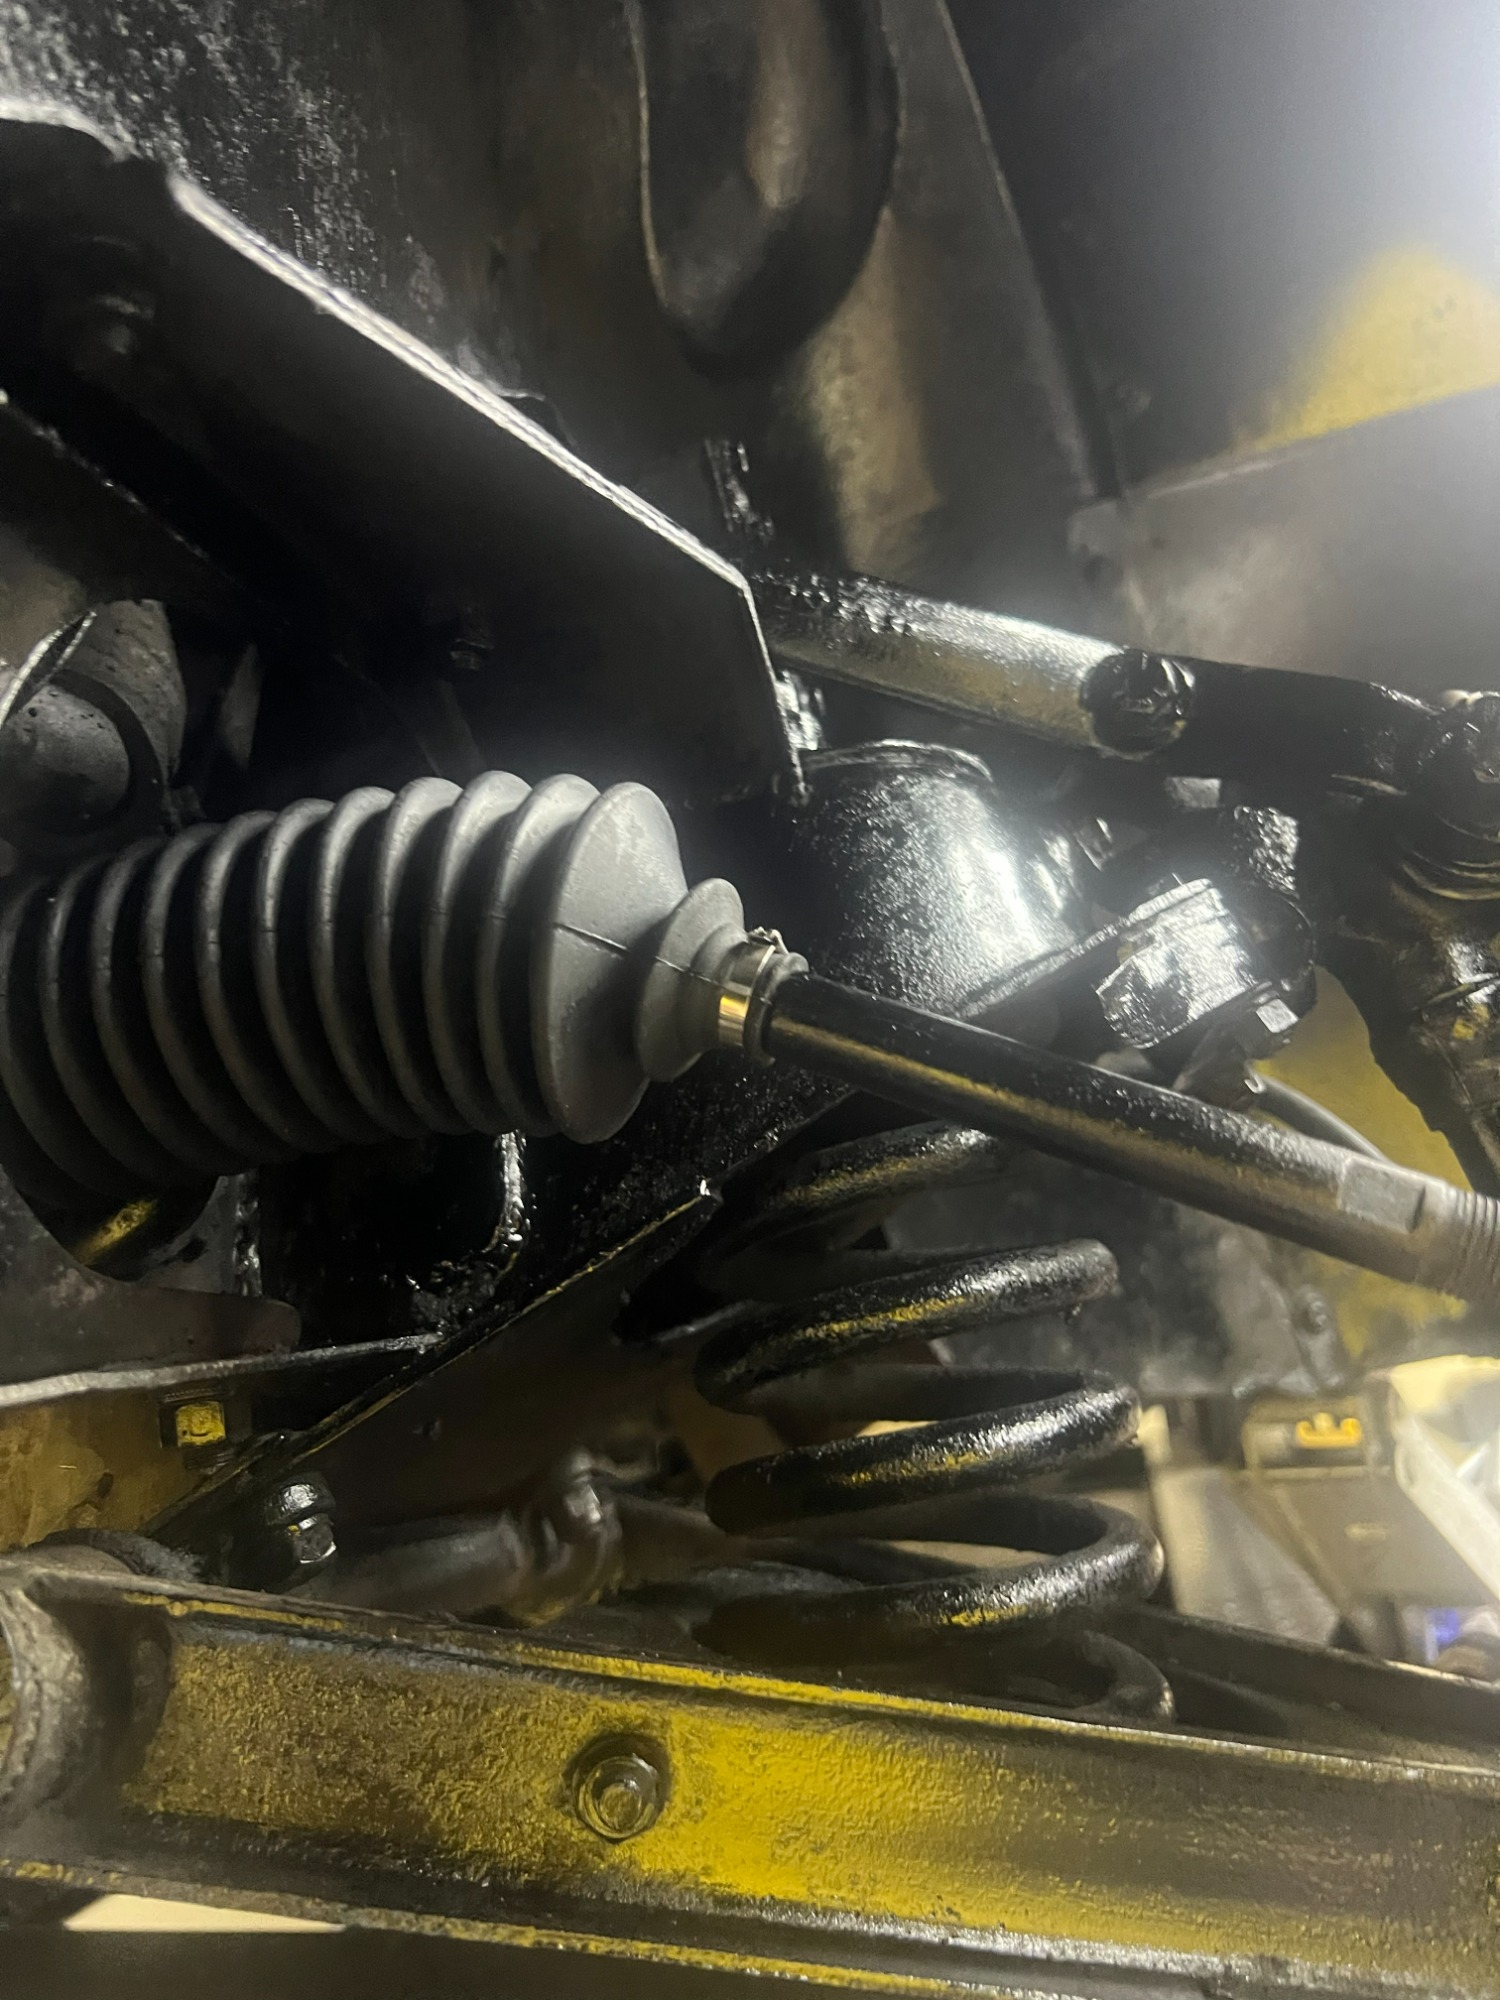
As often happens with an old car, fixing one thing uncovered another. While I was working underneath the car, I discovered that the right steering rack boot was completely broken. I removed the boot expecting to find dirt, rust, or other damage inside the steering rack—but surprisingly, everything looked remarkably clean. There was no sign of rust, and even the grease inside was clean. I replaced the boots on both sides with new ones.
The ball-joint boots presented another small challenge. I could find replacement boots, but finding the exact ones I needed for the MGA proved difficult. Eventually, I ordered a pair of generic boots from eBay and, with a little modification and creativity, made them work.
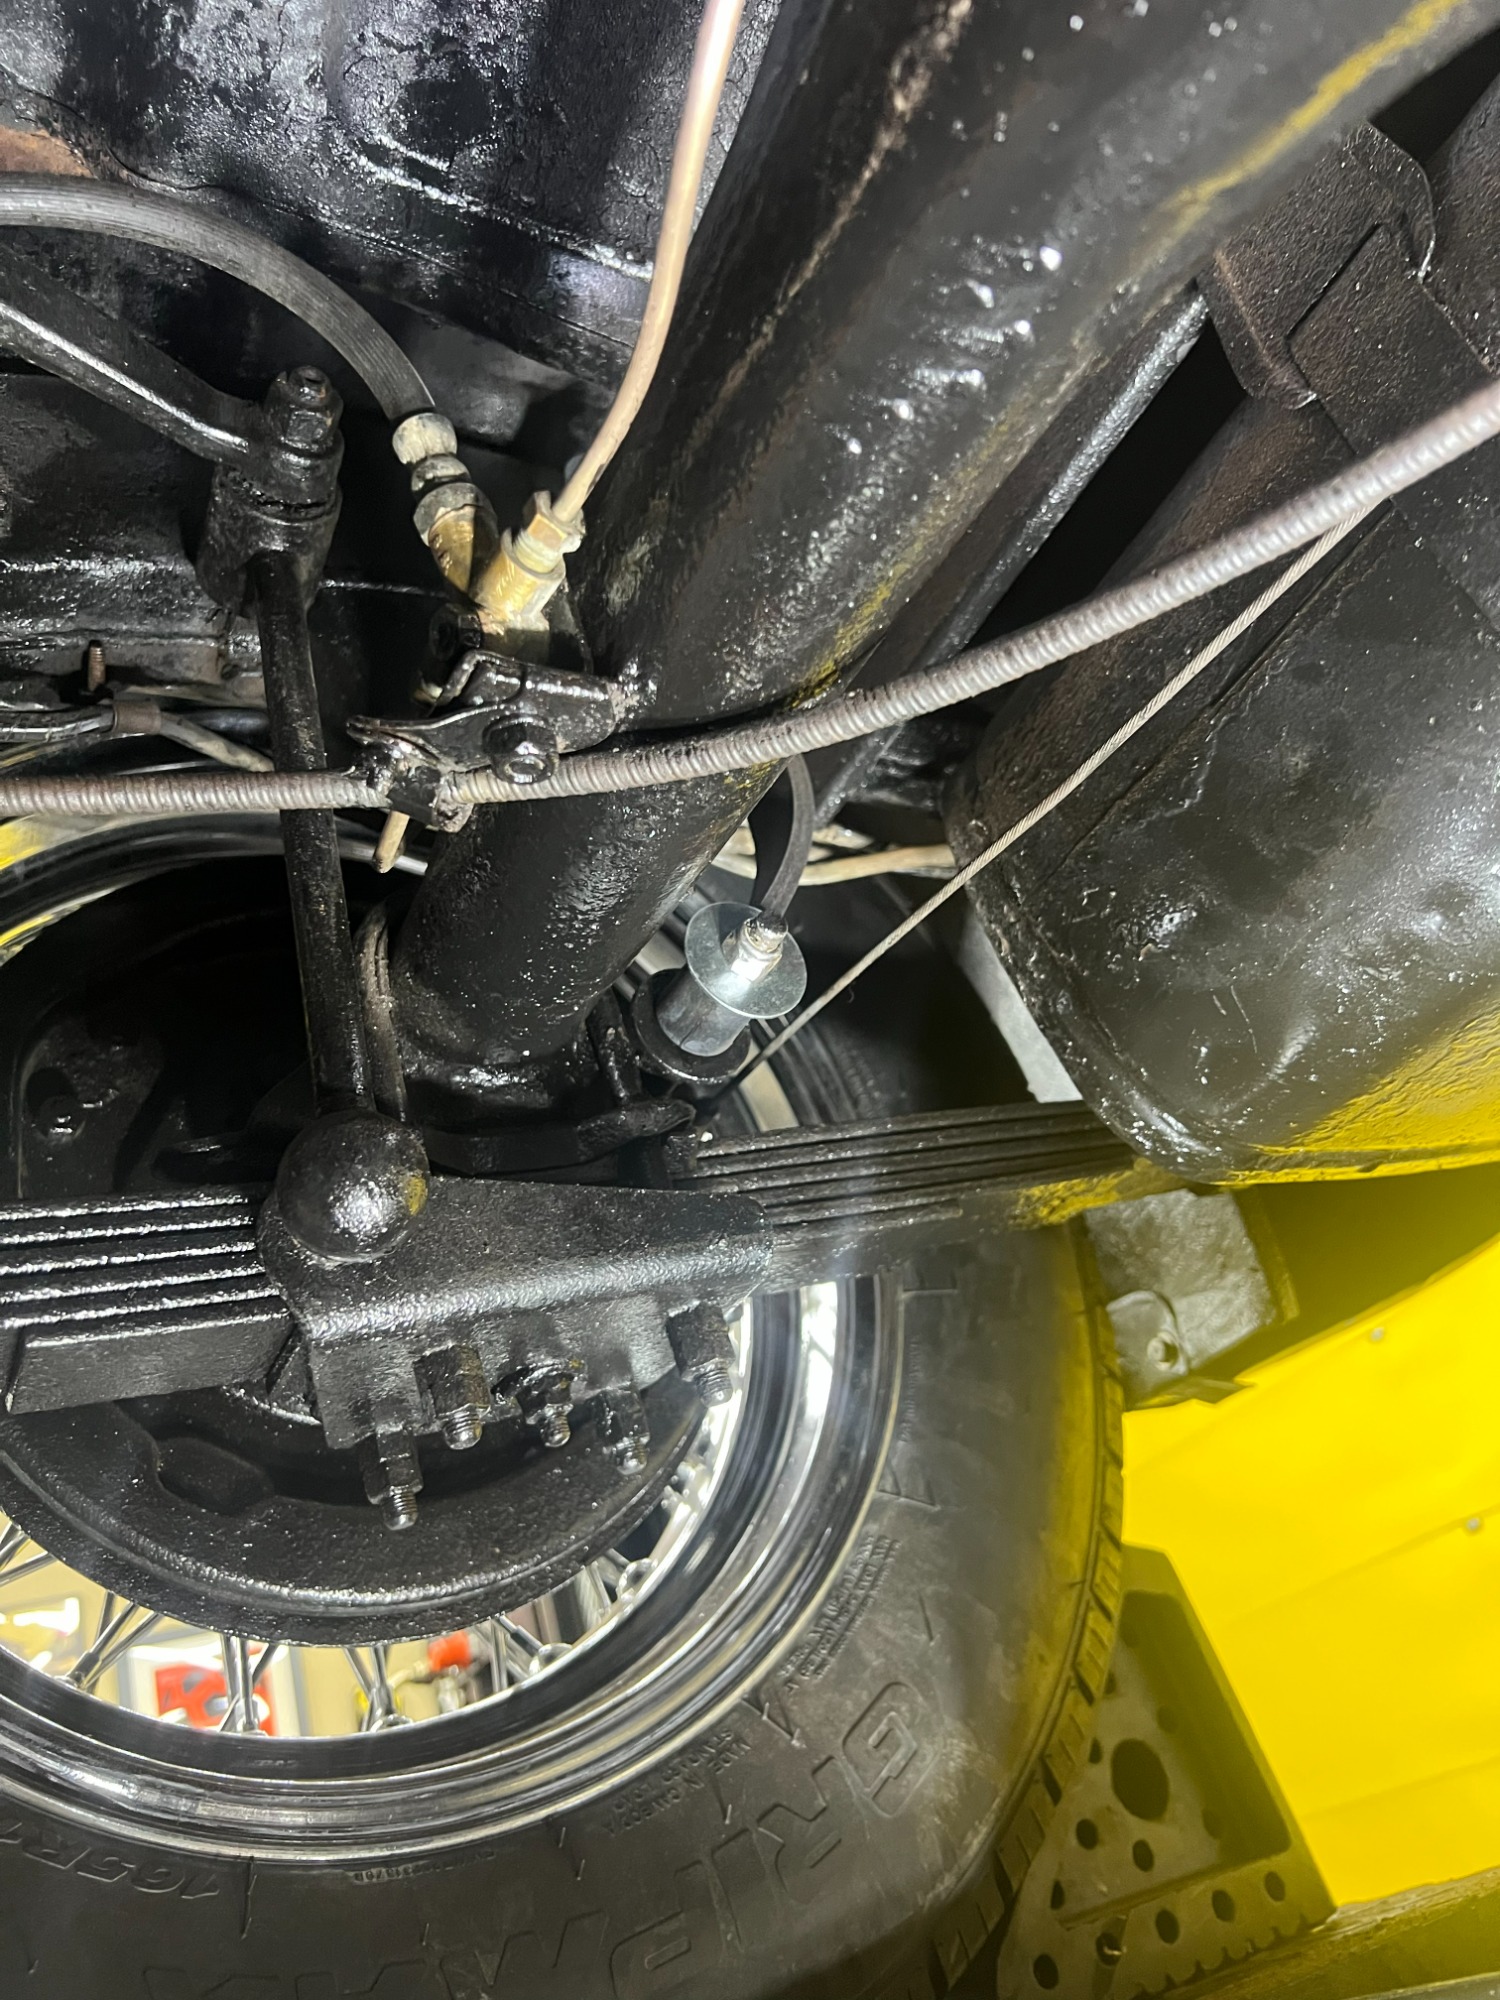
At the rear of the car, I noticed another small but important issue: one of the check straps was literally falling apart. The original strap was made from fabric, while the other side had already been replaced with the newer rubber-style version. Since I was already this far into the project, I decided to replace both sides with the rubber versions.
That particular job was messy, and I’ll admit I put it off for far too long. But once I finally tackled it, I was very glad I did. There is something satisfying about knowing that both sides are now properly repaired rather than having one original, deteriorating part simply because it was easier to leave it alone.
The undercarriage project ended up being one of those jobs that started much smaller than it finished. What initially looked like a simple cleanup turned into removing decades-old tar, repairing structural metal, treating rust, replacing steering components, and finding creative solutions for hard-to-source parts. But once it was finished, I knew exactly what was underneath the car—and, more importantly, I knew it had been properly cleaned, repaired, and protected rather than simply covered up again.
Parts List
The parts lists are provided for reference only and represent a compilation of information that was readily available at the time of putting this together. All replacement parts were purchased new.
There are a few items that are not included simply because, after all these years, I no longer remember where I purchased them. For example, the new chrome fender is not listed because I don’t remember the original source. Similarly, the front grille was professionally re-chromed, but unfortunately, I no longer remember how much I paid for the service.
My goal with these lists is not to provide a complete accounting of every part or expense, but rather to document the work I personally performed on this car.